
Episode 5 [How to Pick Up Items]
A. Throwable Items
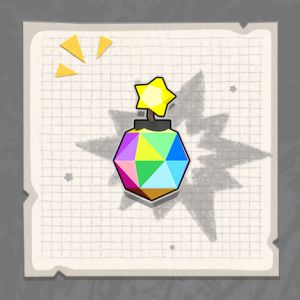
Fireball
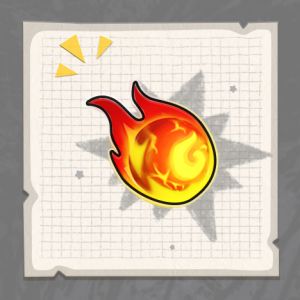
Throw the fireball to attack your target. The fireball explodes on impact, inflicting damage on enemies hit by it while setting the area on fire. Enemies within that area will be set ablaze and take damage for a while, even after they leave the burning area.
*Do not throw a Fireball while running forwards; you might run into your own fireball if you are moving faster than it can fly!
Teleport Cannon (Acquired from a chest)
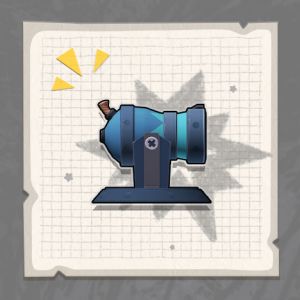
This is a portable Teleport Cannon, which works the same way as its non-portable counterpart. Throw it to deploy, then jump inside to launch yourself. You'll deal explosive AoE damage when you impact the ground.
*Teleport Cannons are vulnerable to damage.
Hook
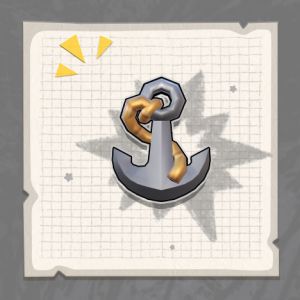
Swing the Hook and shoot it toward your target. When your Hook makes contact with the target location, you get pulled to it, just like how Spider Man’s spiderweb works. You can use this to charge at enemies, quickly make it across obstacles, or capture high grounds.
*You can use your weapon while using the Hook and flying.
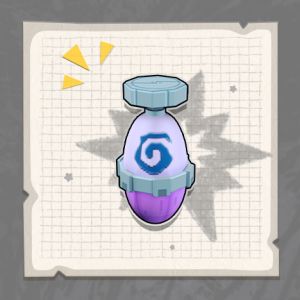
Wormhole Grenade (dropped from chest)
Throw it to create two wormholes, one at the starting location and one at the landing location. Enter one of the wormholes to teleport to another wormhole (a two-way teleporter). The wormholes disappear after a period of time.
*This is the best tool that helps you get behind enemy lines and ambush them.
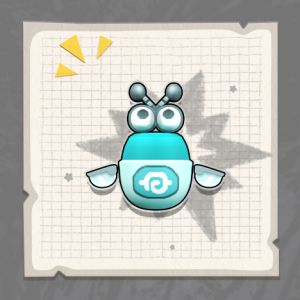
Bobo
Throw this to deploy it at a target location. Bobos are very bouncy as they can repeatedly launch players high up to the sky so players can dodge incoming attacks from the Silly Dragon. Bobos are breakable upon taking damage.
*There are three types of Bobos: the blue throwable Bobo, the green Bobo that you find in the wild, and the golden Bobo King. A wild Bobo will drop items when it is destroyed. And the golden Bobo King will drop golden attachments as well as more items.
Smoke Grenade
Throw this grenade to use it. A few seconds after it lands on the ground, the grenade starts emitting smoke, which can cover your movements, block enemies’ view, or distract enemies.
You can pull the pin to cook the smoke grenade so that you can control the time it starts emitting smoke after it lands on the ground.
Lovely Smoke Grenade (obtained from chest or Airdrop)
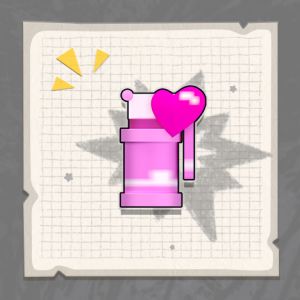
It works the same way as Smoke Grenade, except the smoke is now pink and heart-shaped.
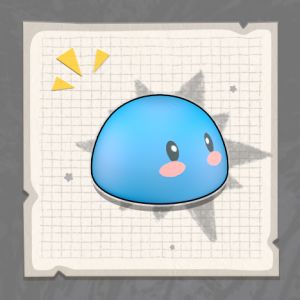
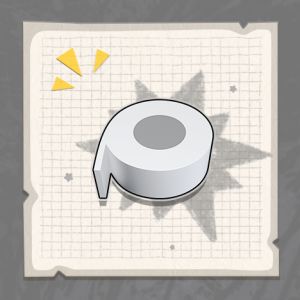
Snowball
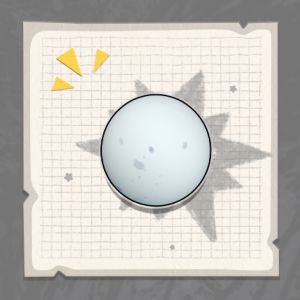
Throw the Snowball to use it. The Snowball leaves a mark on its impact location for a short time. If a player is hit by the Snowball, that player goes blind for a few seconds.
Barricade
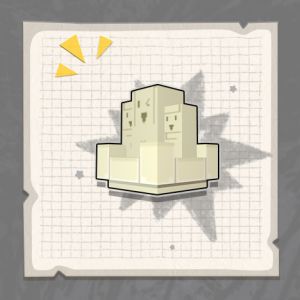
Throw this item to use it. The Barricade will form a shield wall at its landing location to absorb incoming fire. But it can be destroyed if it takes too much damage.
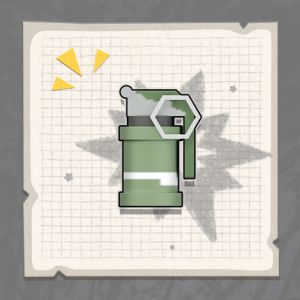
Grenade/Grenade MAX
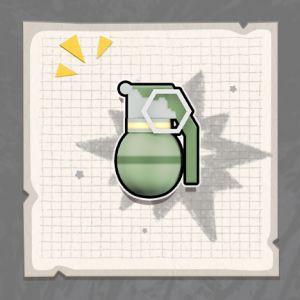
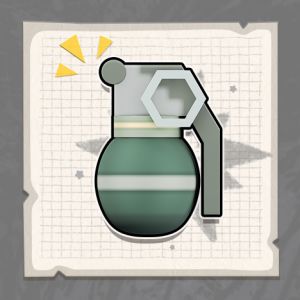
Throw it at a target to deal AoE explosion damage. The Grenade MAX deals damage in a larger area, but it travels slower while mid-air and bounces around like a balloon. It detonates upon taking enough damage.
*You can pull the pin and cook the grenade so that the grenade will explode earlier after it is thrown toward an enemy.
Teleport Capsule
After a short delay, you open a temporal rift and teleport to the aerial area directly above you, allowing you to see a wider view, dodge enemy attacks, quickly move around, or fight against Silly Dragons.
B. Healing Items[b]
Bandage[/b]
Recover HP and Mood by 10 up until 75. You can no longer heal yourself when your HP and Mood reach 75.
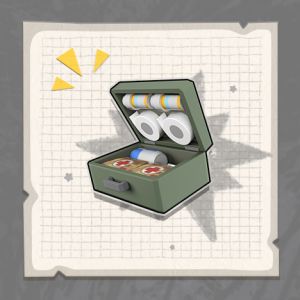
First Aid Kit
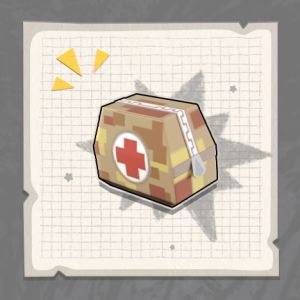
Recover HP and Mood up until 75. You can no longer heal yourself when your HP and Mood reach 75.
Energy Drink
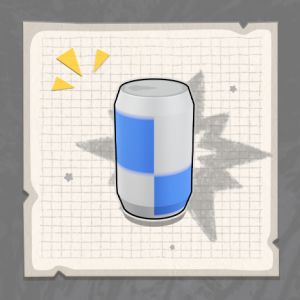
Recover Energy by 40, the energy can allow the character to continuously recover HP and Mood. While your Energy is reducing, you recover HP and Mood. (You may only heal yourself using “Painkiller,” “Energy Drink,” or “Med Kit” when your HP and Mood are above 75.)
Painkiller
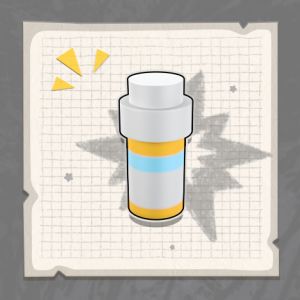
Recover Energy by 60, the energy can allow the character to continuously recover HP and Mood. While your Energy is reducing, you recover HP and Mood. (You may only heal yourself using “Painkiller,” “Energy Drink,” or “Med Kit” when your HP and Mood are above 75.)
Med Kit
Fully recover your Mood and HP.
Colossal Mushroom
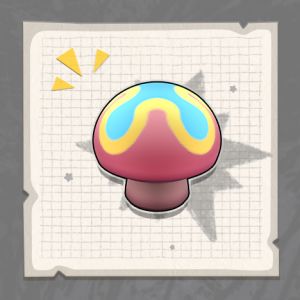
You gain 100 extra Shield. Your character’s size becomes larger for 60 seconds. When you take damage, the extra HP is reduced. After your extra HP is depleted or after this effect expires, your character goes back to their normal size. You cannot recover Mood this way.
*The giant size makes you an easy target.
Healing Round (obtained from a chest or an Airdrop)
Throw it to create a colorful rainbow and delightful music at the impact location, restoring 5 HP to players within 5-meter for 20 seconds. You cannot recover Mood this way.
Rainbow Energy
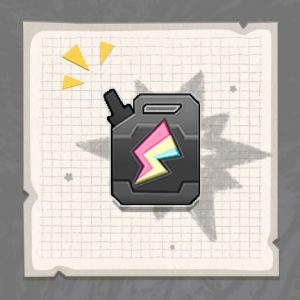
This is the energy for vehicles. Be sure to add more Rainbow Energy when your vehicle runs out of juice.
C. Melee Weapons[b]
Baseball Bat, Saucepan, Plunger, Little Fork, and Magic Wand (obtained from Airdrop)[/b]
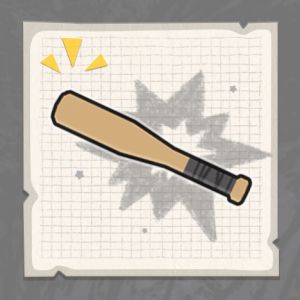
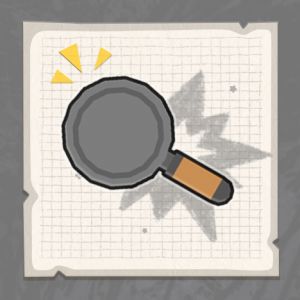
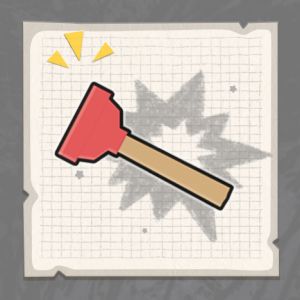
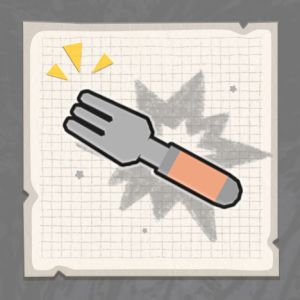
You don’t get to use the melee weapons very often. Their damage ranges from 15 to 20, but the exquisite customizable skins make them a must-have fashionable accessory!
*Magic Wand is also called the Sparkler as it will leave behind a trail of rainbow.
[b]D. Equip-able Items
[/b]Life Buoy
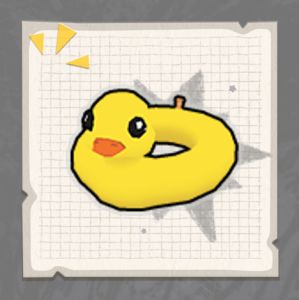
The yellow duck Life Buoy has 80 Durability. You will equip it on your waist after you pick it up. However, it cannot absorb incoming damage for you. (This takes up one additional gear slot.)
Holo Decoy
If you have this equipped, you will split into three small sausages when you are downed by an enemy, confusing the enemy so you have a higher chance of survival. (This takes up one additional gear slot.)
Ghillie Suit (obtained from Airdrop)
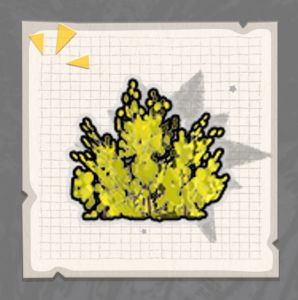
When you have this equipped, you turn yourself into a bush. A great tool for campers. (This takes up one additional gear slot.)
Various Levels of Helmets

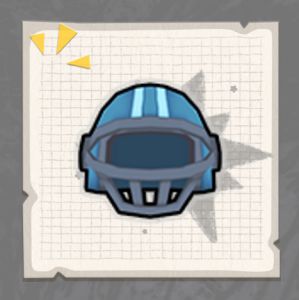
Level 1 Helmet, Level 2 Helmet, Level 3 Helmet, and Level 4 Helmet, providing 30% headshot damage reduction, 40% headshot damage reduction, 55% headshot damage reduction, and 65% headshot damage reduction, respectively.
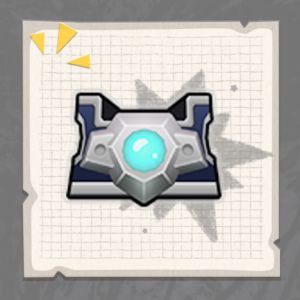
Various Levels of Body Armor
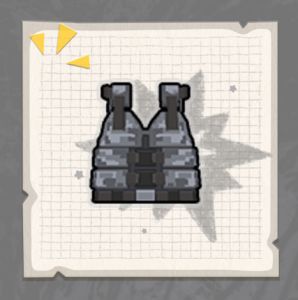
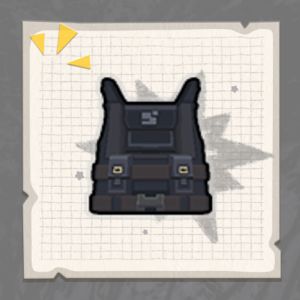
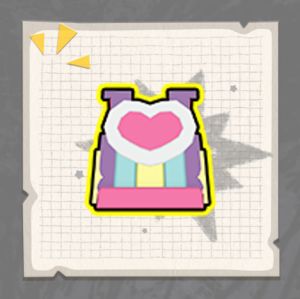
Level 1 Body Armor, Level 2 Body Armor, Level 3 Body Armor, and Level 4 Body Armor, providing 30% damage reduction and 50 capacity, 40% damage reduction and 50 capacity, 55% damage reduction and 50 capacity, and 65% damage reduction and 50, respectively.
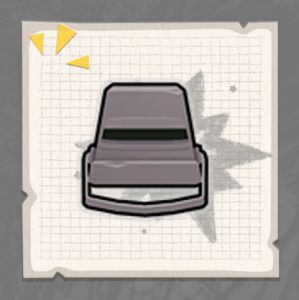
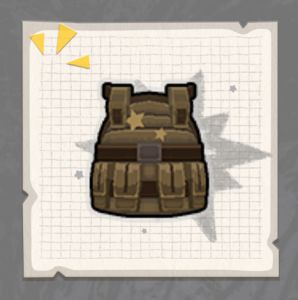
Various Levels of Backpacks (with a lot of available cute skins)
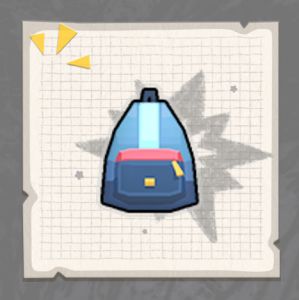
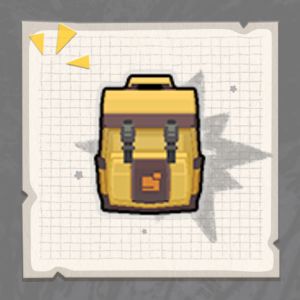
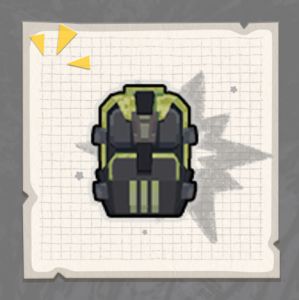
Level 1 Backpack, Level 2 Backpack, Level 3 Backpack, and Level 4 Backpack, providing 150, 200, 250, and 300 Backpack capacity, respectively.
Level 4 items are obtained from Airdrop. Level 3 items will occasionally spawn throughout the map or inside chests. Level 1 & 2 items frequently spawn throughout the map. A higher item provides better stats and looks nicer.
That’s about this for this episode! We’ll see you next time!
Mentioned games