

【Tales of the Neon Sea Walkthrough and Guide】Chapter 1.1: A Day Like Any Other
A Day Like Any Other
You'll wake up in bed, a few days earlier. You'll be introduced to your robot, BB-X. BB-X will scan you, and tell you that you need some replacement parts. Interact with the diagonstic profile of your augmentations, then exit when finished. Rex counters by suggesting that BB-X is the one who needs new parts. He tells BB-X to wait for him upstairs, so he can check his systems.
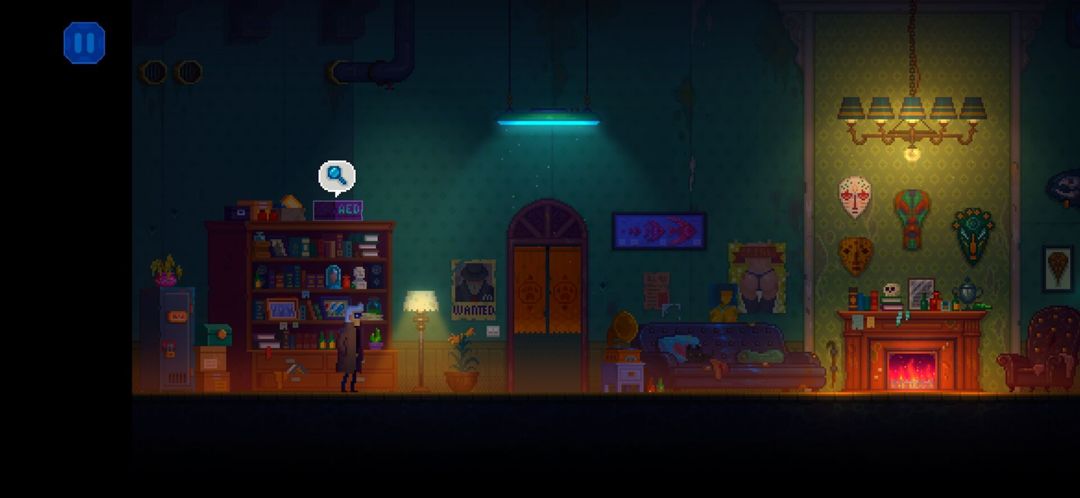
You'll be given control of Rex. Start by moving to the left, and check the bookshelf. You'll find the Electronic Artificial Arm Application Document, which will be added to your Image & Text Files. If you want to collect everything in the game, be sure to snag this.
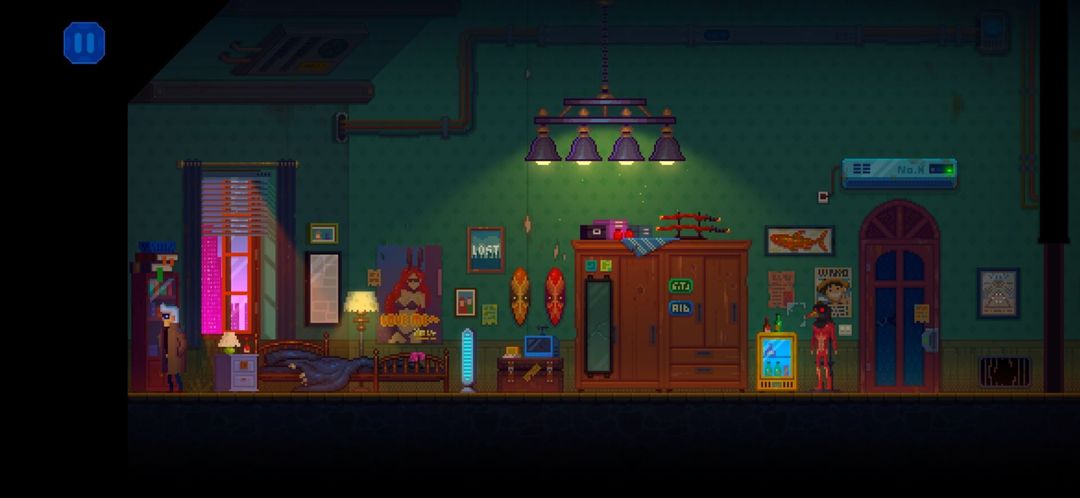
Next, run over to the far right of the room. Be sure to Interact with the Poster on the wall along the way!On your dining room table, you'll find a newspaper. Pick it up to collect another Image & Text File, about a robot running for mayor.
Next, head through the doorway on the right (you can't leave using the one on the left anyway) to enter the 2F Corridor.
Head upstairs to enter the Workshop.
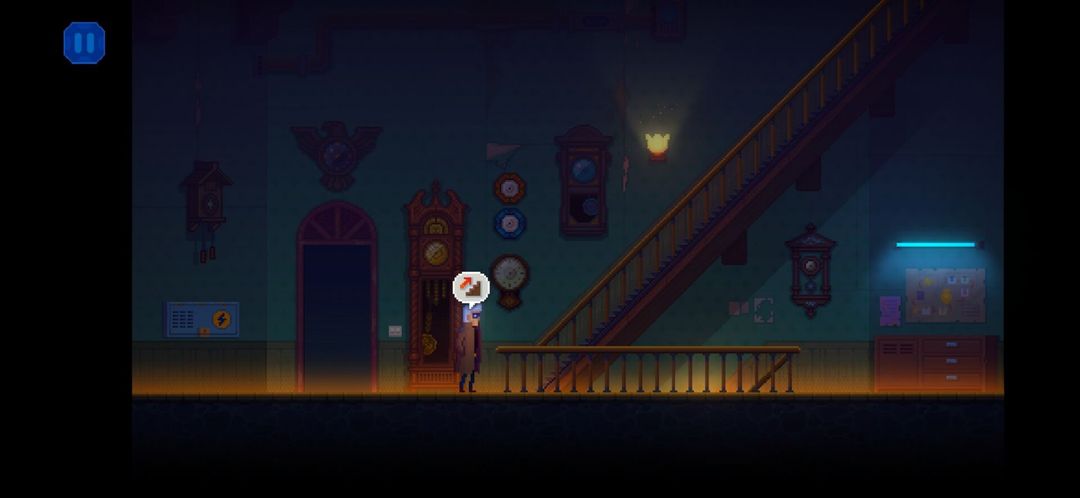
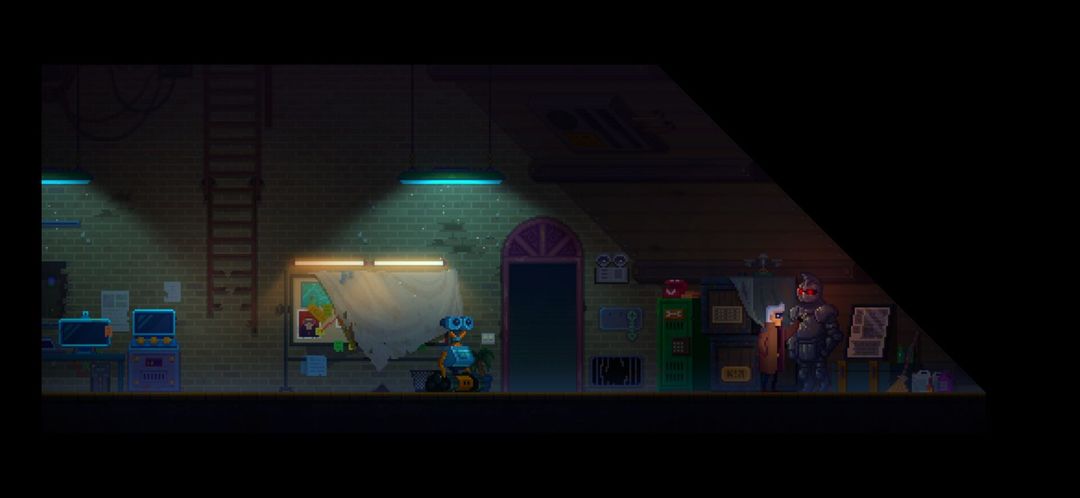
BB-X will be waiting for you. He's scared of something making noise in the corner, and the lights won't turn on. Grab the Distribution Box Key to the right of the door, then continue walking east toward the far end of the Workshop.
You'll have a small jumpscare of something lurking in the shadows, so it's time to (literally) shine some light on the situation. Go back down to the 2F Corridor.
To the left of the doorway leading back to 2F, you'll find a metal box with a yellow and blue power symbol. Unlock it using the Distribution Box Key.
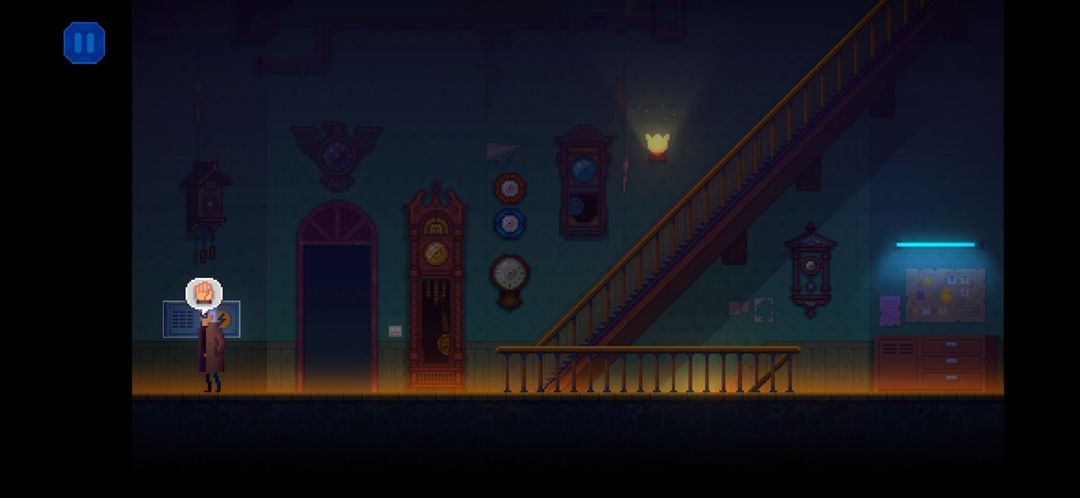
Examine the inside, and you'll be faced with a puzzle.
Distribution Box PuzzleWith a few turns of the bottom sections, you can easily form the solution below. If you need help, follow the below steps:
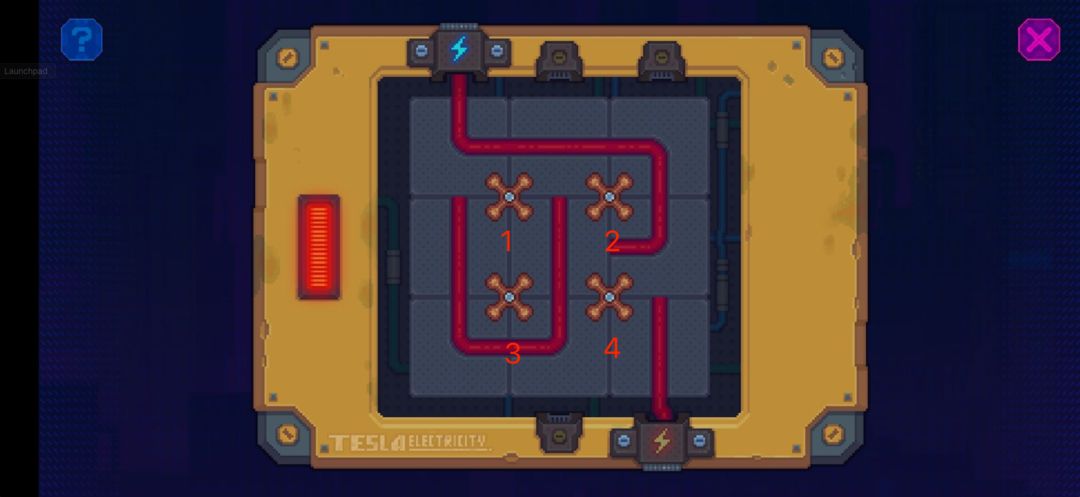
[b]Step 1. Hit Knob 4.
Step 2. Hit Knob 4.
Step 3. Hit Knob 4.
Step 4. Hit Knob 3.
Step 5. Hit Knob 4.
[/b]
The power will come back on, so head back upstairs to the Workshop.
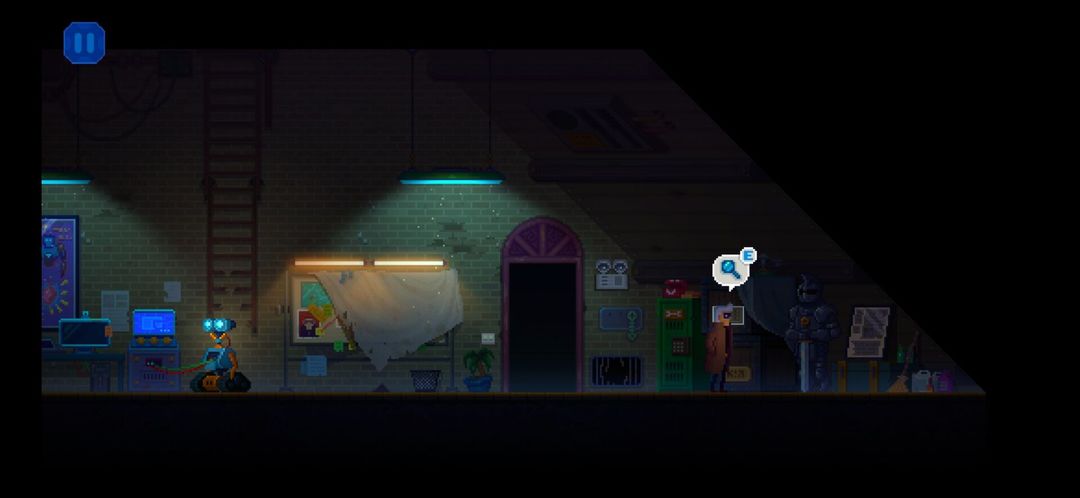
Head to the far right, where you'll find a cursed suit of armor, with a cat stuck inside (any guesses who?). You'll need to free the cat by returning the suit of armor's weapon, a Claymore. You can find this downstairs, in the 2F Bathroom.
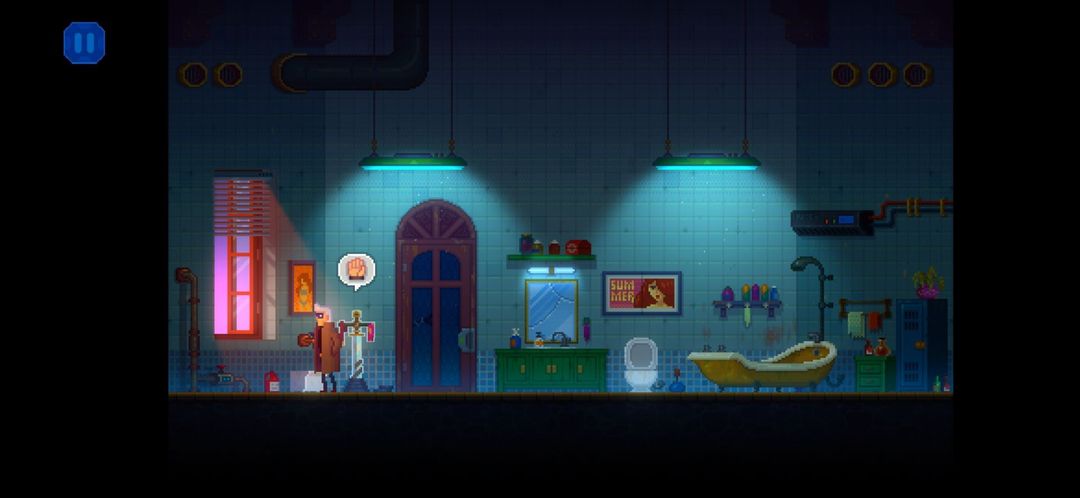
To get to the bathroom, simply return to the 2F hallway where you started the chapter in, with your bed and dining room. Take the left doorway (the one that wouldn't open before), and you'll find yourself in the bathroom.
The Claymore is to your left. Seriously. Grab it and leave, since there's nothing else for you in the bathroom.
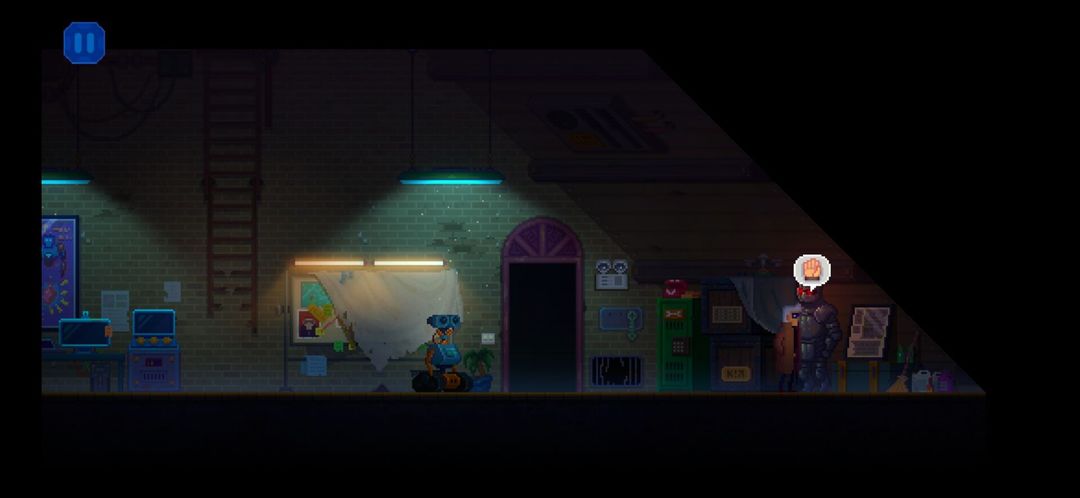
Return upstairs and give the Claymore to the suit of armor. The spirit possessing the suit of armor will enter you, and William will be freed. He'll run downstairs.
Don't forget to interact with the suit of armor again (AFTER William is freed) for another Image & Text File!
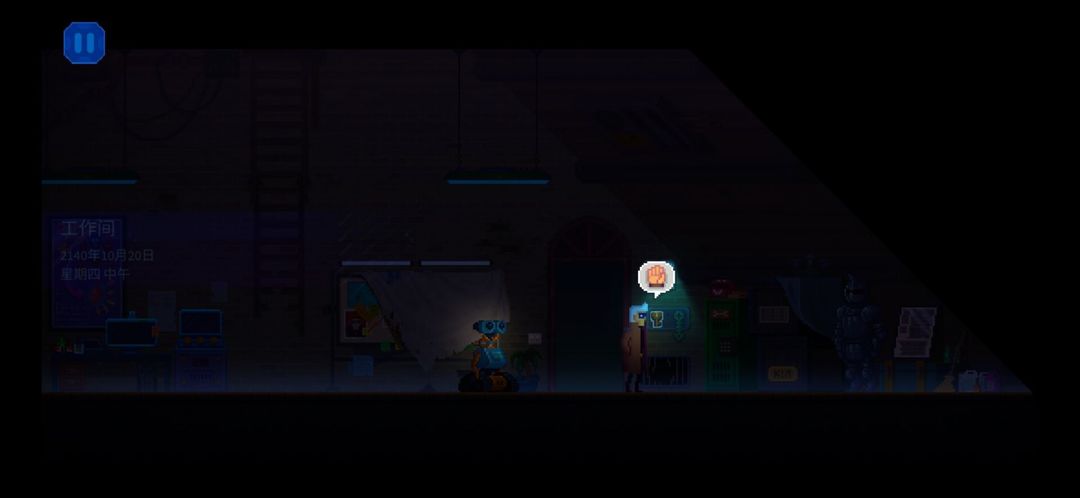
Talk to BB-X, and follow him to the computer terminal.
Use it, and you'll learn that he needs a new Processor and Decoder.
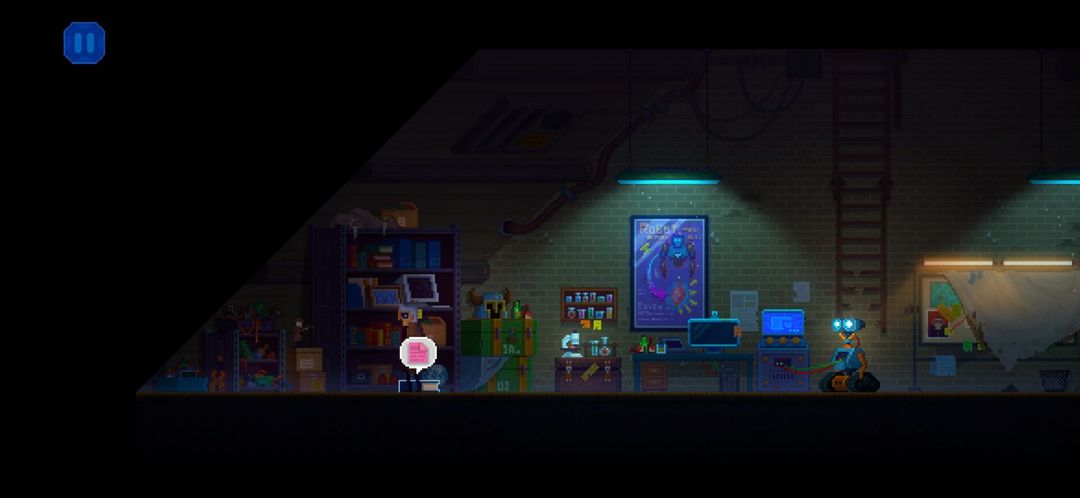
Leaving BB-X, head further left, and you'll find a book on the ground. Pick it up, and you'll get another Image & Text File, about the three-year war between humans and robots.
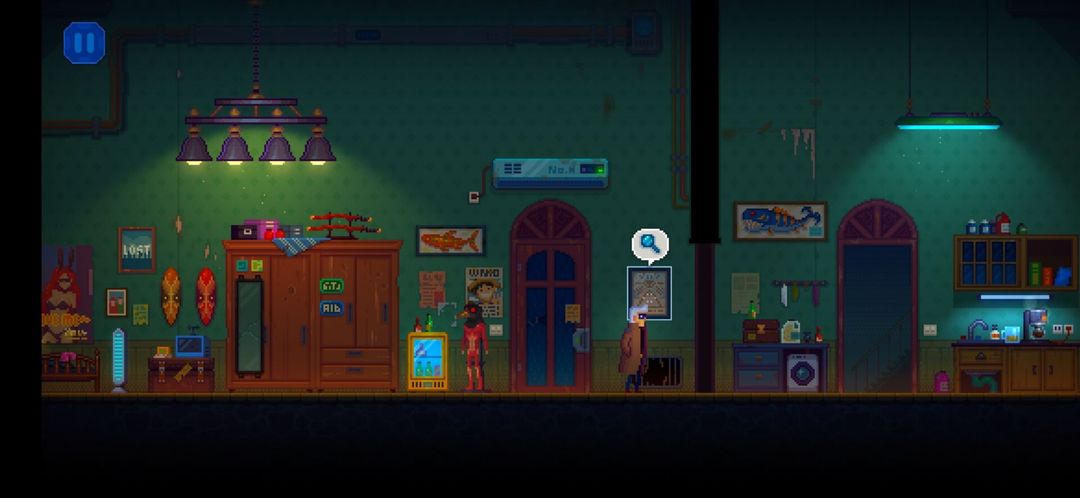
Head on over back to the suit of armor, where you'll find a Keypad and a Code Reference Table.Open your Inventory, and take a look at the Picture of the Eye of Horus under "Notes" in the Files menu. You may notice a sequence of 4 numbers embedded in the pyramid diagram:Now, you'll need to translate the 4-digit passcode into Rex's code using the Code Reference Table, then enter the correct sequence of symbols into the Keypad.

Enter the correct code to open the locker. Grab the Component Assembly Tool you find inside, which you can use to dismantle something for the Decoder you'll need soon.
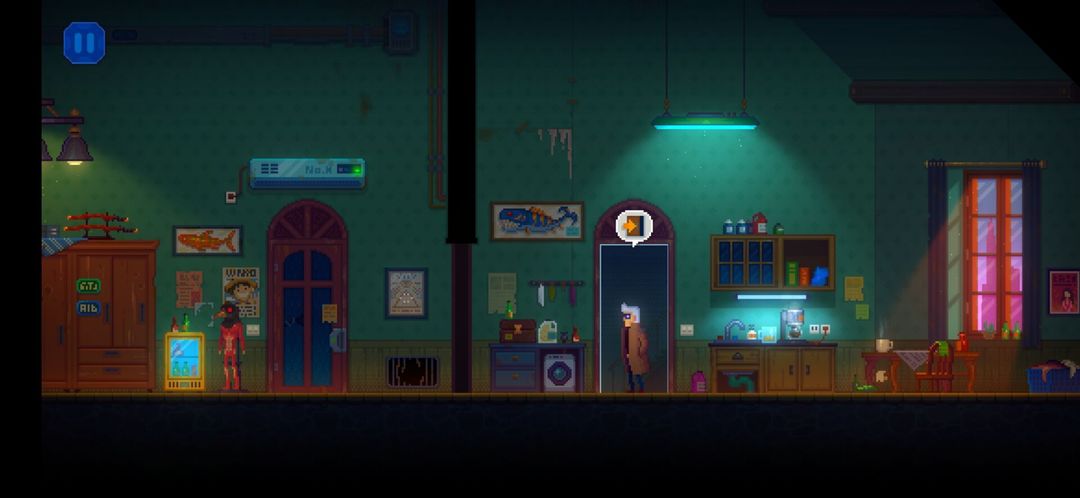
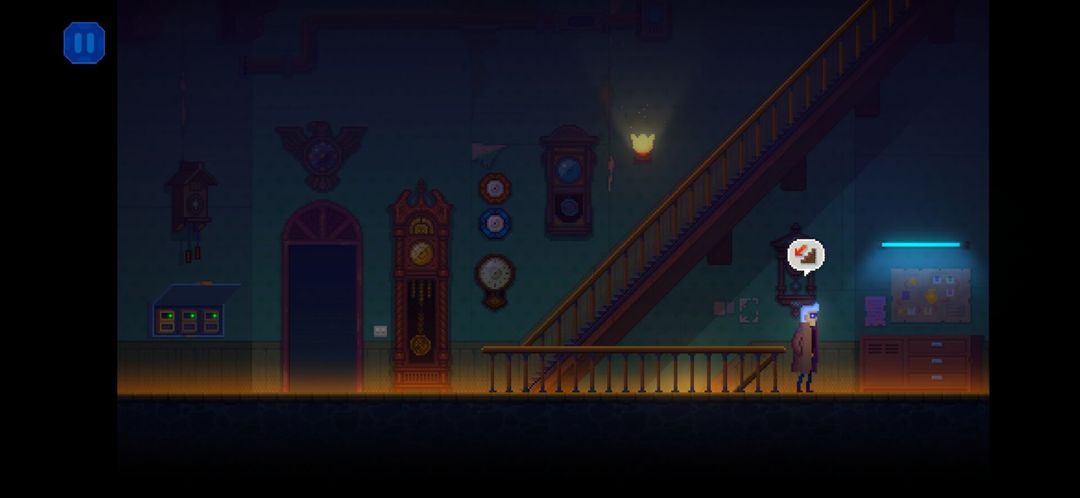
Go back down to the 2F Corridor. You will now be able to use the stairwell at the far right to head down to the 1F Corridor.
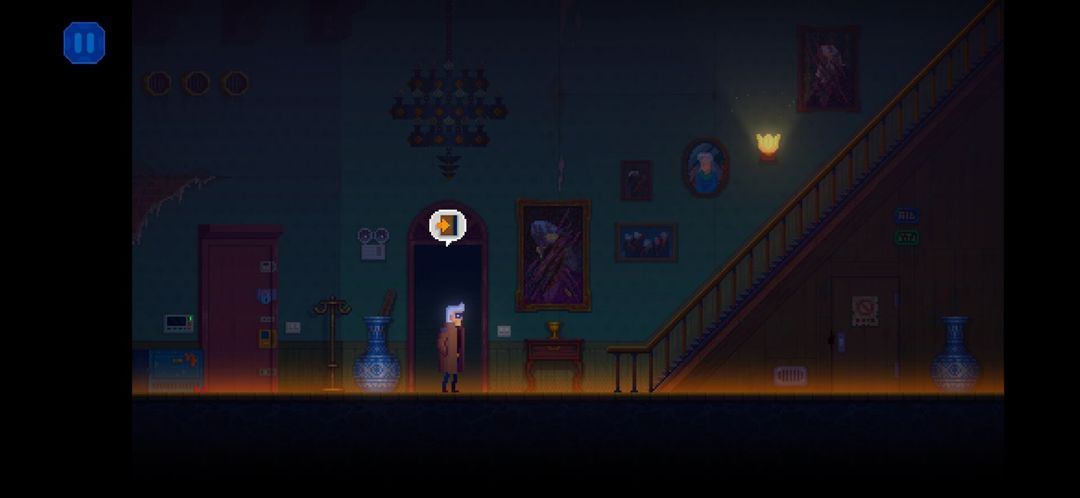
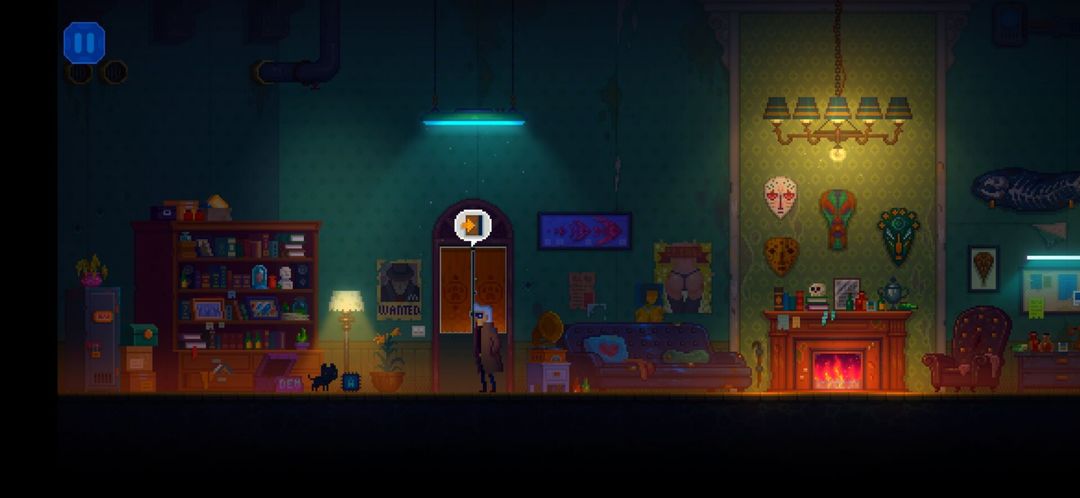
Continue downstairs. You may notice a door under the stairway, feel free to Interact with it for a Harry Potter reference! Otherwise go through the first doorway you see to enter the [b]Living Room
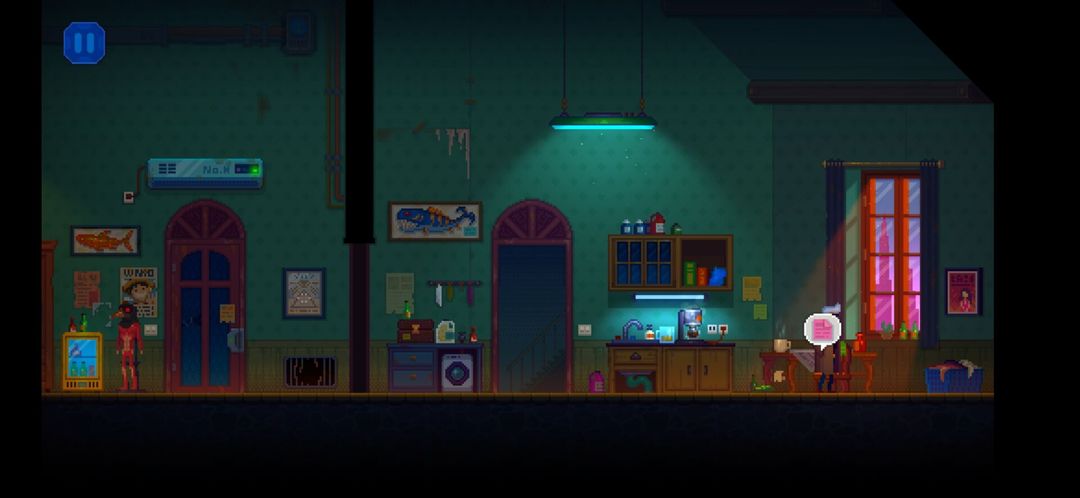
[/b]You can find another Image & Text File as a trophy on the mantle of the fireplace. Be sure to grab it if you want to collect everything.
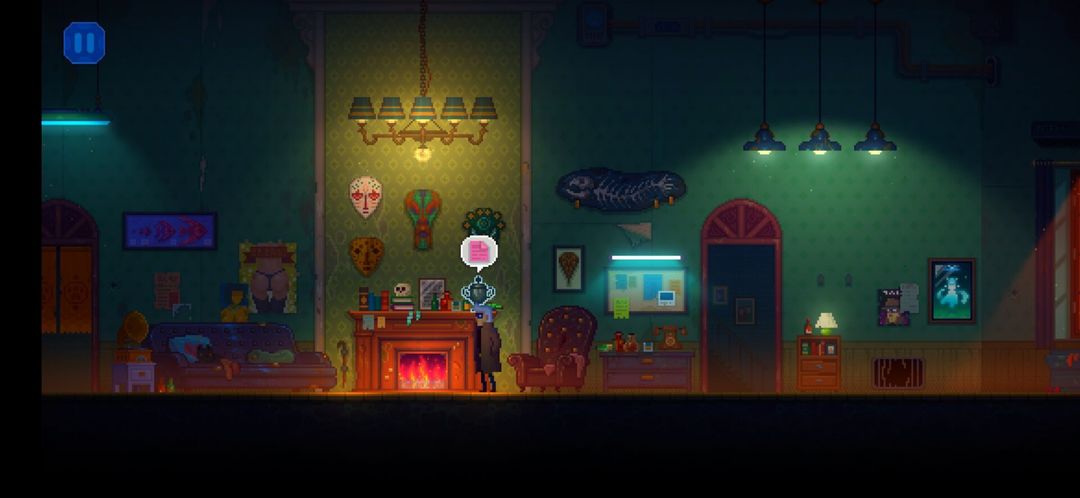
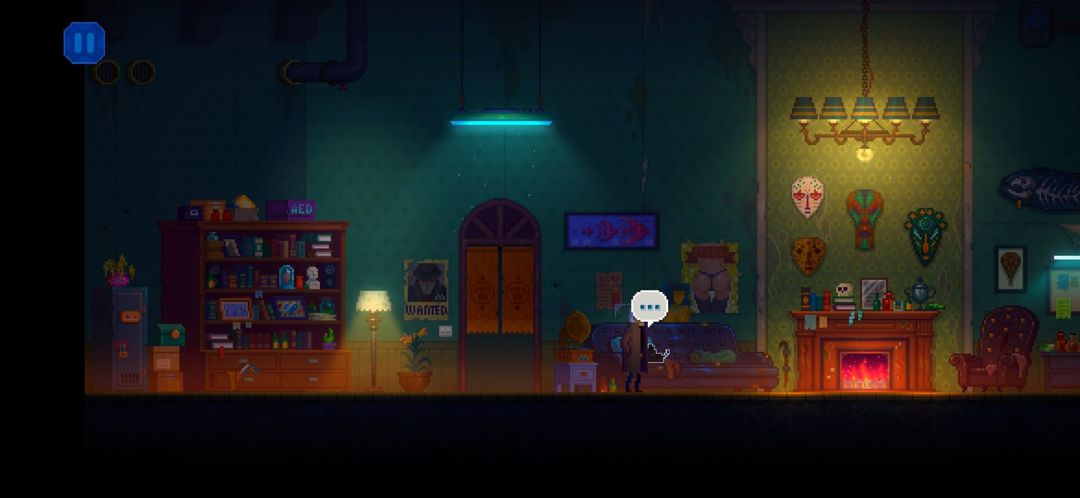
Continuing left, you can talk to William on the couch. Moving further, you can find a sixth Image and Text File on the bookshelf.
You should also notice a box marked "AED" at the top of the bookshelf. Attempt to interact with it.
This contains the Processor you need, but it's out of your reach. You'll need to bribe William to get it for you!To bribe William, you'll be given three options:
1. Here's some dried fish.
2. I'll take you for a walk.
3. I'll hook you up with a nice female cat.
William doesn't want the fish, and I guess he already has a girlfriend, so you'll need to select Option 2. He'll knock down the box for you, and you can pick up the Processor, a SuDragon XIII.
Now go through the noren (Japanese-style fabric divider) doorway to enter the Kitchen.To the right of the room, you'll find what appears to be a washer/dryer set.
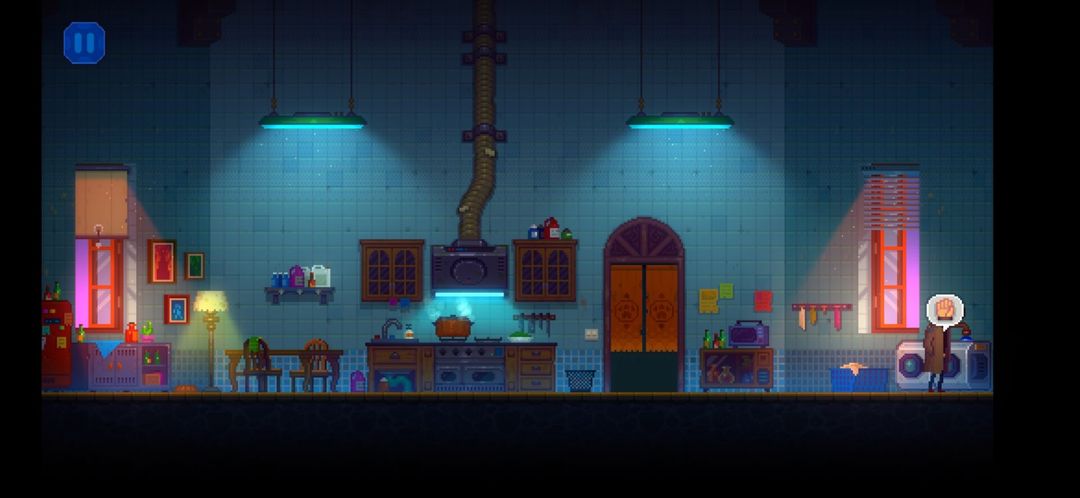
Interact with these and use your Component Assembly Tool to get the Decoder-74155N.
With both of your items, return to BB-X and interact with him to replace the SuDragon XIII and the Decoder-74155N.
Next, use the terminal next to him. You'll need to match the frequencies, which isn't too hard, but if you're having trouble, check the solution below.
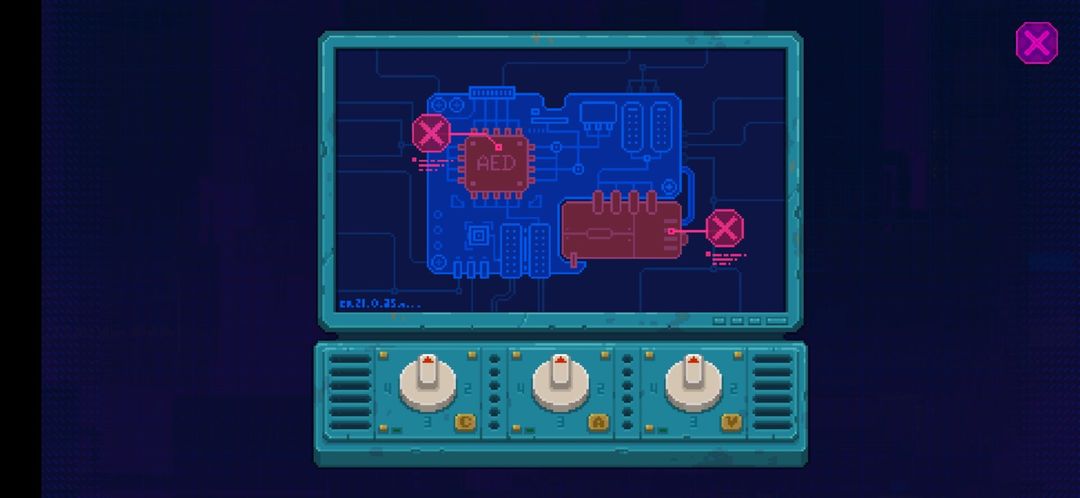
[b]Step 1. Turn Dial C to 2.
Step 2. Turn Dial A to 3.
Step 3. Turn Dial V to 4.
Step 4. Turn Dial C to 1.
Step 5. Turn Dial A to 4.
Step 6. Turn Dial V to 2.
Step 7. Turn Dial C to 3.
Step 8. Turn Dial A to 1.
Step 9. Turn Dial V to 3.[/b]
That solves the puzzle. Unfortunately, BB-X explodes.
Leave the Workshop and head down both sets of stairs to return to the 1F Corridor, then leave through the leftmost door with William.
Mentioned games