

【Tales of the Neon Sea Walkthrough and Guide】Chapter 2.5:Brank! The Missing Person
[b]Miracle Street[/b]
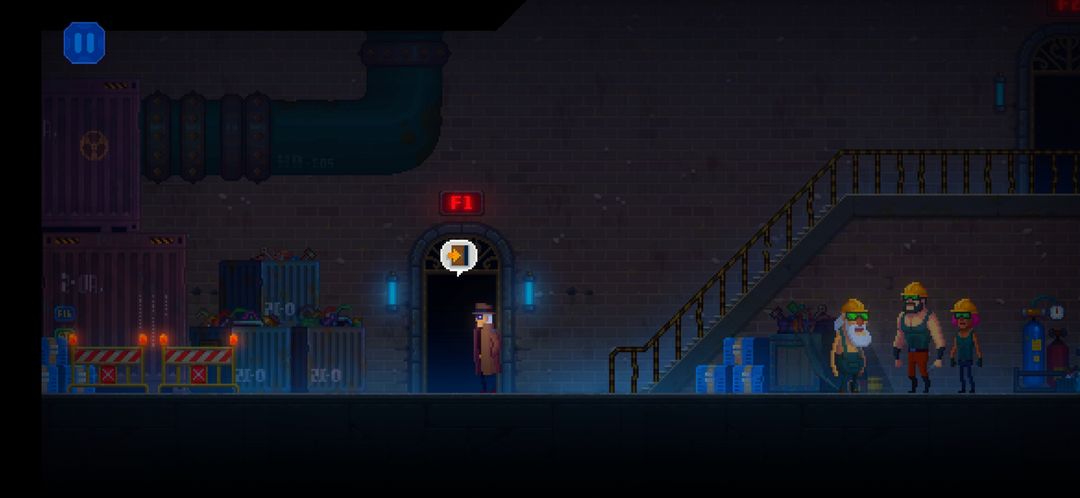
Upon entering Miracle Street proper, you'll find a Fortune Teller to the right. Talk to her and you'll get a tarot card.
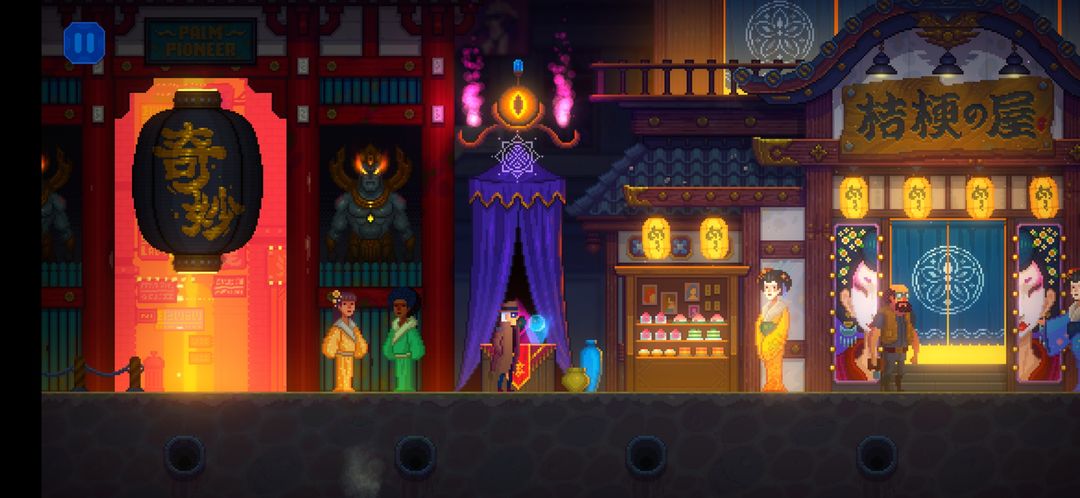
Continuing to the right, you'll notice that William is down here. Interesting.
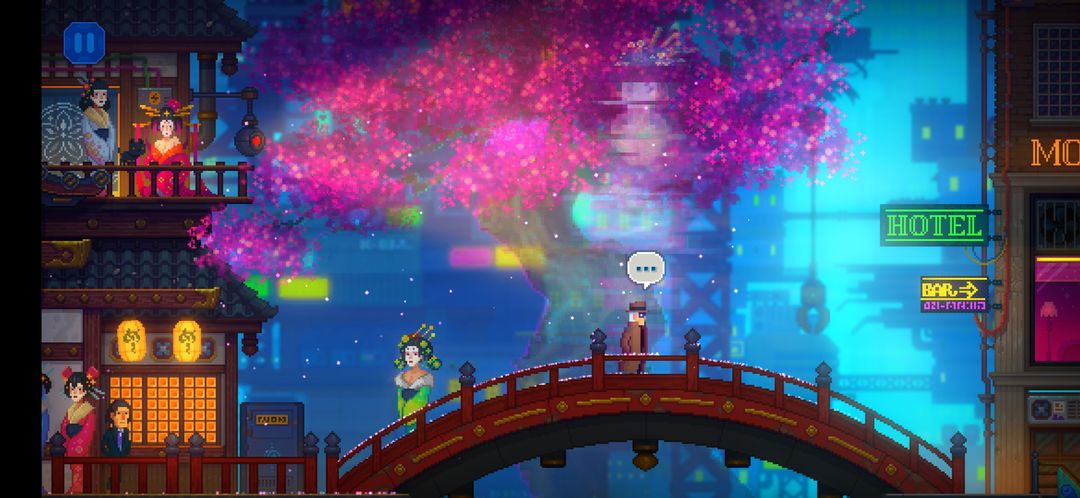
Further down the street you'll find the holographic virtual tour guide Kanon on the bridge. Attempt to speak with her and you'll update your objective.
Moving to the left, at the base of the bridge, you'll find a power box.It's a puzzle, which you'll need to solve if you want to fix Kanon. You'll want to click on the connectors on the right side of the panel to unplug them. Unplugging more than one connector will make you automatically switch them. The goal is to match the color-coded end of the connectors on the right with their matching power sources on the left. The problem is the whole mess of cables that obfuscates where each cable is leading to!
If you're having some trouble, you'll find the solution below.
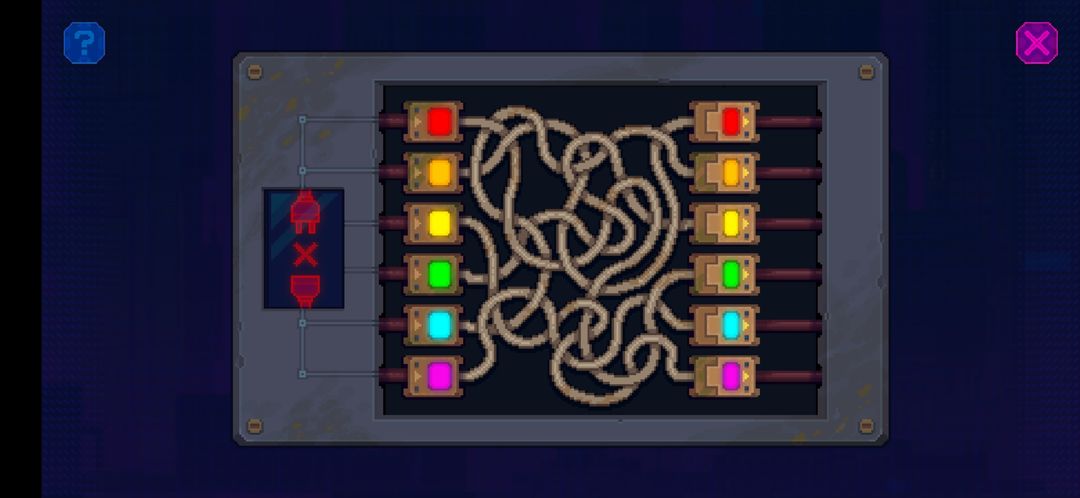
Step 1. Switch Orange and Red.
Step 2. Switch Blue and Red.
Step 3. Switch Green and Yellow.
Step 4. Switch Red and Yellow.
Step 5. Switch Purple and Yellow.
If you did things correctly, you should have the following:
1. Orange
2. Blue
3. Green
4. Red
5. Purple
6. Yellow
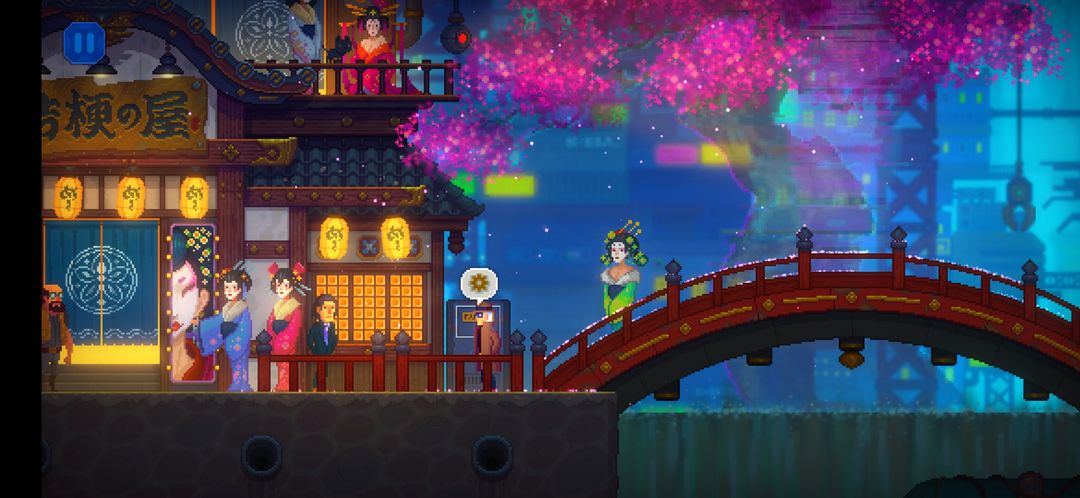
Fixing that, the Hologram still won't work. Rex will ask William to help out, and William will walk up and smack the projector, restoring the image.
Walk up and talk to Kanon now that she is functioning normally again.

She'll point you to Doc Edward's Clinic in the C-4 Zone of Night Flower Town.
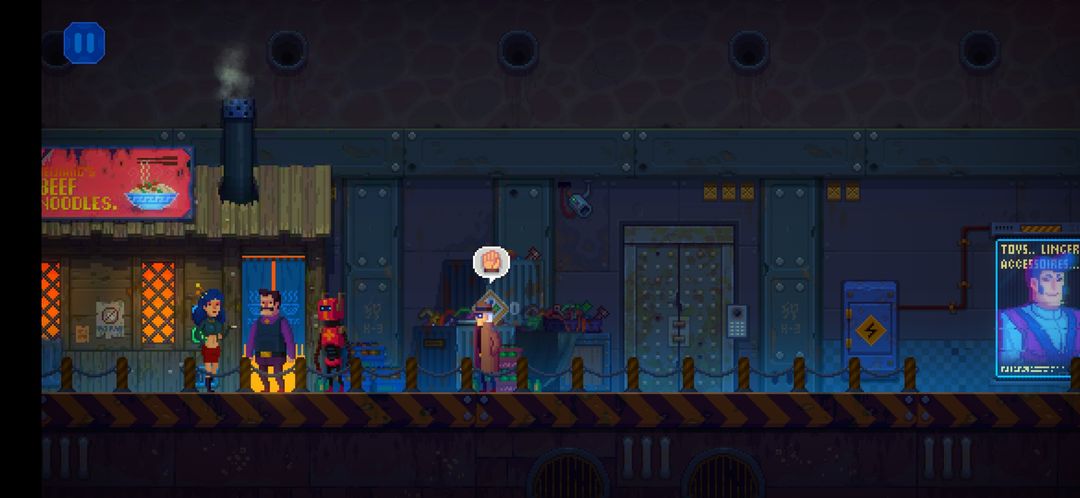
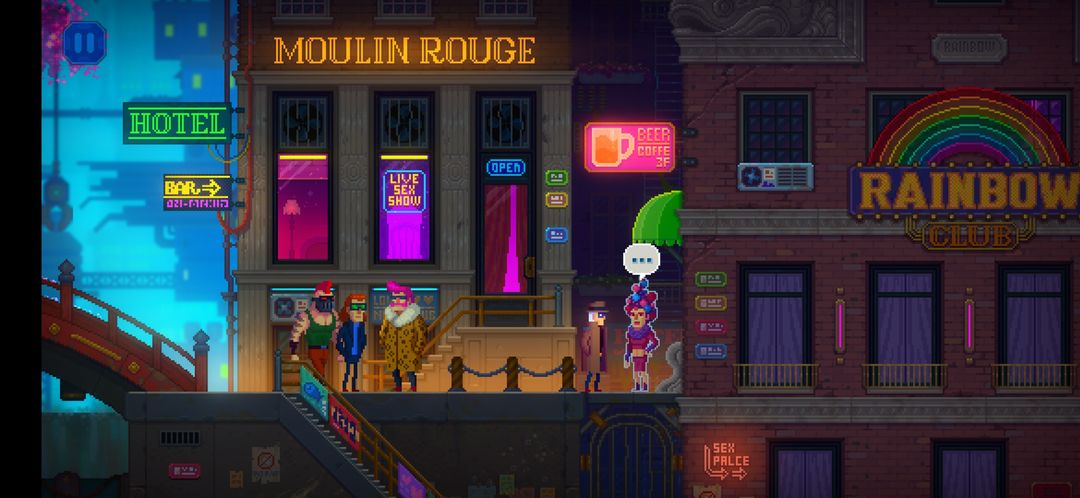
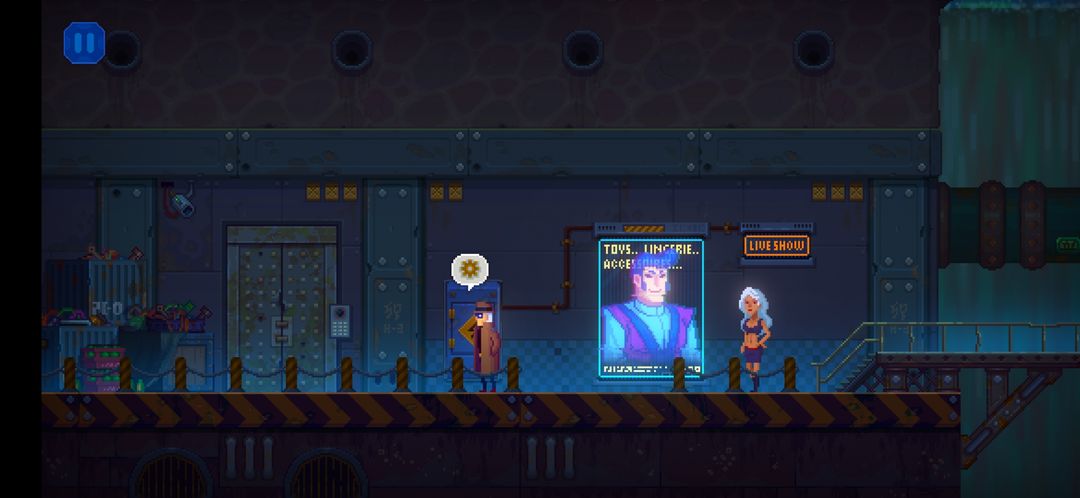
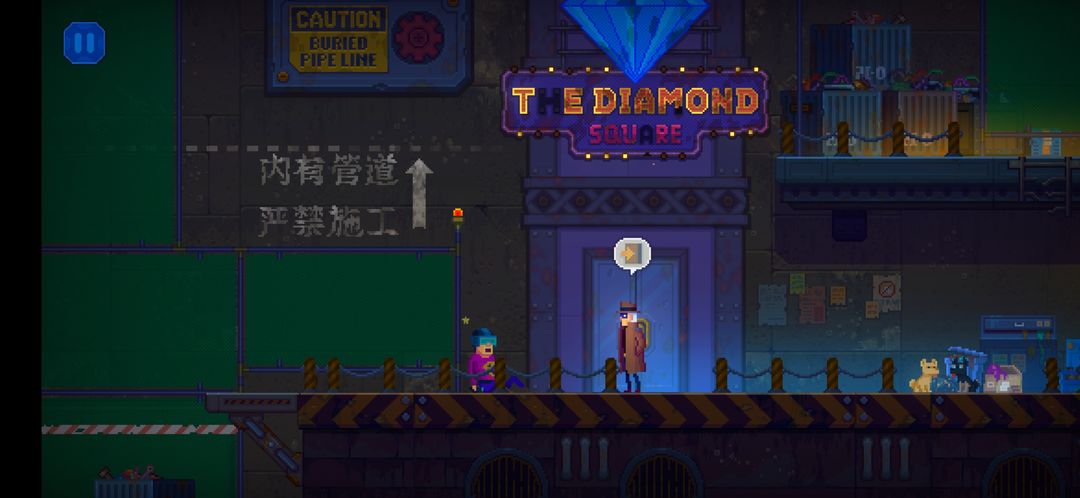
Heading over to the right, you'll find Francesca standing underneath a coffee/beer sign, next to the Rainbow Club.
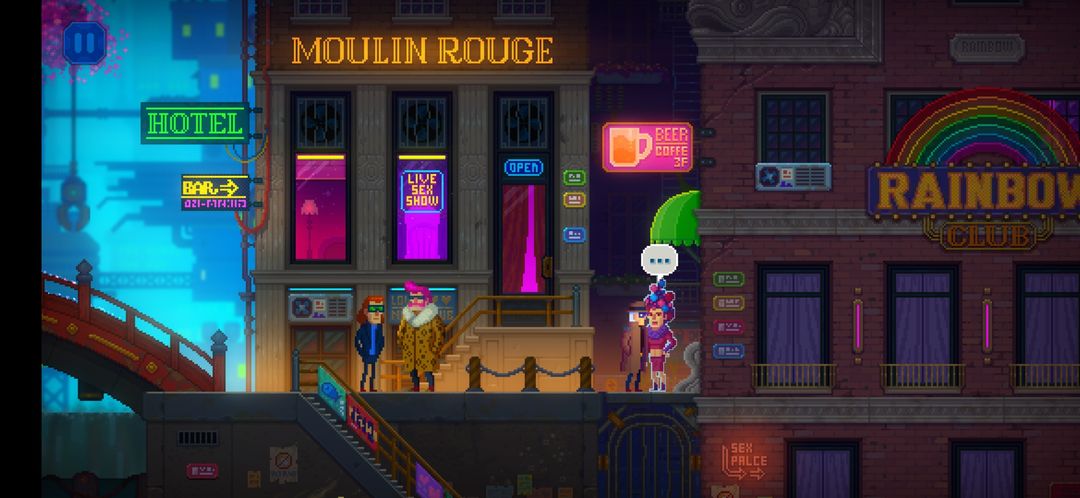
Speak with her to trigger a new sidequest: "No-show Showgirls"
Now go down the stairs to access the lower level. Grab the Broken Massage Stick from the trash bin under the stairwell.
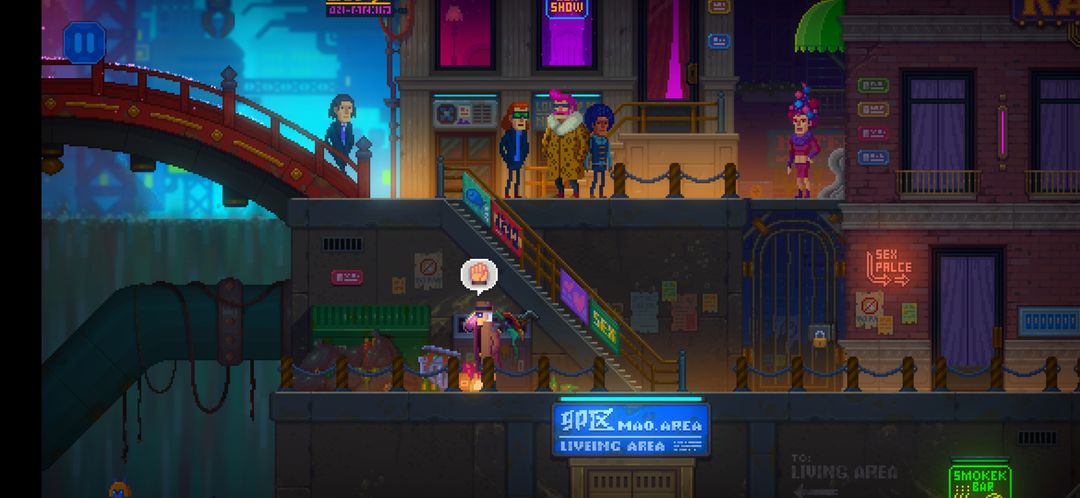
Continue right and head down a second flight of stairs. You should be on the lowest level of Miracle Street now. This time head left toward the bridge, past the Security Robot guarding the entrance to the Mao District for the time being.
You'll find Lola with Robin, the urchin who swiped your Wallet earlier! After an entertaining scene, you'll get your White Passcard back!
Next, you should find Aoide chatting with a Virtual Salesperson at the left side of the bridge; she is one of the Rainbow Club Dancers that Francesca asked you to retrieve earlier, assuming you accepted the request.
Continue left, grabbing the Deep Learning Processor along the way.

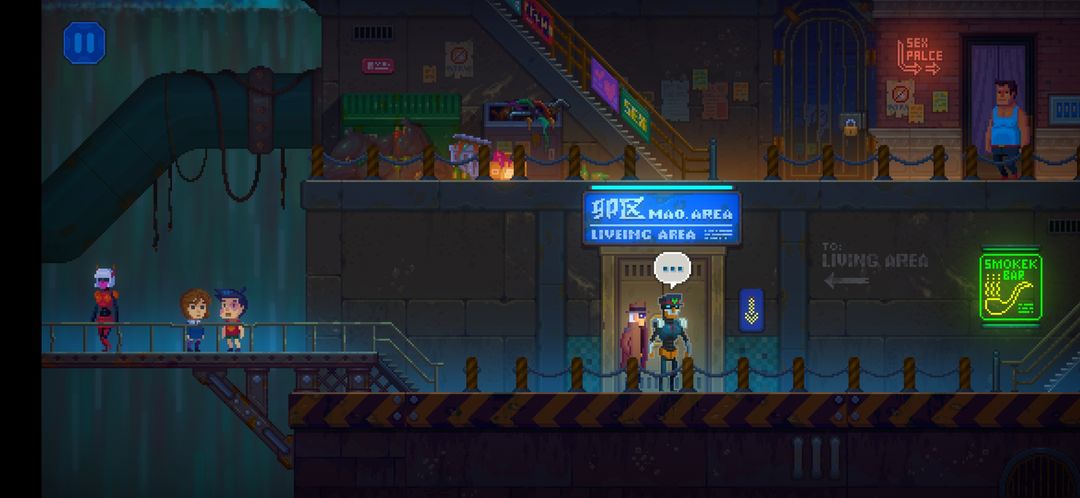
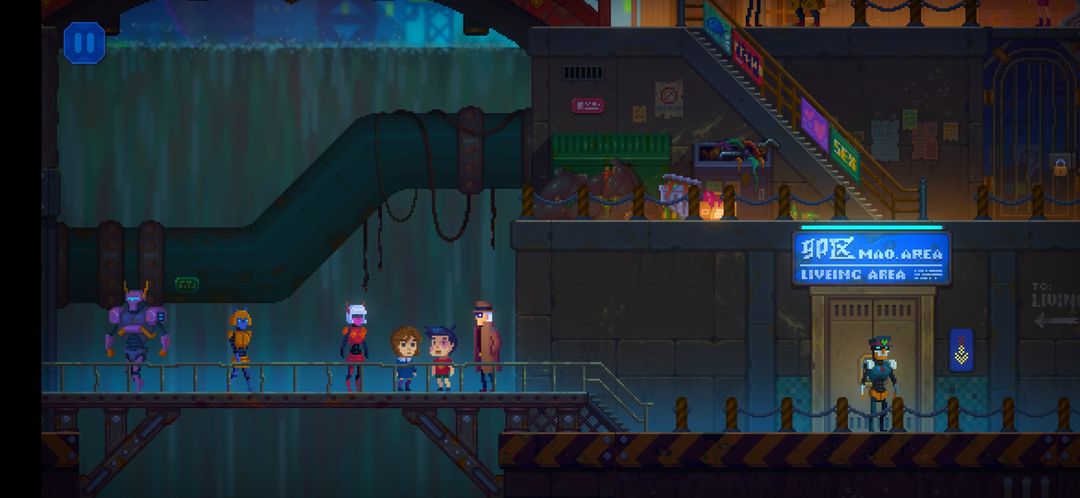
Keep heading left, speaking with Noodle Terry in front of his shop to unlock a new File!Now go back and talk to the Security Robot, to the right of the bridge where you found Lola and Robin.He's guarding an elevator, which you'll need to take to find the other girls. Now that you have your White Passcard again, you can take the elevator down. You'll find yourself in Night Flower Town!Night Flower TownYou'll exit the Miracle Street Elevator on C-1, the highest level of Night Flower Town.
Head left. You should quickly find Melete; she's the second of the three Dancers that Francesca tasked you to find earlier.

Each knob rotates the 4 panels surrounding it clockwise. You can rotate each knob any number of times.
Here's one way to solve the puzzle:
Refer to the photo above, then press the knobs at the indicated numbers in the order shown below, as many times as noted.
[b]Rotate 7 four times.
Rotate 3 twice.
Rotate 9 three times.
Rotate 1 three times.
Rotate 6 once.
Rotate 5 twice.[/b]
Successfully completing the laser puzzle will switch the Universal Clock to OFF DUTY mode. In addition to getting the mean Gangster Robot on C-1 to leave his post, this will also unlock access to every floor from the C-Zone Elevator!
[b]Sidequest: Helping Hideyoshi
[/b]
Before we return to the C-Zone Elevator, go left of where the Gangster Robot was standing and speak to the two Robots under the Rooster graffiti to unlock an easy-to-miss File!
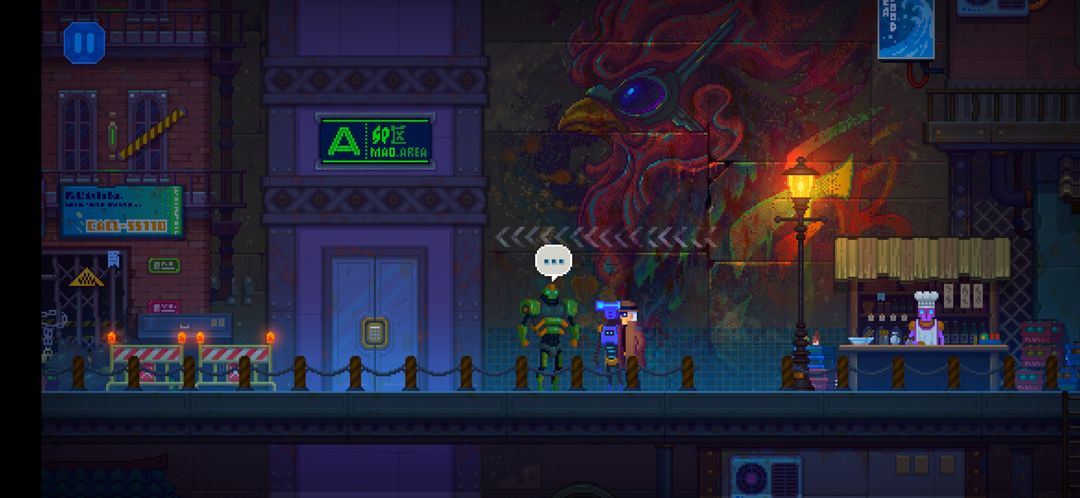
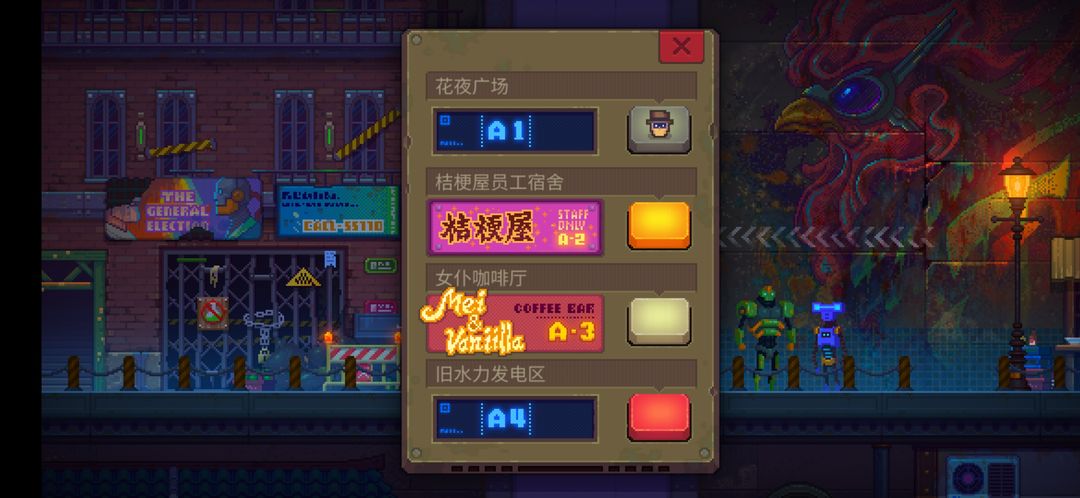
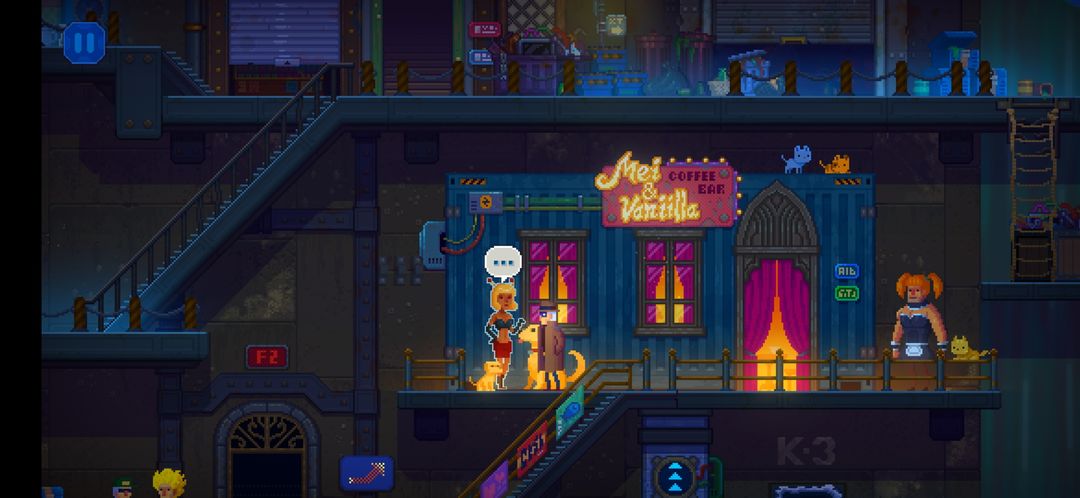
Continue left past the robots to find the A-Zone Elevator. Interact with it, then choose to travel to A-3.When you exit the A-Zone Elevator, head right (past a small doorway labeled F2) and head up the stairs to find the Mei & Vanilla Maid Cafe. You should find Mneme standing right outside. She is the last of the three Dancers that Fracesca asked you to find, if you accepted her request.
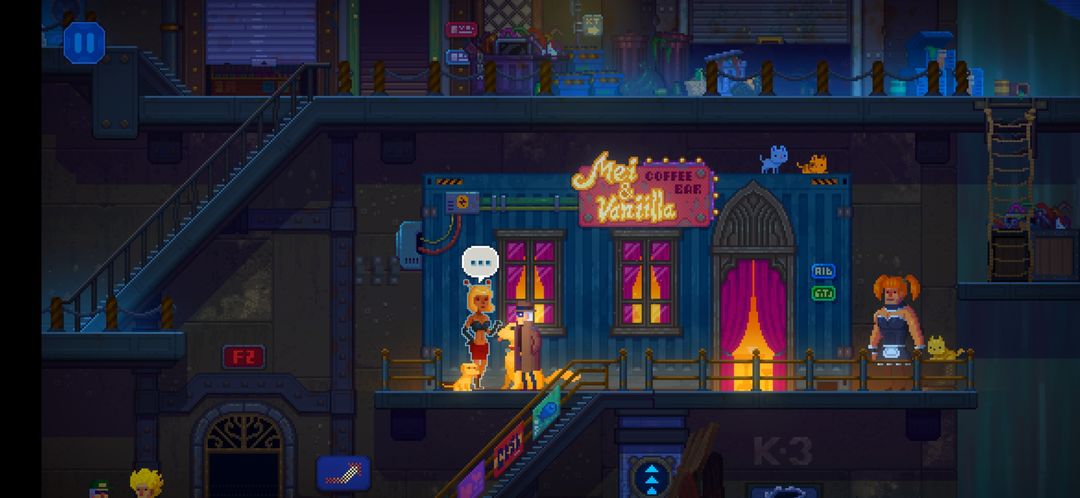
Meanwhile, you'll find the strong and beautiful Hideyoshi outside the Maid Cafe as well. Speak with them twice to deliver Mario's Love Letter at long last.
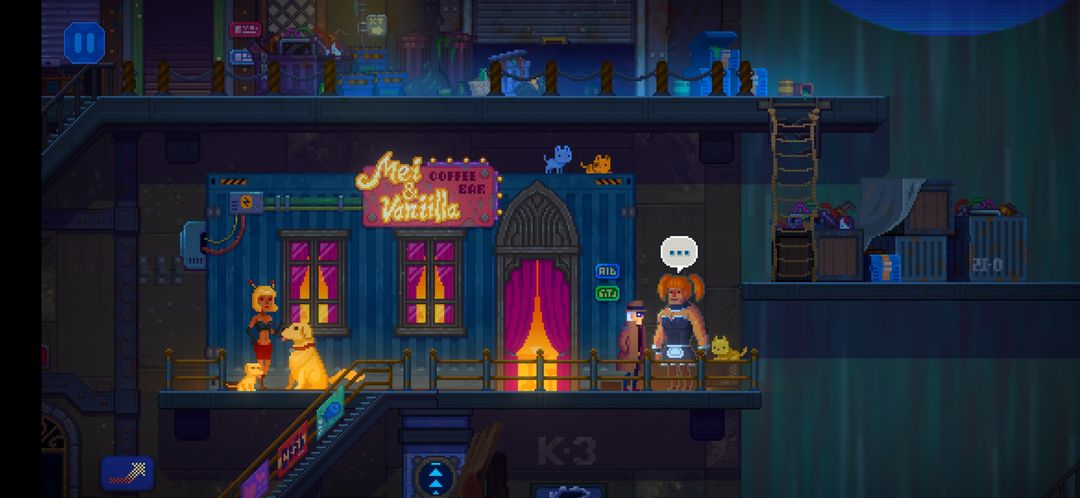
After a short conversation with Hideyoshi, they'll offer information on Brank in exchange for shooing away a rude admirer, Derrick. Agree to help Hideyoshi to start a new sidequest!
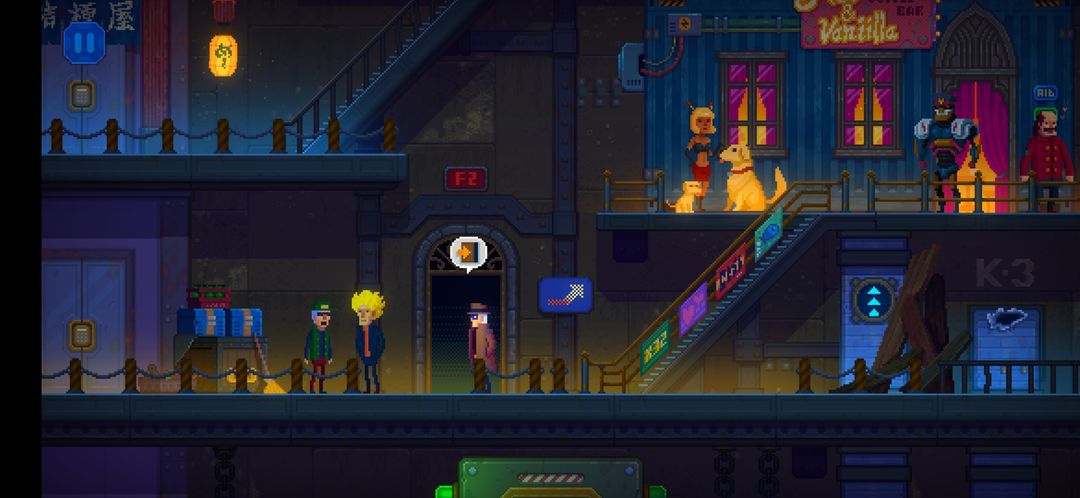
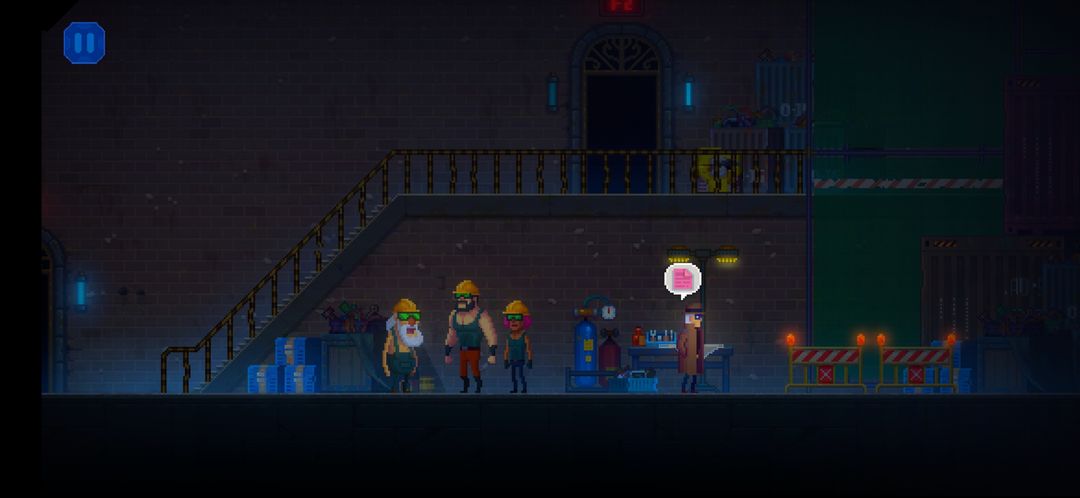
Enter the doorway marked "F2" that you passed by earlier.You'll enter Underground Sewers. Go down the stairs, and speak with Workers here if desired. Otherwise, be sure to interact with a table to the right to unlock a new File!
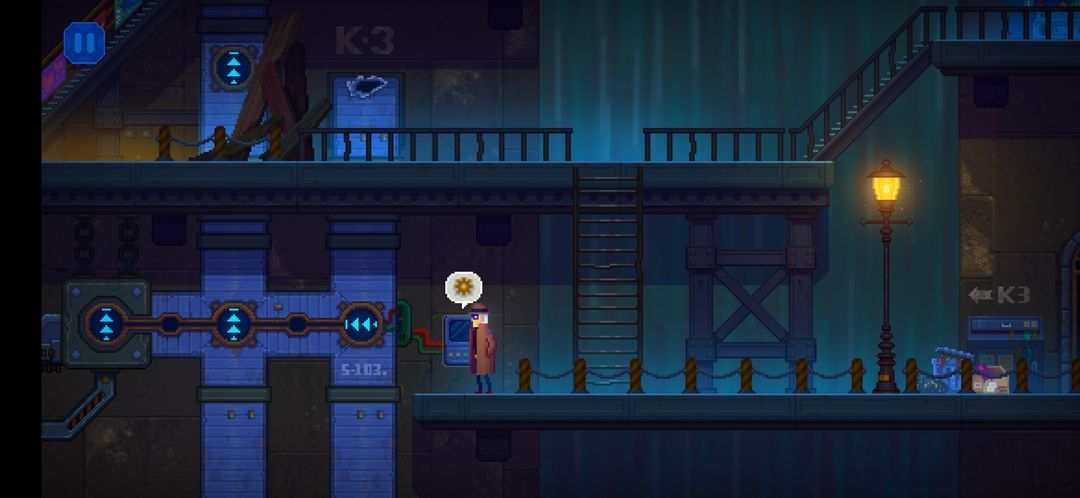
Now head left and enter the doorway marked F1.You'll emerge outside in Night Flower Town again, at the lowest level (K-3).
Head left and interact with the automatic freight terminal control panel near the ladder to unlock a new File! If you have been diligent in collecting Files thus far, this should be the final entry for the Starlight City section.
Interact with the control panel again to bring a small interface at the bottom of the screen. Your goal is to change the direction of the first two digital arrows to make them point right, while the third arrow points up toward the broken chute directly below Derrick.
The button on the left lets you toggle which pair of arrows are selected, while the middle button will alter their directions. The button the right will deploy a freight box that will travel along the directions you have set using the other two buttons.
Here's one way to solve the puzzle:
Press the left button once.
Press the middle button three times.
Press the left button once.
Press the middle button three times.
Press the right button.

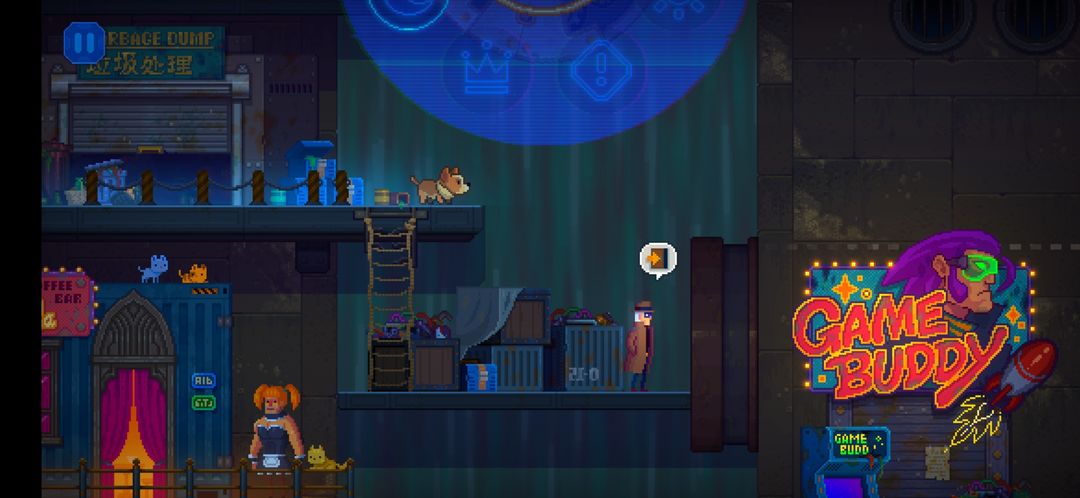
Successfully diverting the freight box up toward the broken chute will force Derrick to leave. You'll also unlock an Achievement!Climb up the Ladder and head right and up the stairs toward the "Game Buddy" graffiti. You'll find another arcade machine here that has the same mini-game you may have played back at the Fantasy Jellyfish back in Chapter 1. Fool around with it if desired, otherwise grab the 23.99K Bridging Goldfinger in the nearby trash heap. This is another optional item we'll need to help repair BB-X!Speak to a grateful Hideyoshi again back at the Mei & Vanilla Maid Cafe (thankfully a shortcut has opened!) to learn some new info regarding Brank.
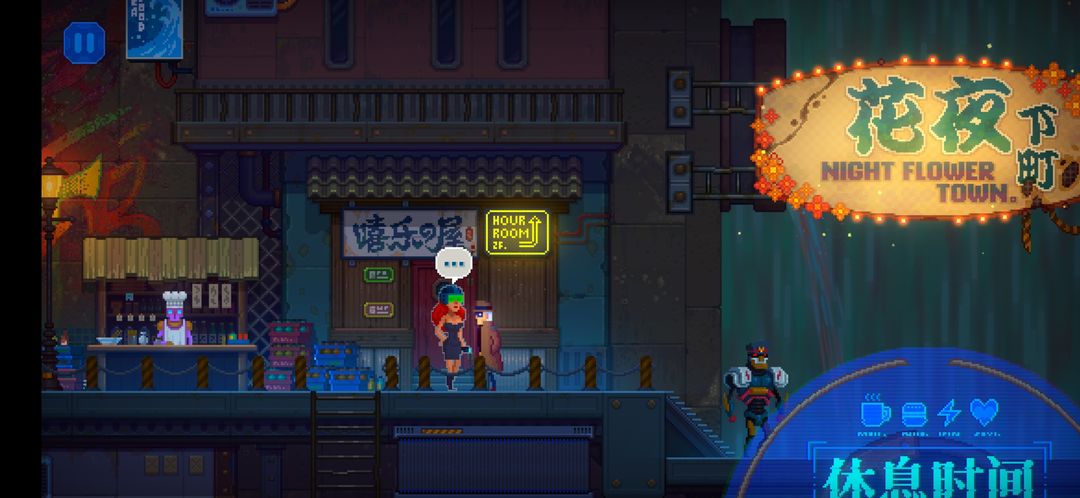
Sidequest: No-show Showgirls
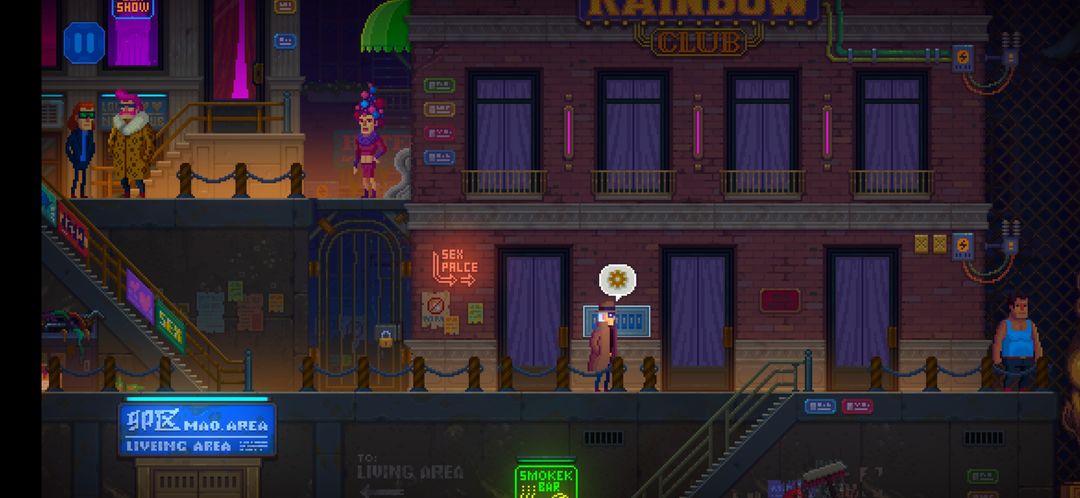
You'll find the Rainbow Club to the right of the bridge (where you can speak with Kanon) on the upper level of Miracle Street. Speak with Francesca right outside, and she ask you to track down three girls, who haven't shown up for their shifts.
Agree to start a new sidequest! The missing showgirls are Aoide, Melete and Mneme. Aoide hasn't gone very far, so she is easiest to find. The other two meanwhile are slacking off at Night Flower Town!
Aoide
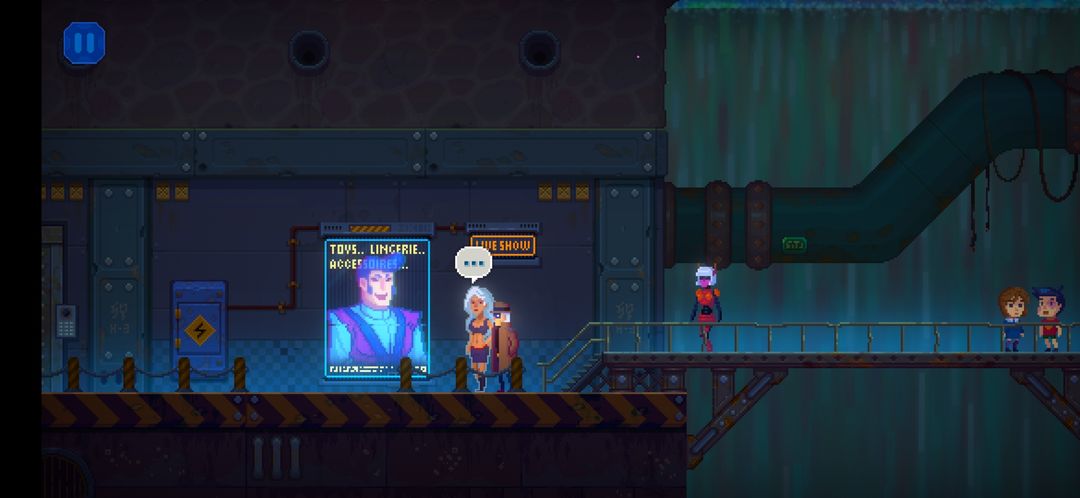
You should find Aoide chatting with a Virtual Salesperson at the left side of the bridge on the lowest level of Miracle Street.
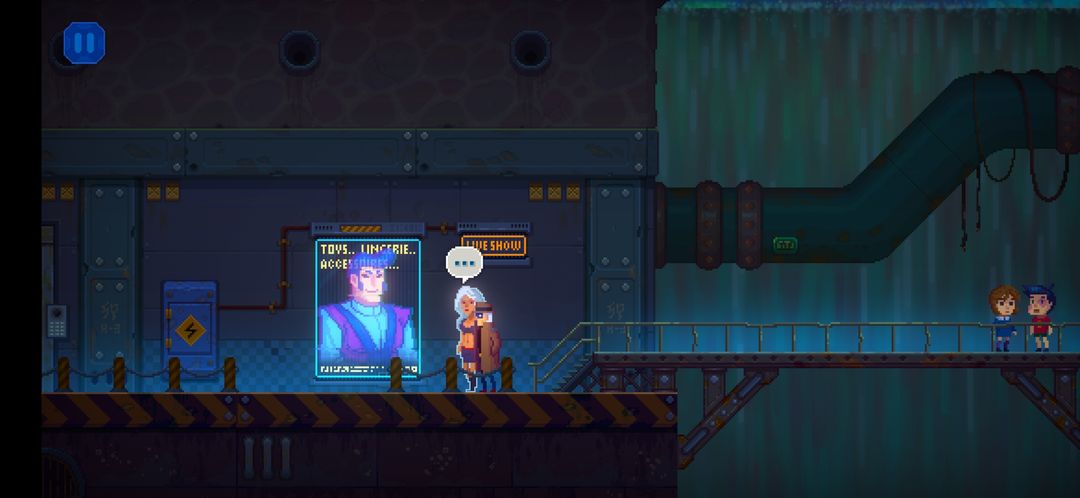
Continue left past the virtual salesperson sign and interact with the Billboard Power Supply.
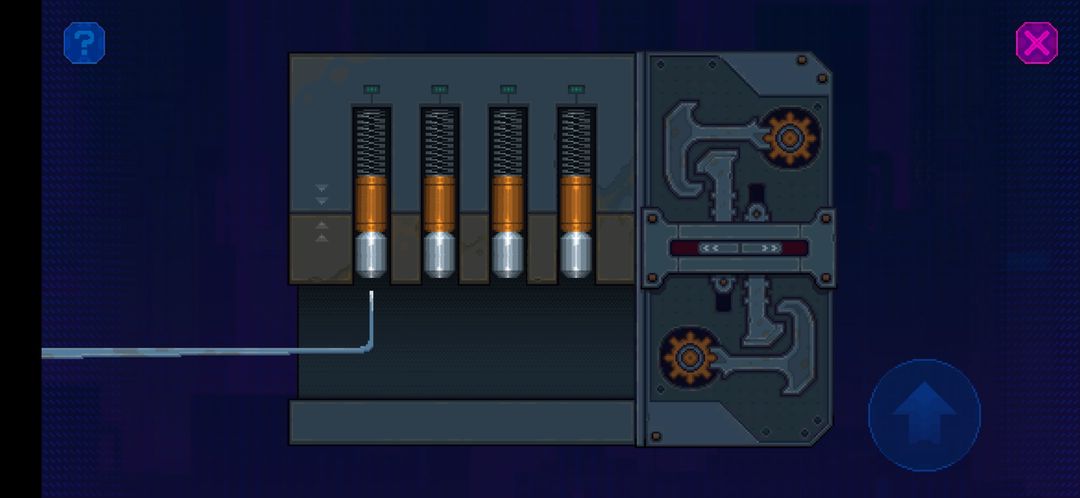
You'll start a new puzzle. To solve it, first position the lockpick at the bottom below a spring lock. Then press and hold the Confirm hotkey to gently move the lockpick upward.Keep an eye on the spring lock itself; release the hotkey the moment you see the spring lock start to shake to unlock it!
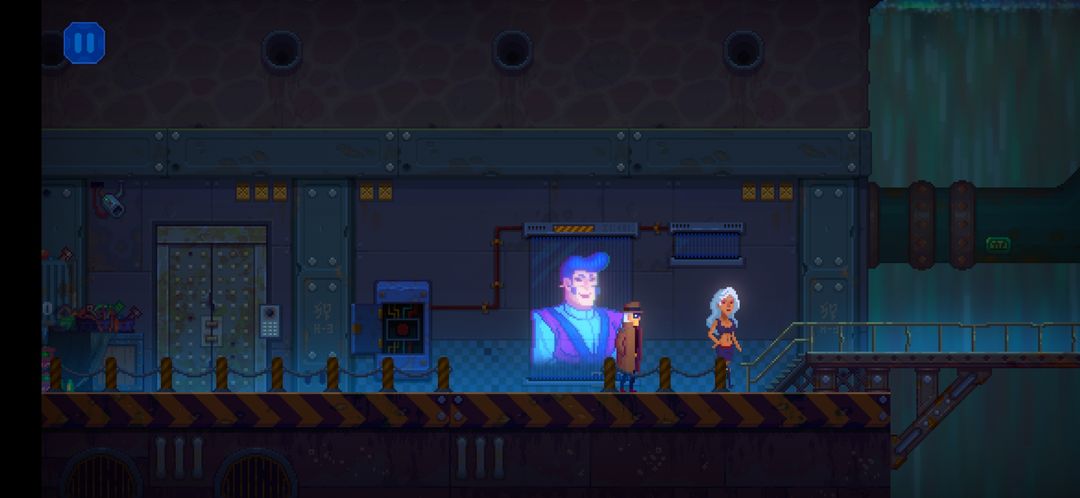
You'll successfully unlock the Billboard Power Supply once you pick all four spring locks. Interact with the Billboard Power Supply again to shut down the virtual salesperson. Speak with Aoide once more, asking her about Brank and Isinglass Entertainment. She'll return to the Rainbow Club once you've finished your pleasant conversation.
Melete
[b]
Melete[/b] is located on the C-1 level of Night Flower Town, to the left of the Elevator leading back up to Miracle Street. Speak with her, and she'll request that you locate her VR gaming partner somewhere at Diamond Square on C-3.You'll find Melete's VR gaming partner, Elliot just to the left of the Elevator on C-3!Interact with Elliot, then repeatedly press the Confirm hotkey to wake him up. You'll unlock a new File AND Achievement!
Take the C-Zone Elevator back up to C-1. Return to Melete and speak with her again. She'll automatically return to Miracle Street.
[b]
Mneme[/b]
You should find Mneme standing right outside the Mei & Vanilla Maid Cafe at the A-3 level of Night Flower Town.
Speak to her, and she'll challenge you to a quiz! Agree, and she'll ask a series of dog-related questions.
How well do you know your doggos? The questions highlight key dog facts that prospective dog owners would do well to learn!
Because of they're panting.
No
No.
Answer all three questions correctly to convince Mneme to return to the Rainbow Club!
[b]
The Show Must Go On[/b]
Once you've convinced all three Dancers to return, make your way back up to the Rainbow Club (you'll need to use the Miracle Street Elevator to head back). Talk to Francesca, and she'll now ask you to help turn the neon sign back on.
Go down a level and you'll find a control panel under the windows and sign.
The windows above you will begin opening in sequence, cycling through a set number of colors each. You can hit the "Rainbom" button at the bottom of the screen to "lock" a window to a color once it changes into it.
Simply make the 7 windows form the colors of the rainbow, and you're set. If you don't know, rainbows go in the following order: Red, Orange, Yellow, Green, Blue, Indigo, and Violet (Remember: Blue is lighter than Indigo!).
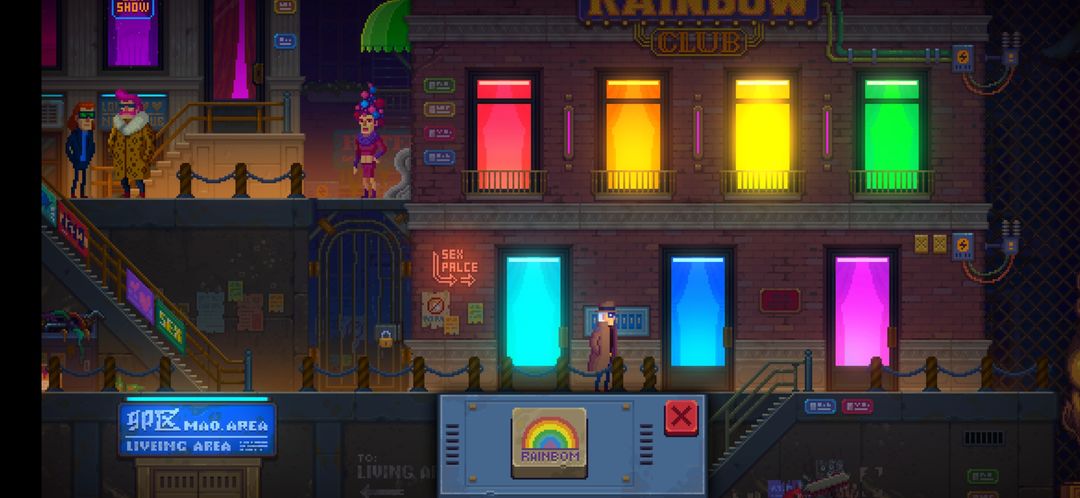
Do this, and you'll turn the lights back on. After fixing it, be sure to talk to Francisca again.
Check Up at the Edward Clinic
Now with all sidequests in Night Flower Town completed, it's time to find Brank at long last. Take the A-Zone Elevator back up to C-1.
Then return to the C-Zone Elevator. Take it down to C-2 if desired, and approach the mysterious door you find here for some interesting dialogue from Rex, but there's nothing else you can do here at the moment. Otherwise take the elevator all the way down to C-4.
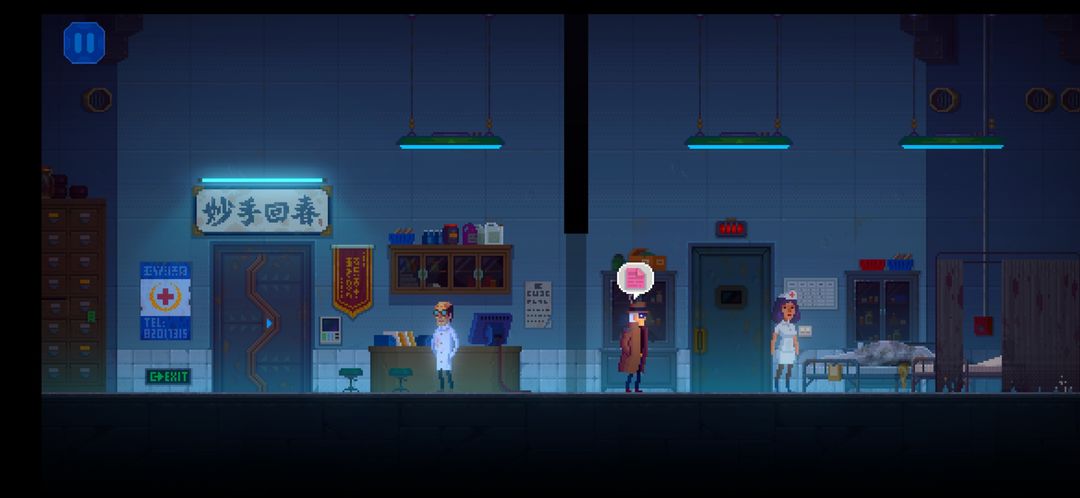
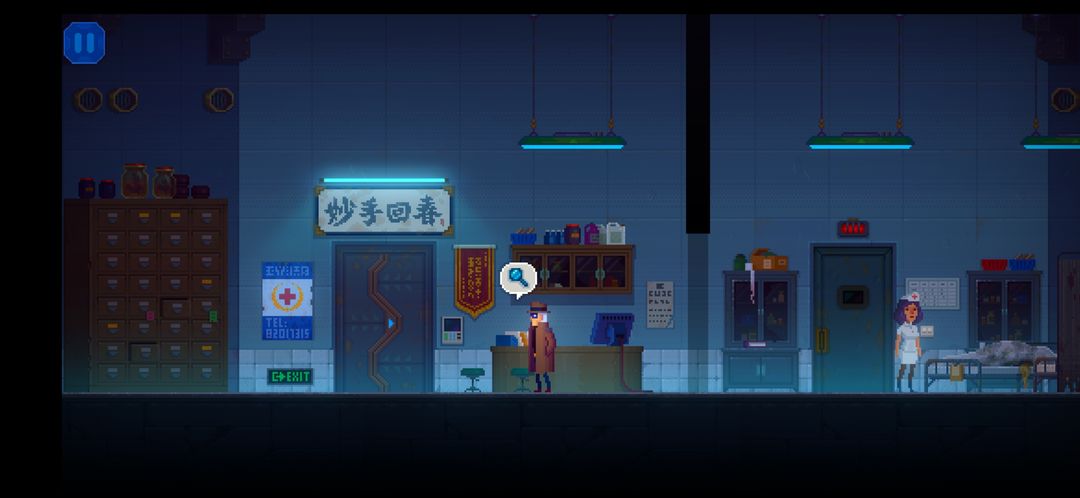
You'll arrive at the Old Hydroelectric Station Zone. Proceed left to find the Edward Clinic. Step inside to meet Dr. Edward himself. After a short discussion, you'll be directed to visit Brank's place at A-2.
Before leaving, continue right a bit and you'll find a missable Text & Image File.
Further to the right (behind the curtain), you'll find the well-hidden High Dimension Memory. Make sure to grab it!Upon leaving the Clinic, you'll be introduced to Nanco. More importantly, you'll obtain the Heaven Passcard Prototype which will grant you access to Orange level areas in Night Flower Town! You'll also unlock the final Character File.
Take the Elevator back up to C-1. Upon arrival, a nearby robot (Blue) will collapse. Agree to help Blue to trigger yet another sidequest!
Return to Edward Clinic and inform the good doctor inside about Blue.
Perfect timing. Head back down to the clinic and tell the doctor. The doctor will leave, but nurse Luna will take his place. Attempt to ask her about Brank, but she'll keep mum like Doctor Edward.
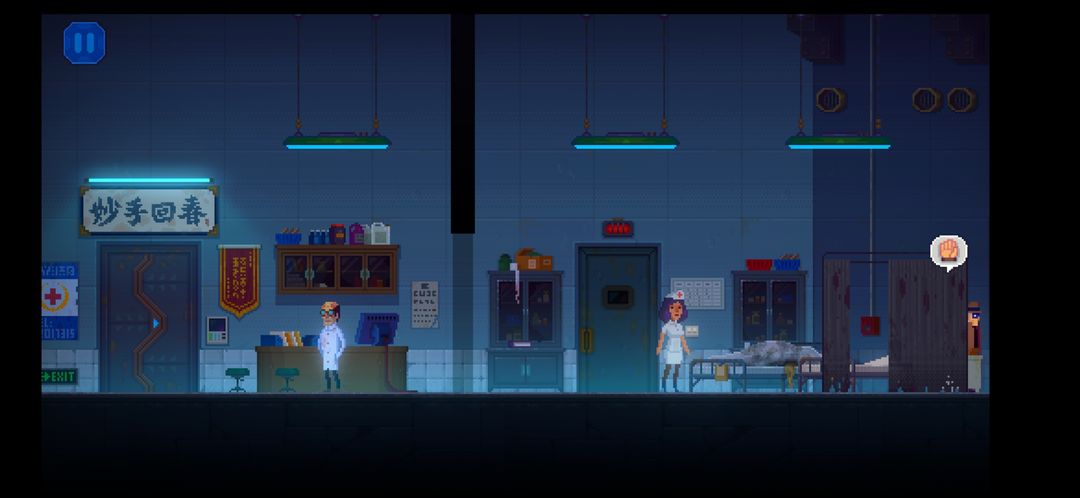
Head to the far right of the Clinic and interact with the Patient Beeper on the wall.
The file contains multiple pages, so be sure to flip through them all.The file contains multiple pages, so be sure to flip through them all.
Brank's House
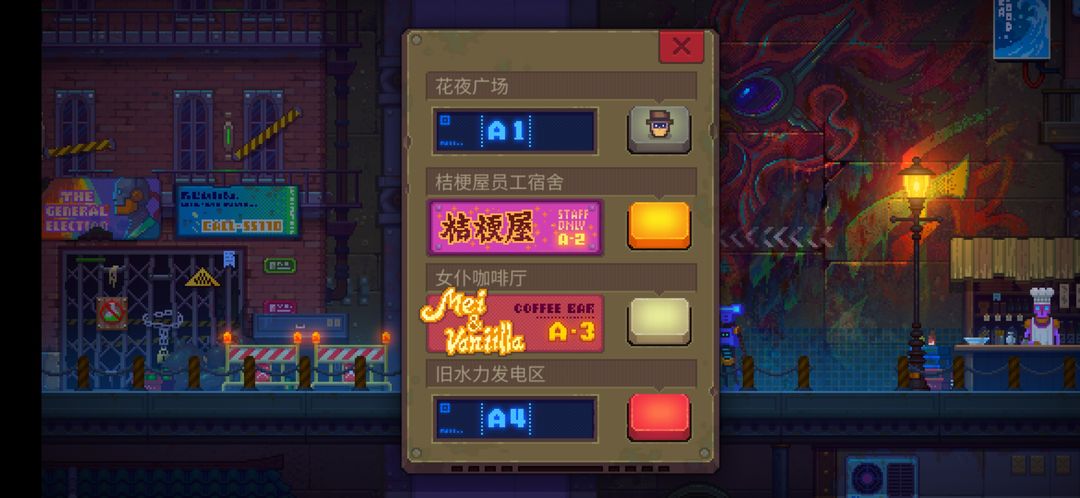
With that, return to C-1 and take the A-Zone Elevator down to A-2.
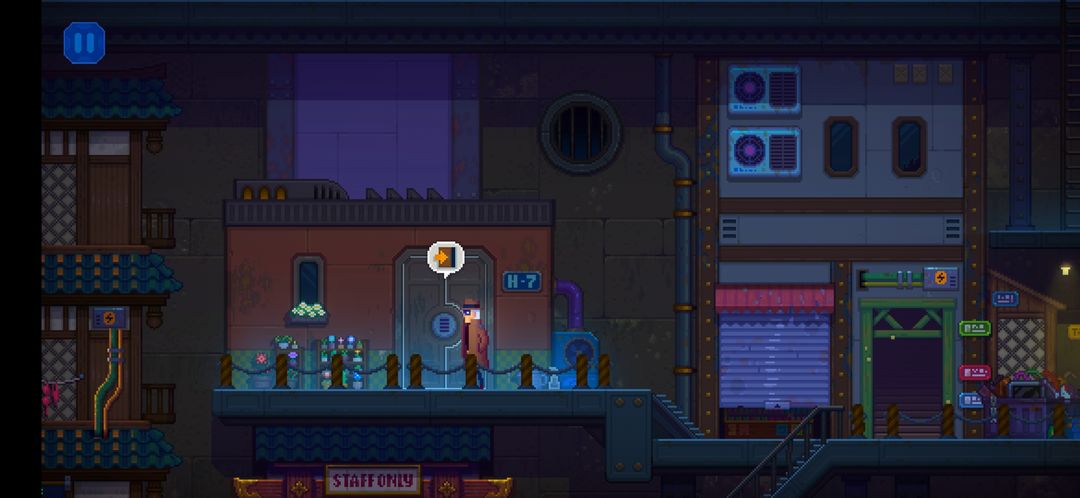
Head up the stairs to the right, then turn left and knock on the door to the H-7 house.You'll be faced with another puzzle. This one is confusing at first, since the wording is odd. Basically, you need to move through all numbers in order (from 1 to 4), with the puzzle ending at 4. You also need to pass through every square in the grid at least once, basically filling out the entire grid. If you have to cross through a square more than once, you'll need to enter/exit the square in a new direction from before.
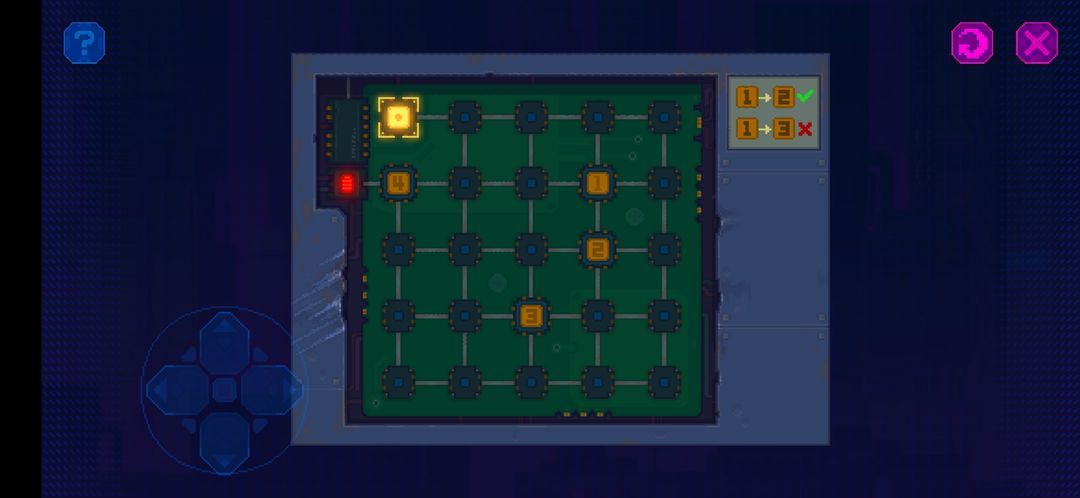
If that still doesn't make sense, play around with it a bit, and you'll figure it out. If you need help solving it, you'll find the solution below.Step 1. Move Right four times.
Step 2. Move Down once.
Step 3. Move Left three times.
Step 4. Move Down once.
Step 5. Move Right three times.
Step 6. Move Down twice.
Step 7. Move Left once.
Step 8. Move Up once.
Step 9. Move Left once.
Step 10. Move Down once.
Step 11. Move Left twice.
Step 12. Move Up once.
Step 13. Move Right once.
Step 14. Move Up once.
Step 15. Move Left once.
Step 16. Move Up once.
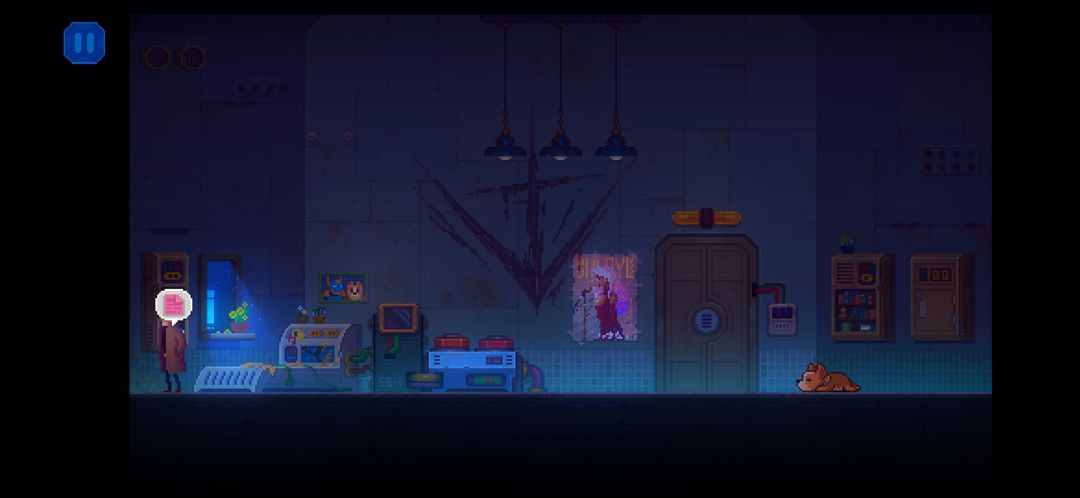
With that, the door will unlock, letting you in. Inside, move to the left. Examine the poster on the wall. Against the left wall, you'll find a bookshelf, with a missable Text & Image File.Now head to the far right and examine the Cabinet, then grab the Dog Food inside.
Return to Brank's poor dog, Ellie, and give her the Dog Food. Now you can continue investigating Brank's room. Examine the ground directly below the giant Noa's Symbol on the wall.
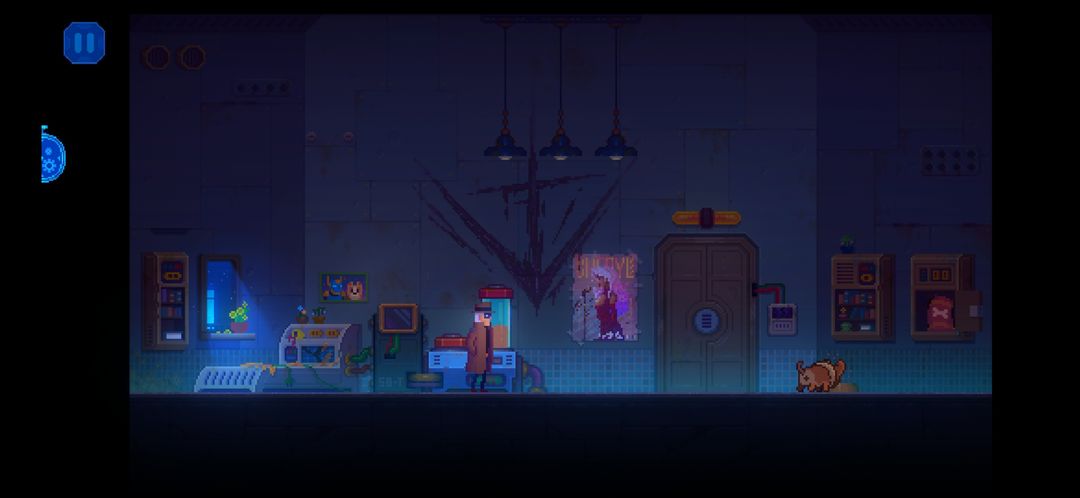
[table]Staggering Footprints[/table]Continuing left, interact with the charging device terminal next to the bed. Here, you can read into the files. Be sure to read the "Charging Power Record" entry (under "Charging Power Query").
Then select "Supplementary Fluid", read the "No.1 Port" entry, and choose to "Eject liquid jar".
Exit the terminal, examine the newly ejected liquid container.
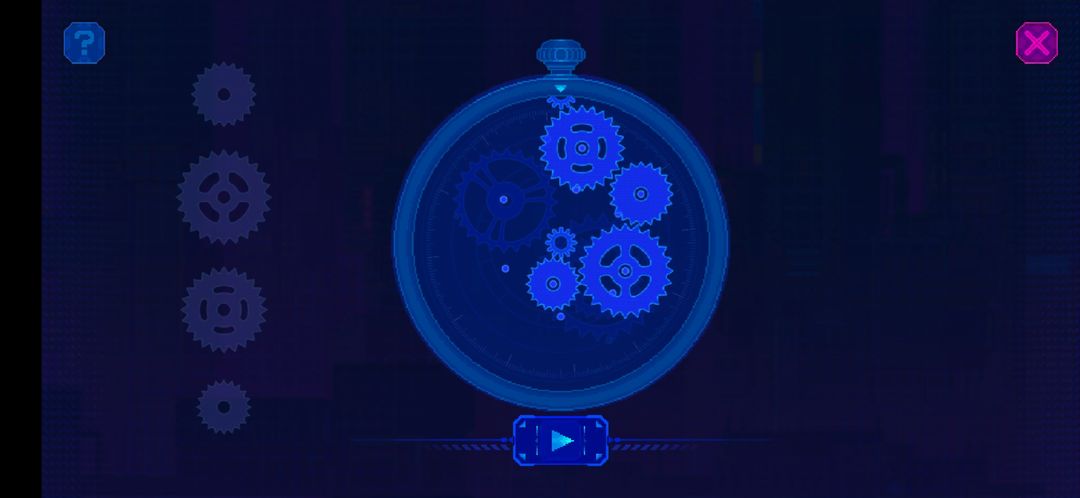
You should now have all the Clues needed to Combine them together. Enter the Clue Pocketwatch interface, then fit all the Clue cogwheels together correctly to make the watch run and reconstruct the crime scene!After deducing what happened to Brank, Ellie will start barking, so go talk to her. She's trying to tell you something, so follow her. Make sure to grab any Files here before leaving, as you won't be able to return!
Following the dog outside, she'll take you to the edge of a platform. Climb down the rope ladder, and head into the pipe on the right.
You'll enter the large drainage pipeline. Continue right to go deeper into the pipeline, then go through the large door marked "E-1" to exit back to the Old Hydroelectric Station Zone.
Mentioned games