

【Tales of the Neon Sea Walkthrough and Guide】Chapter 2.6:Restoring The Backup Generator
Restoring The Backup Generator
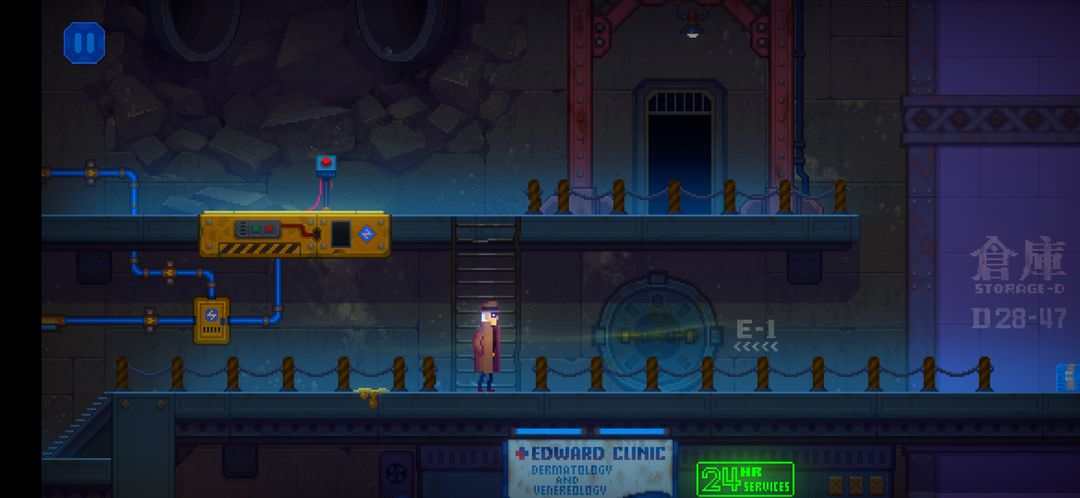
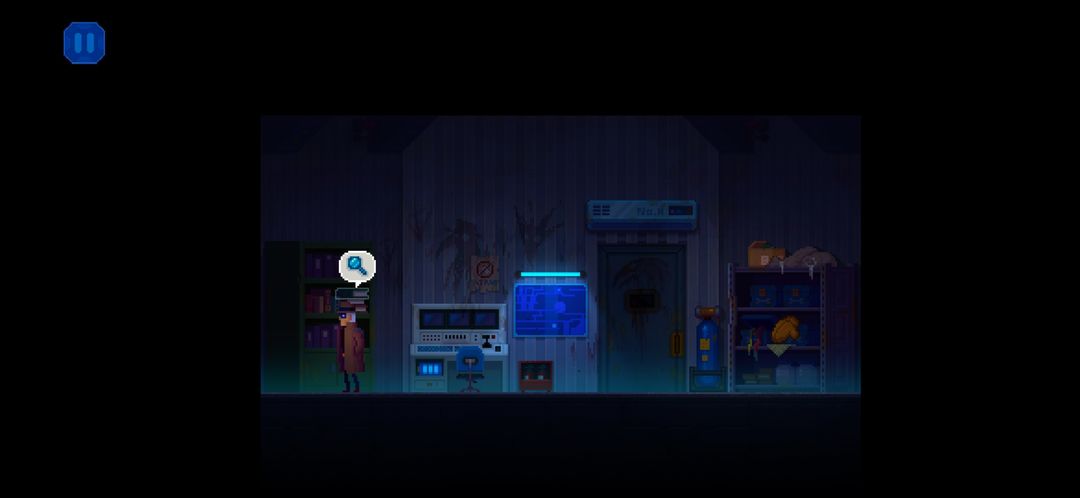
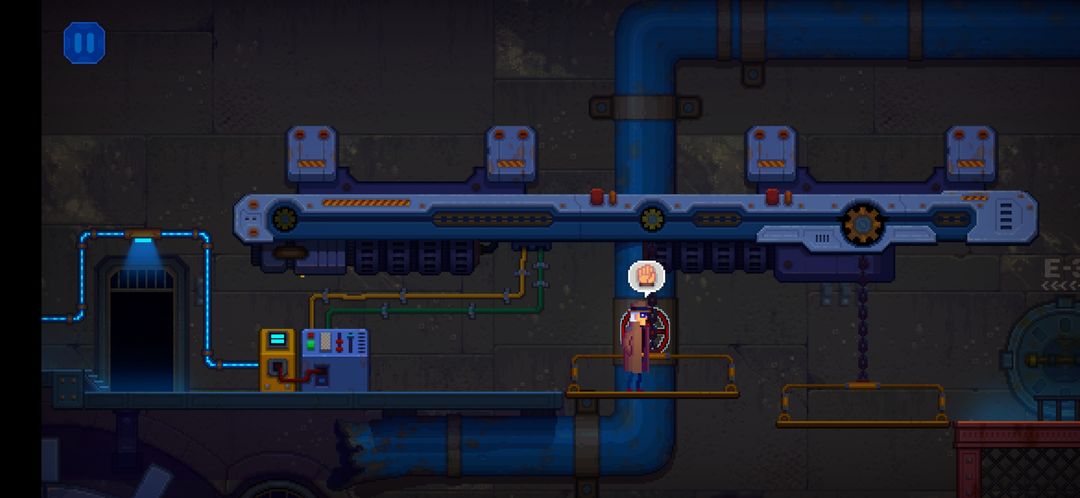
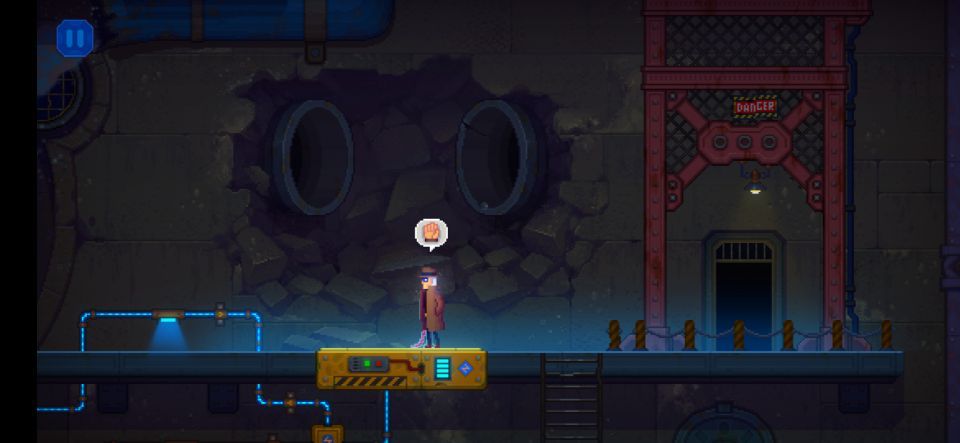
You'll initially arrive the large Old Hydroelectric Station Zone in the lower right corner of the East Area. Moving to the left, you'll find several things to interact with, but none of them work right now. Follow the trail of coagulating fluid to the left until you reach the other side of a raised bridge.
Go back the way you came, then climb up a ladder near the E-1 exit.
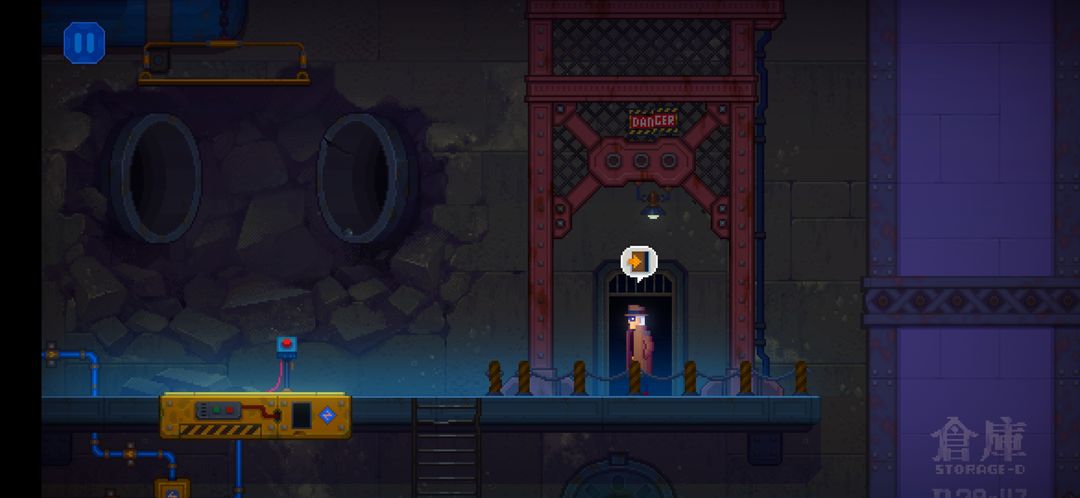
Head through the doorway to the right.When you emerge on the platform above, continue left and enter the Control Room.
Interact with the Blueprints on the wall, and you'll get a Text & Image File, and you'll realize the location of a hidden construction channel. You'll have to find a waterwheel to turn off the waterfall first, though.
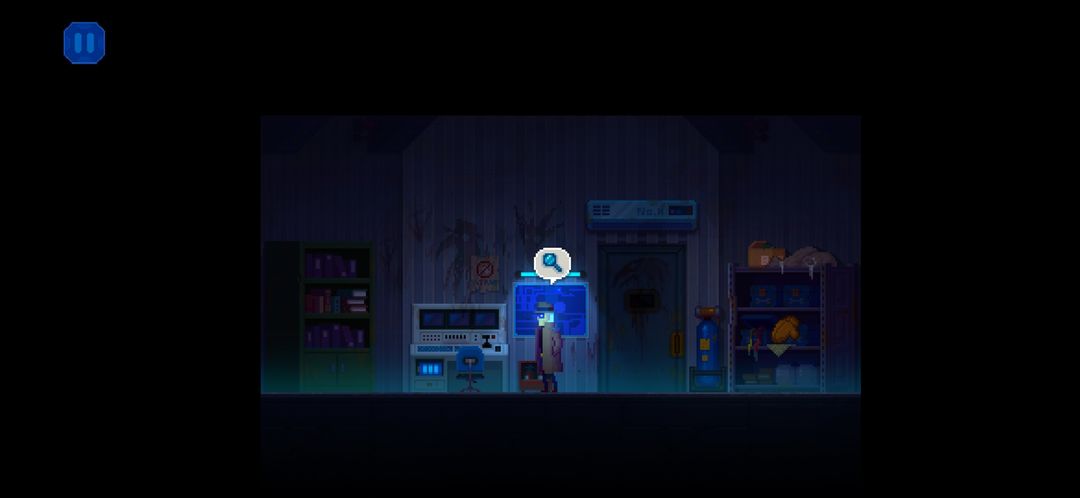

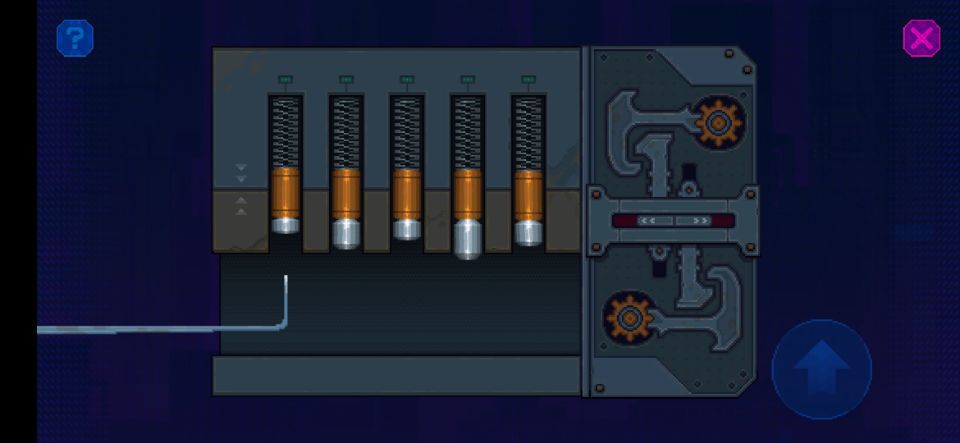
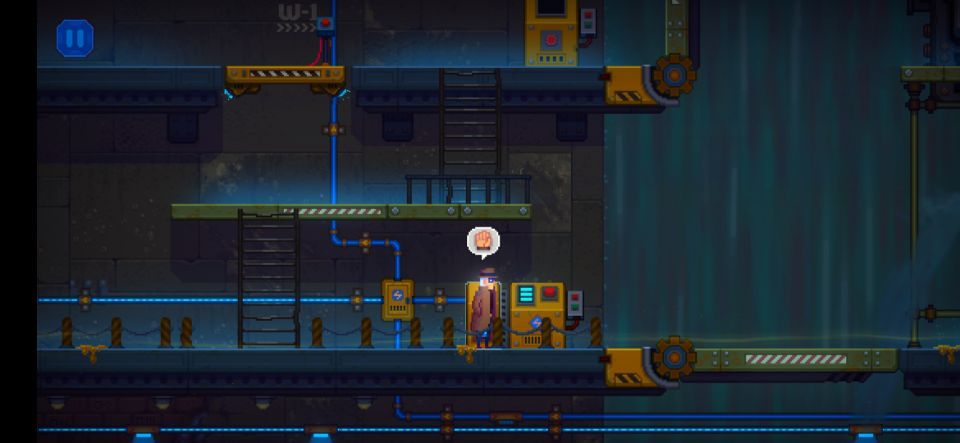
Grab the High Voltage Ni-MH Battery from the control panel.Don't miss the Water Turbine Operation Manual on the cabinet to the left! In addition to updating your Main Tasks, it will also unlock the final Notes File.
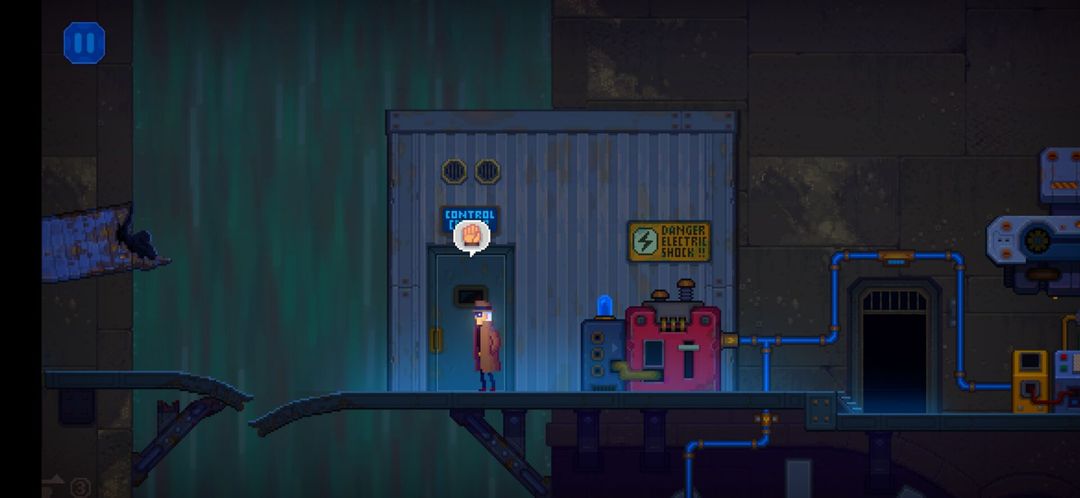
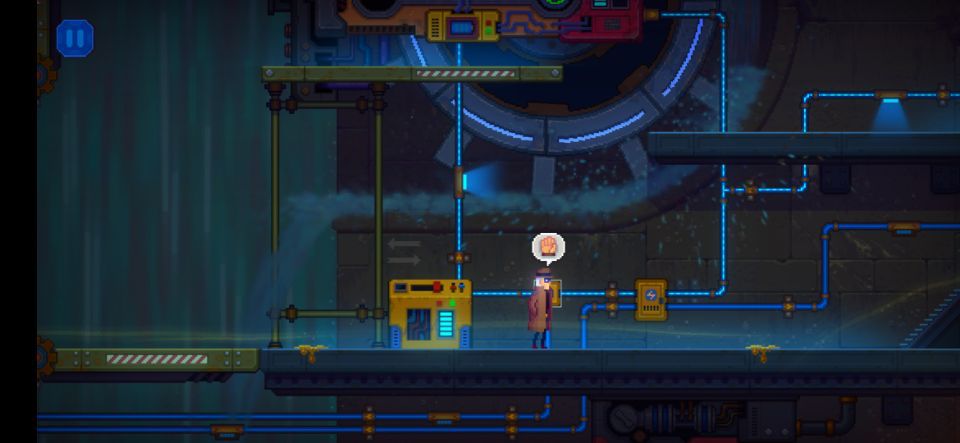
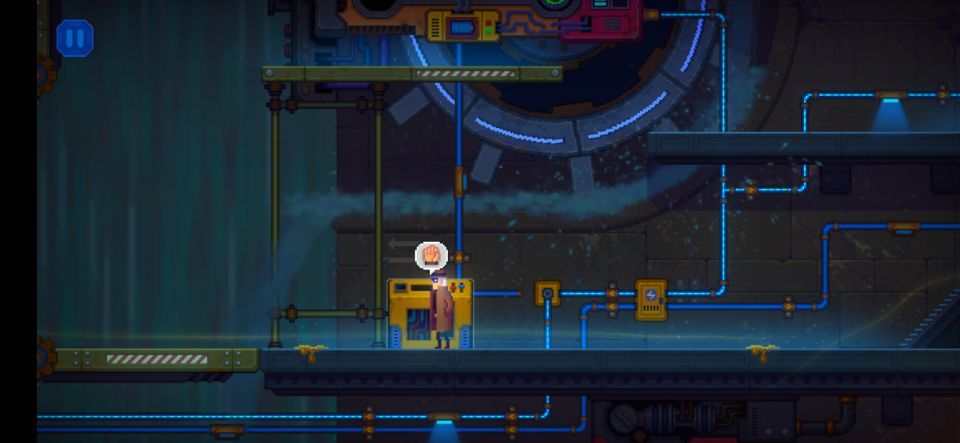
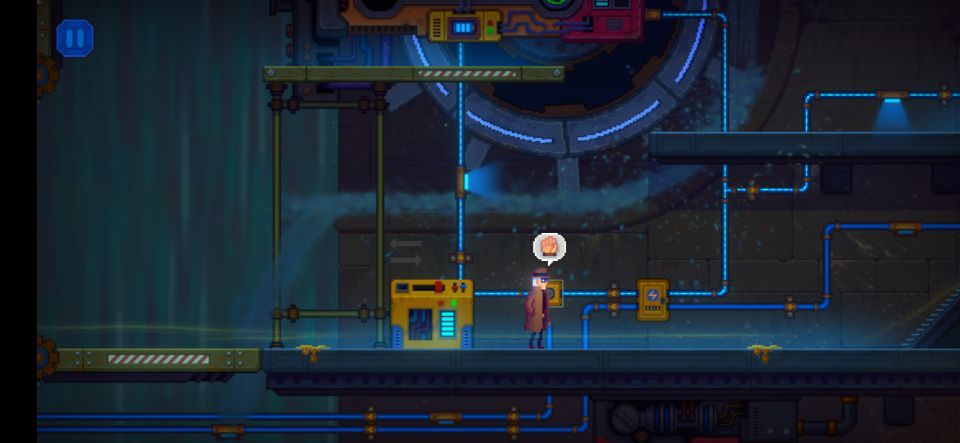
On the right side of the room, you'll find a pair of Insulated Gloves, which will help you mess with the electrical boxes below. Once you've gathered everything here, leave the Control Center.

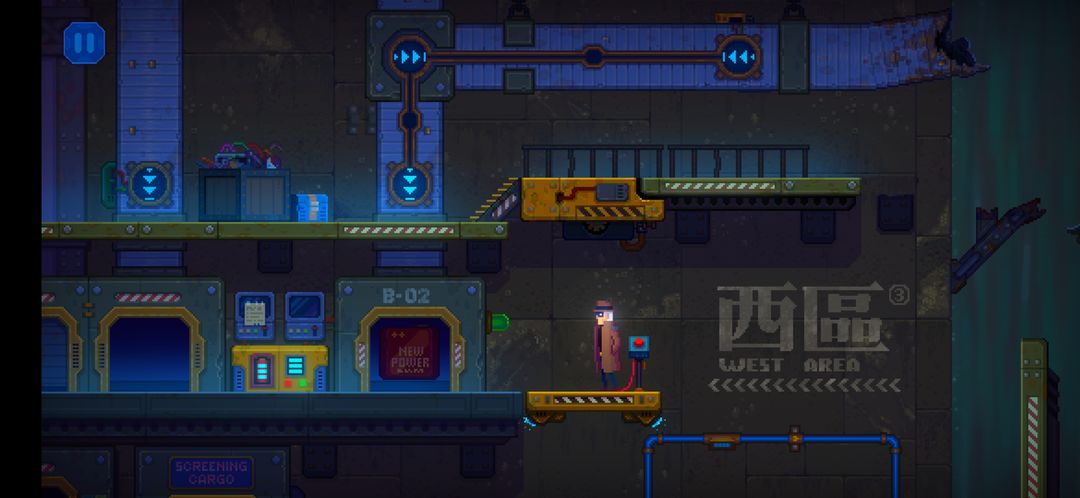
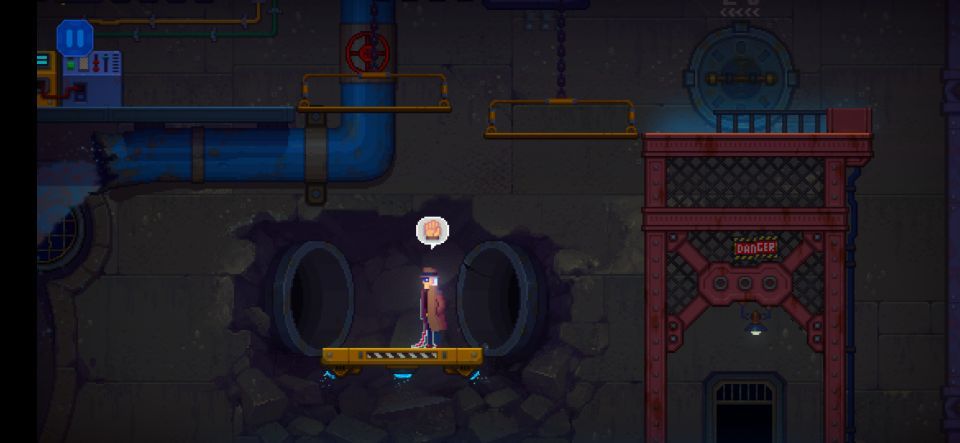
Now move to the left, jumping across the broken platform. It will fall, destroying your way back.You'll have to move forward. Continuing left, you'll find a Hose.A bit further left is a ladder, which you can take down to a lower platform.
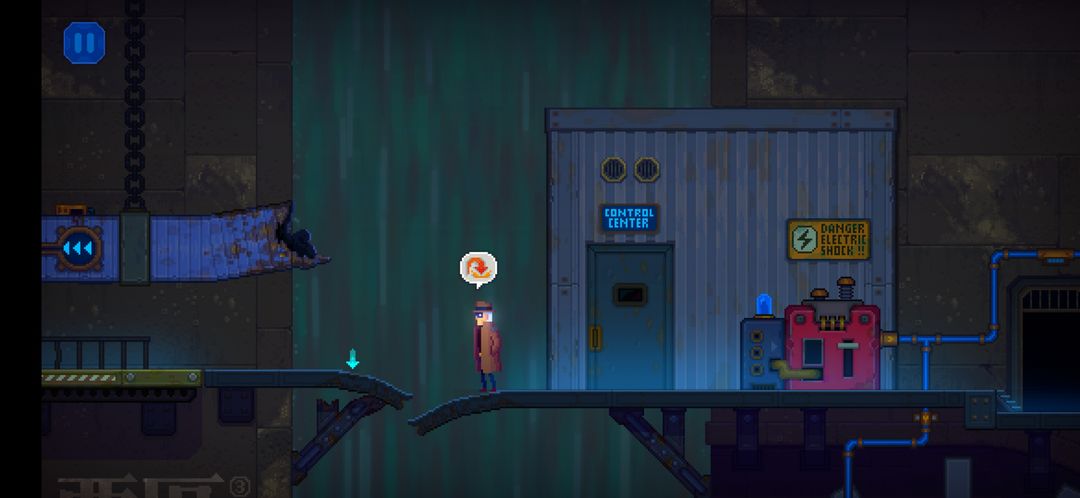
Head all the way right, passing by the Automatic Freight Terminal here, and take the floating elevator/platformdown to the level below.
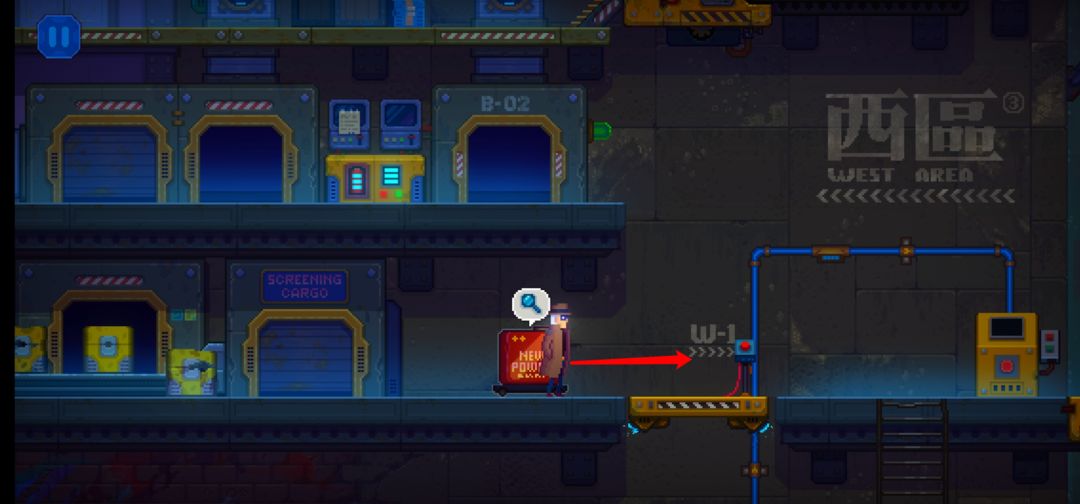
Examine the Synthetic Energy Resource (a large red box on wheels) to the left of the elevator you just got off of.You should now push this Synthetic Energy Resource onto the floating elevator.Take the floating elevator back up (with the Synthetic Energy Resource in tow!). Push the Synthetic Energy Resource into the nearby automatic freight terminal loading chute.
Interact with the nearby automatic freight terminal control panel to bring up a familiar interface.
Like you did earlier to help Hideyoshi, use the control panel buttons to make the arrows on the chutes above point a certain way. What you want to do is launch that Synthetic Energy Resource back over to the East Area! At first, many of you probably won't know what you're trying to do, so if you need any help you'll find the instructions below.

Adjust the chute direction properly to launch the Synthetic Energy Resource over to the other side!Once the Synthetic Energy Resource is over on the other side near the Control Center, take the elevator back down to the lower platform. Then climb down two sets of ladders to reach the lowest level of the West Area.
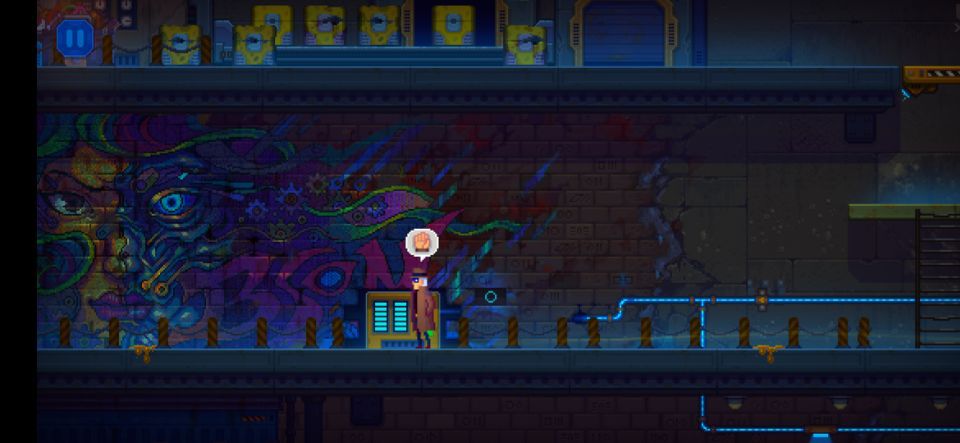
Proceed left, following the trail of coagulating fluid until you reach some graffiti on the wall. After a short scene, a switch should appear nearby. Examine it to reveal the a hidden Hidden Passage Power Generator.

Head back to the right, and place the High Voltage Ni-MH Battery into the power compartment by the lowest raised bridge.
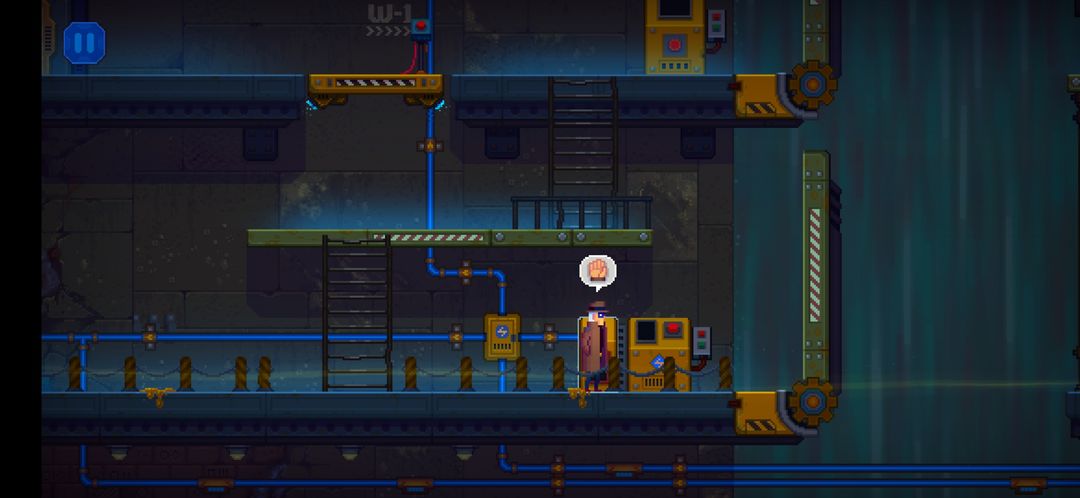
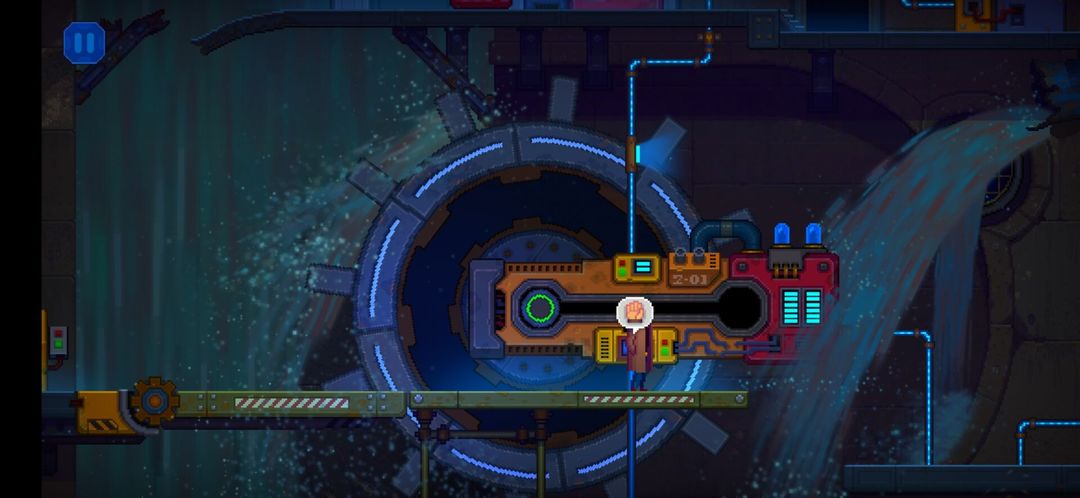
This will power up the nearby bridge control, go ahead an interact with it to lower the bridge. You can now return to the East Area!Then flip the switch on the nearby backup generator!Powering the Water Wheel GeneratorOnce the backup generator is running, head to the right and activate the switch on the platform control panel.

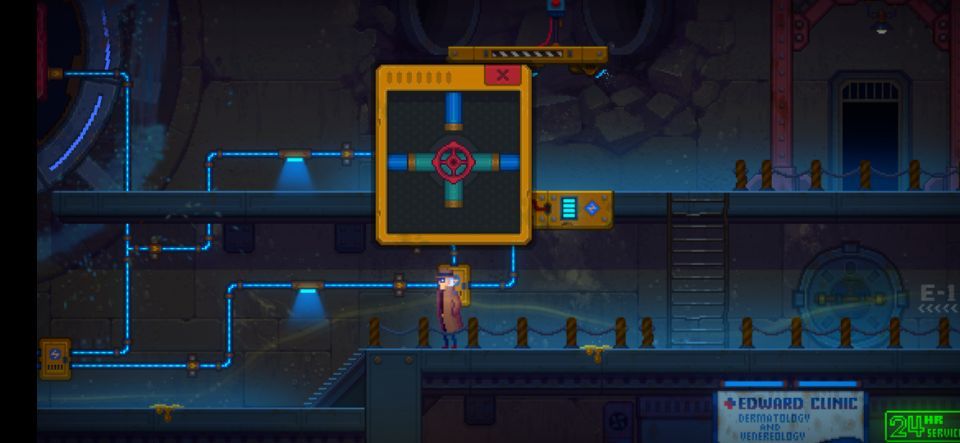
This will adjust the positions of the hanging platforms to the right, allowing you to hop onto them. Interact with the valve on a water pipe along the way.
This will release water from the pipe, turning the large water wheel Generator below. This will route more power, allowing you to use more machines!
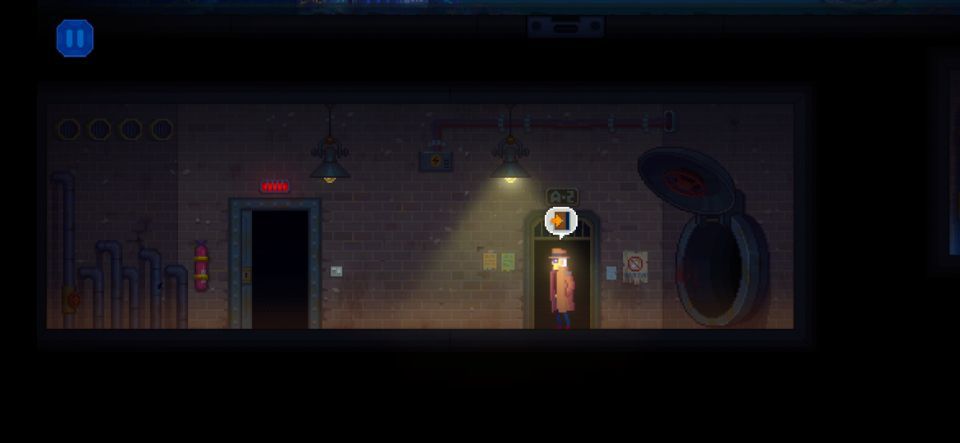
For now, continue hopping over to the platform on the far right. You will arrive new a new entrance marked E-3.
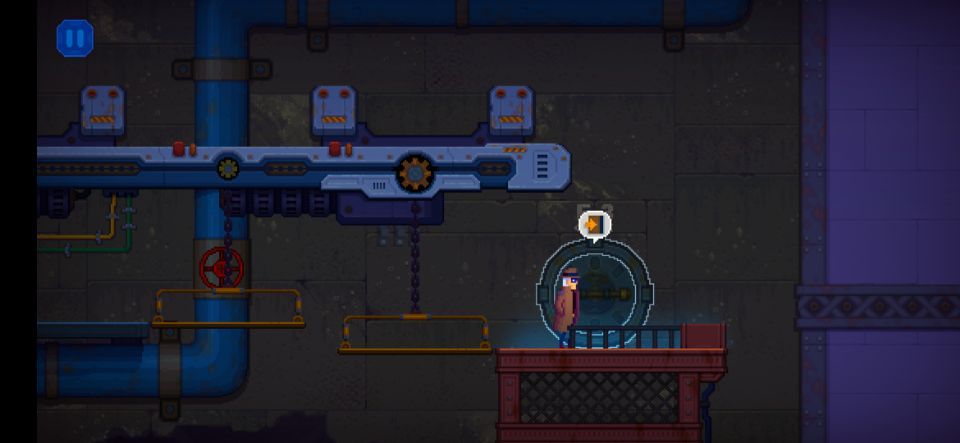

Go inside to enter a drainage pipeline. Head left to grab a File!Leave the drainage pipeline the way you entered and return to the Old Hydroelectric Station Zone.
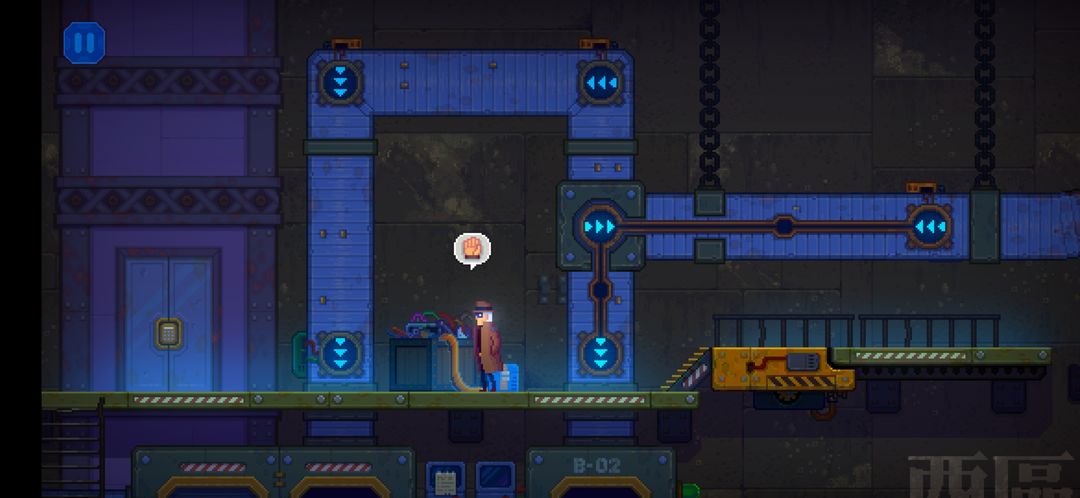
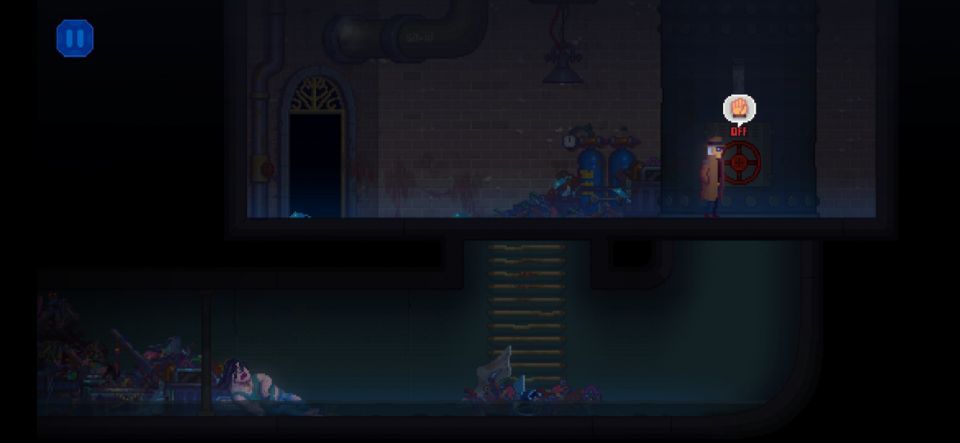
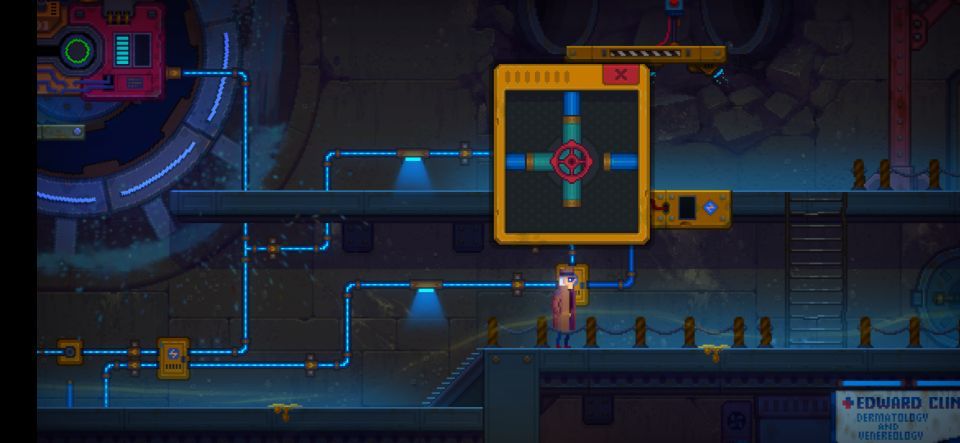
Go all the way back down to the lowest level of the East Area. Now that you have Insulated Gloves, you can work on the electrical boxes, so interact with the one to the left of the E-1 exit.
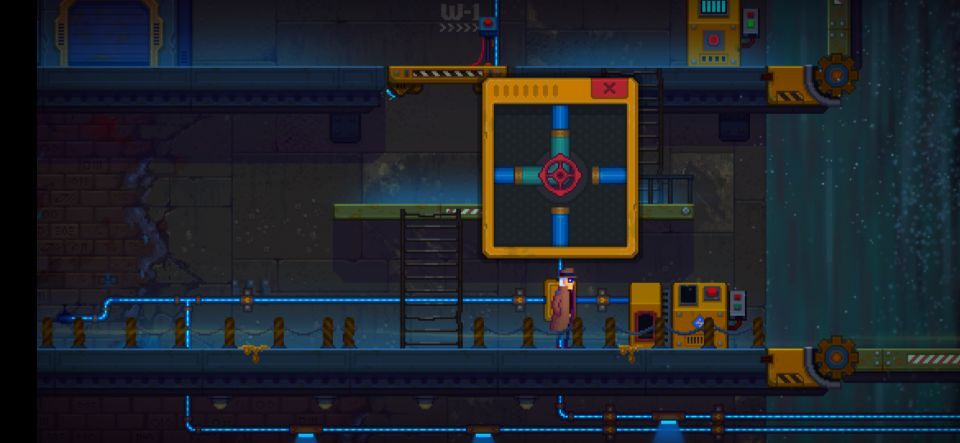
A small window display of the Power Box interior will appear; press the Confirm hotkey to rotate the cable routing. For now, rotate it so it connects Left, Up and Right.
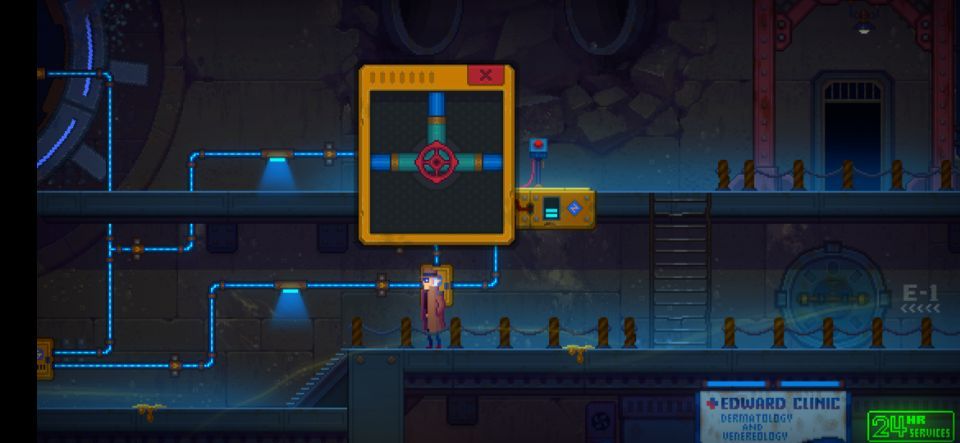
[url=https://www.neoseeker.com/tales-of-the-neon-sea/File:Tales_of_the_neon_sea_chapter_2_old_hydroelectric_zone_electrical_box_a.jpg][/url]And rotate cable routing in other electrical boxes.
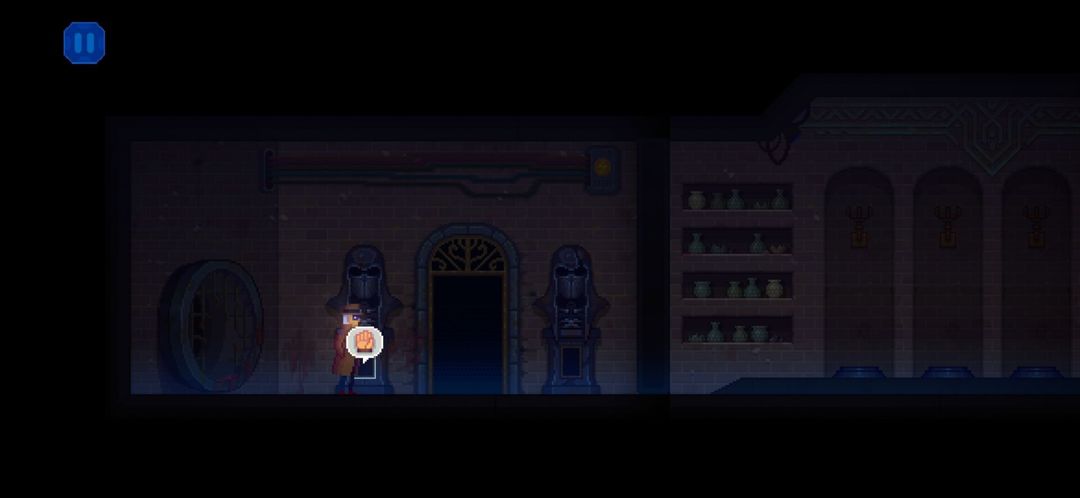
This will redirect power to the floating elevator/platform above. Climb up and activate the floating elevator/platform.This will take you up high enough to be able to enter two pipes right above your location!Enter the lefthand pipe. You'll enter the Mysterious Tomb. Spooky, but ignore the two statues here for now. Head into the doorway to enter the Standby Water Valve Control Room.Activate the valve at the far right of the room. This will flush the debris below you away, allowing you to climb down and examine the corpse below.

You'll obtain the WVC-Room Keys!

Now exit back outside, and this time enter the righthand pipe.You'll emerge a new section of the drainage pipeline. Interact with the door at the far left, and unlock it using the WVC-Room Keys.

You can now head into the Water Valve Control Room. Examine the blue locker to your left.This will trigger another lockpicking minigame.
If you deactivated the Virtual Salesperson back at Miracle Street earlier, you know how this works: position the lockpick at the bottom below a spring lock. Then press and hold the Confirm hotkey to gently move the lockpick upward.
Successfully picking the lock will allow you grab a new File!

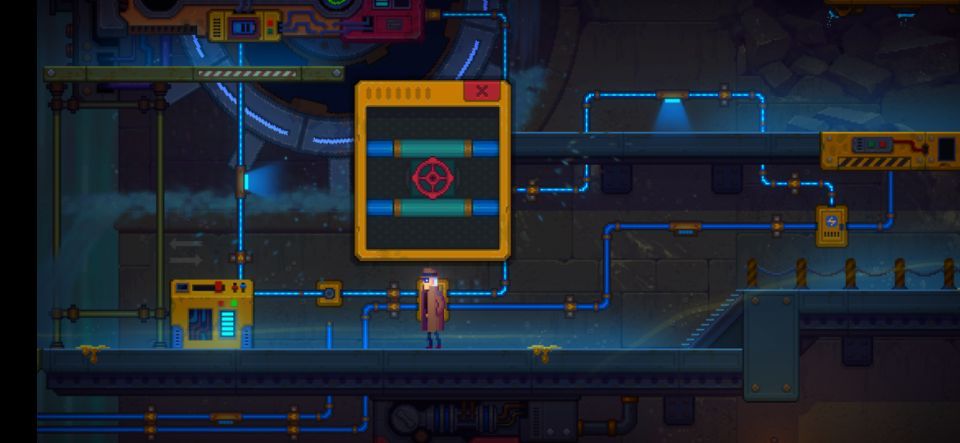
Now interact with the valve at the right side of the room.This will release the drainage pipe, providing additional waterflow for the water wheel Generator outside! However, this is still not enough... for now.
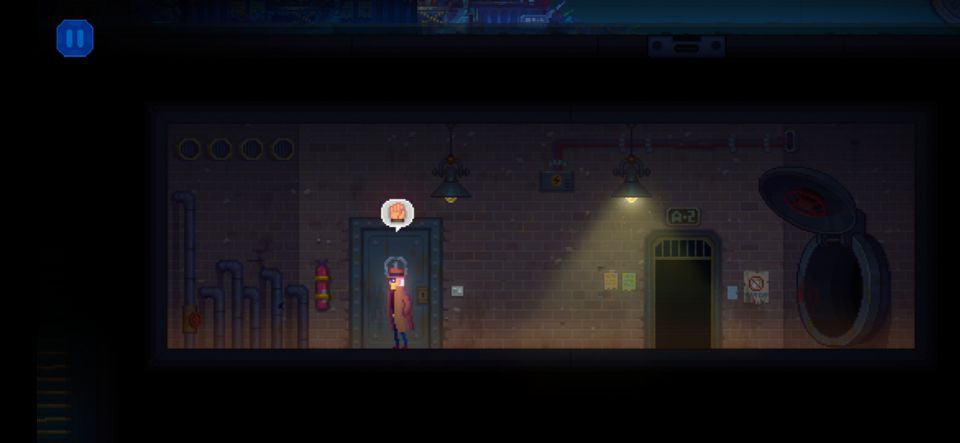
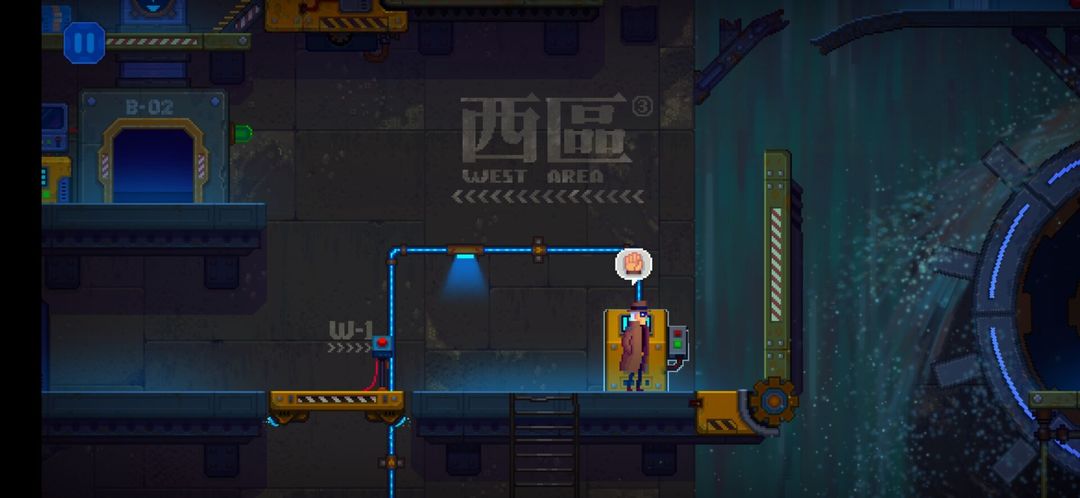
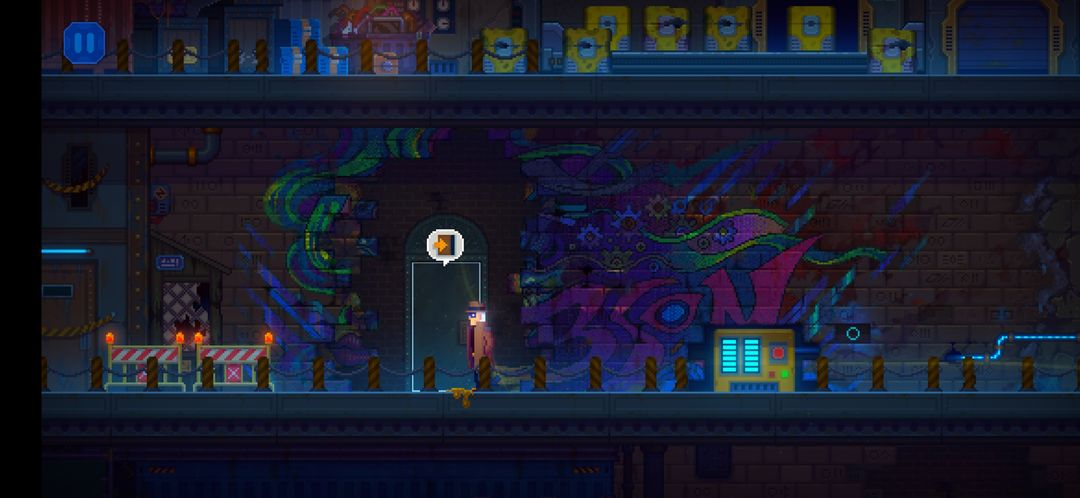
Leave the Water Valve Control Room and exit this area using the doorway marked "A-2".
You'll return to the tunnel that you first used to reach the Old Hydroelectric Station Zone, so use the E-1 exit to head back outside!
[b]Powering the Water Wheel Turbine
[/b]This is where things get tricky, so read carefully.
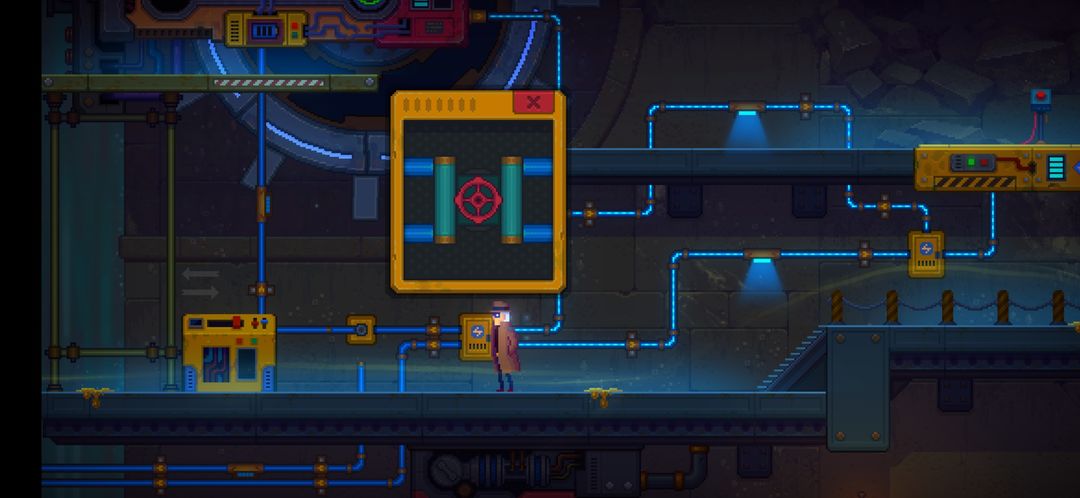
Return to the electrical box you played around with earlier. This time, rotate the connector so it links Left and Right, in a T-shape.
Head to the left, and reroute the other yellow box so that the cables connect horizontally.
Next, toggle this cable (leading to the nearby Impeller Tilt Shaft control panel) Left if isn't facing this direction already.
This will route enough power to the nearby Impeller Tilt Shaft control panel. Interact with it to restart the Water Wheel!Final Preparations
Now that we're done with the Impeller Tilt Shaft control panel, return to the cable leading to it. Toggle it back Down.
Return to the electrical box near the E-1 exit. Rotate the connector so it links Left and Up.Return to the West Area via the bridge you lowered earlier.
Retrieve the High Voltage Ni-MH Battery from the power compartment by the lowest raised bridge.
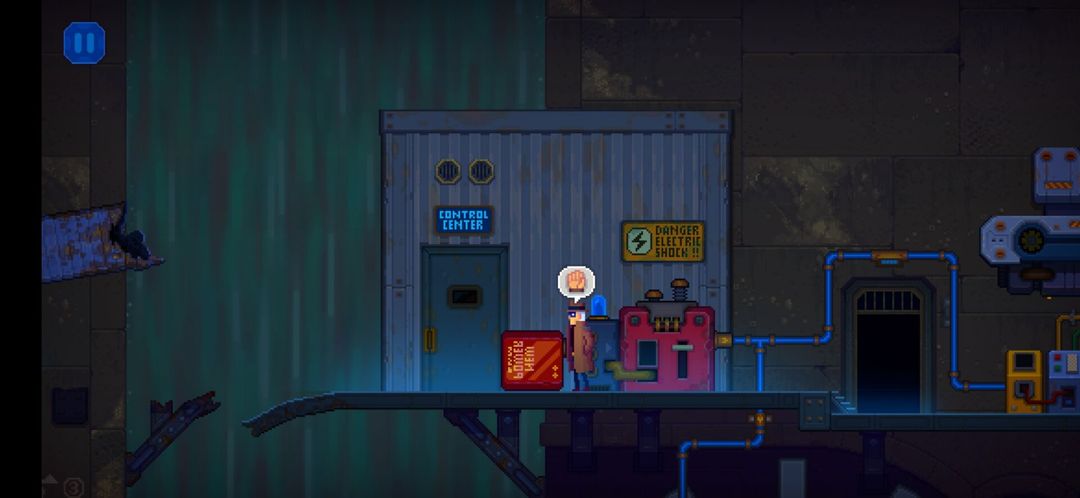
Continue left to the Hidden Passage Power Generator. There should be enough power routed to it now, so go ahead and activate it.
This will reveal the doorway to the Hidden Passage!The Chosen OneHead back to the electrical box near the lower bridge control panel. Rotate the connector so that it connects Left and Up.
This should divert power to the upper bridge control panel you see above you. Climp up the ladders to head over there now. Then hit the switch on the control panel to activate the bridge, granting you access to the Water Wheel Turbine itself!
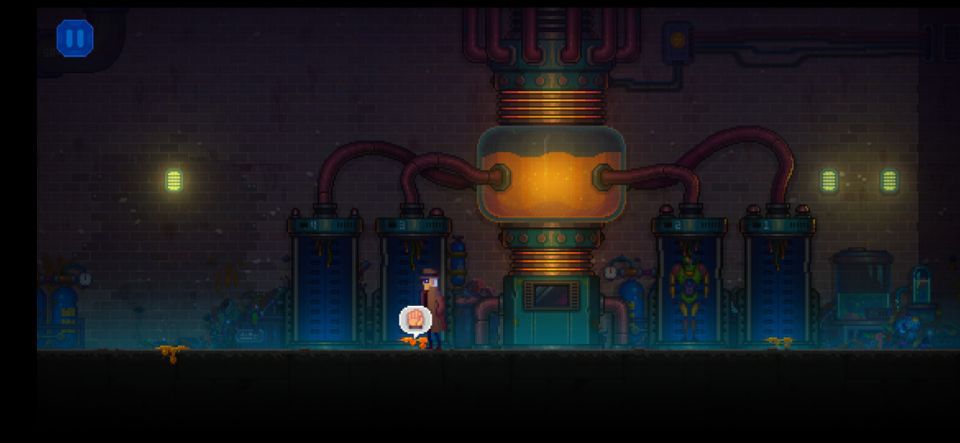
Head over to the Water Wheel Turbine and interact with it to obtain another High Voltage Ni-MH Battery.Head all the way back to the Mysterious Tomb, right before the Standby Water Valve Control Room.
You'll find the two creepy statues from earlier. Put your High Voltage Ni-MH Batteries into them, and you'll open a secret passageway.
Inside, you'll find a Sword in a stone. Interact with it once, then again and repeatedly press the Confirm hotkey.
With that done, leave the Mysterious Tomb and head all the way back to the Hidden Passage entrance outside in the West Area.[b]The Hidden Passage
[/b]
Interact with the entrance to the Hidden Passage when you ready. There's no turning back once you go through it!
You'll appear inside a large, mysterious room. Be sure to Examine all hotspots you find here, especially the control panel in the center.
Choose all options in the control panel, from 1 ("Put in an instruction") to 3 ("Inject <No.3 Experimental Liquid>").
This should make the large machine discharge some of that funky experimental liquid. Inspect it to obtain the Sample of Coagulation Fluid.
Continue left and examine all hotspots, including Brank's trail of coagulation fluid on the ground. Leave the mysterious room via the left doorway when you're done here.
You'll find yourself back outside, on the lower platform you were trying to get to all along.
Move to the right, and you'll find yourself back inside Charles' Shop at Square Street after a short but crazy scene.
Move to the left and talk to Charles. You'll move the story along by giving him the Sample of Coagulation Fluid to analyze for you. He'll give you the results tomorrow.
If you speak with Charles again, Rex will also ask about parts for BB-X. Charles will tell him to use his God's Touch invention, which you can access using the Assembler Terminal to the right.
[b]
You've Got the (God's) Touch[/b]
[b]
[/b]If you've been following this guide, you'll have all of the pieces! Interact with the Assembler Terminal, then select the God's Touch blueprint.
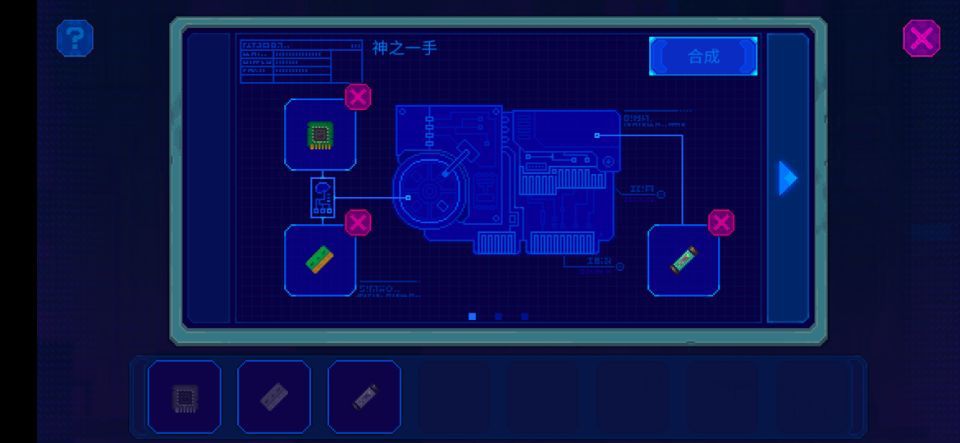
Place the Deep Learning Processor into the "God's Intelligence" slot, the 23.99K Bridging Goldfinger in the "God's Goldfinger" slot, and lastly the High Dimension Memory into the "God's Vision" slot. Combine them all once the components are in place to create the God's Touch at long last!
Feel free to go talk to Lola, Robin and Nanco too, if you want, but make sure you use the terminal to make God's Touch. Be sure to grab it nearby once it's ready!
Speak with Nanco, Robin and Lola inside Charles' Shop if desired.
Leave Charles' Shop whenever you're ready. It's time to go.
Mentioned games