

【Tales of the Neon Sea Walkthrough and Guide】Chapter 3.3:Left or Right? Make a Choice
[b]Evading the Drones[/b]

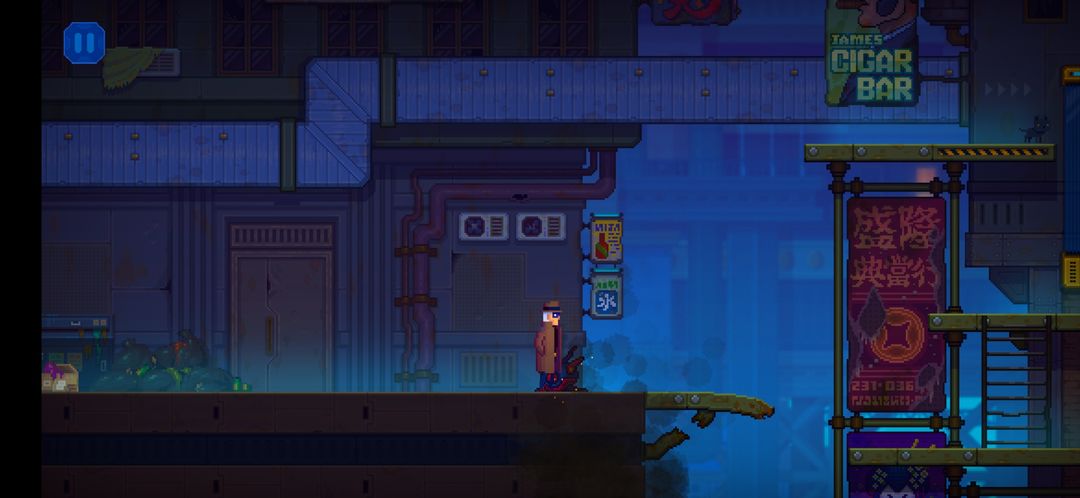
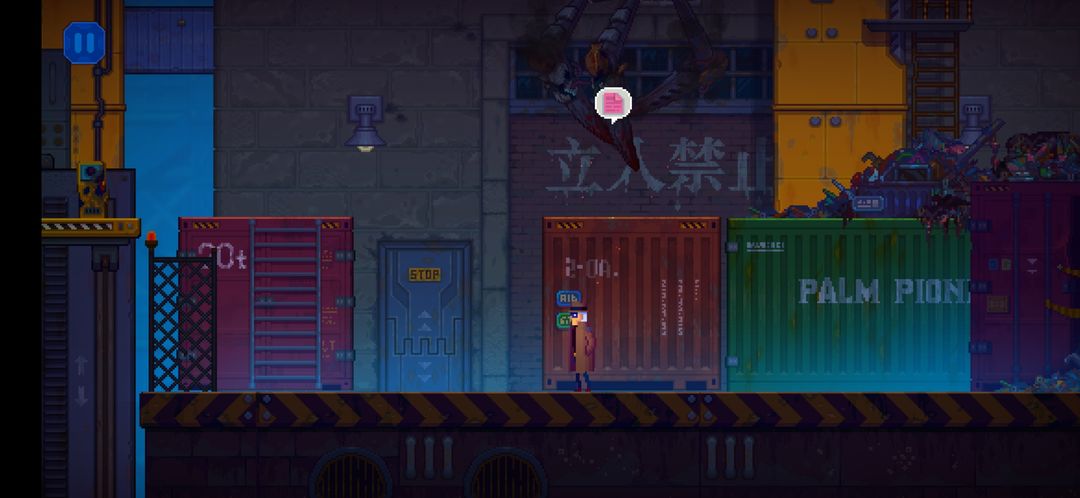
You'll start this portion of Chapter 3 on the Abandoned Trail. First, check out the Sky City poster to the right of the elevator to unlock the final History File.Continue heading right until you trigger a short scene. A drone will appear, targeting Rex. Luckily, William shows up, destroying the drone.
Be sure to investigate the drone.
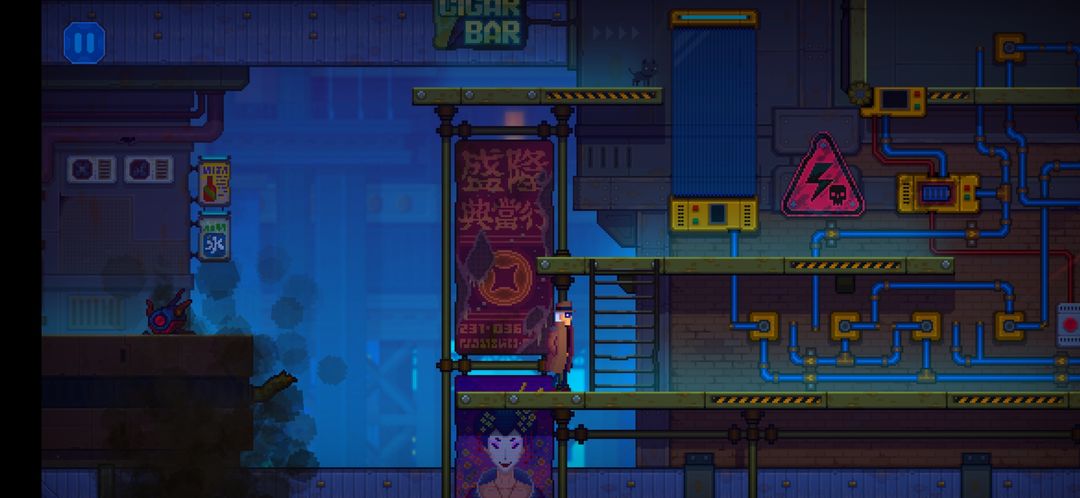
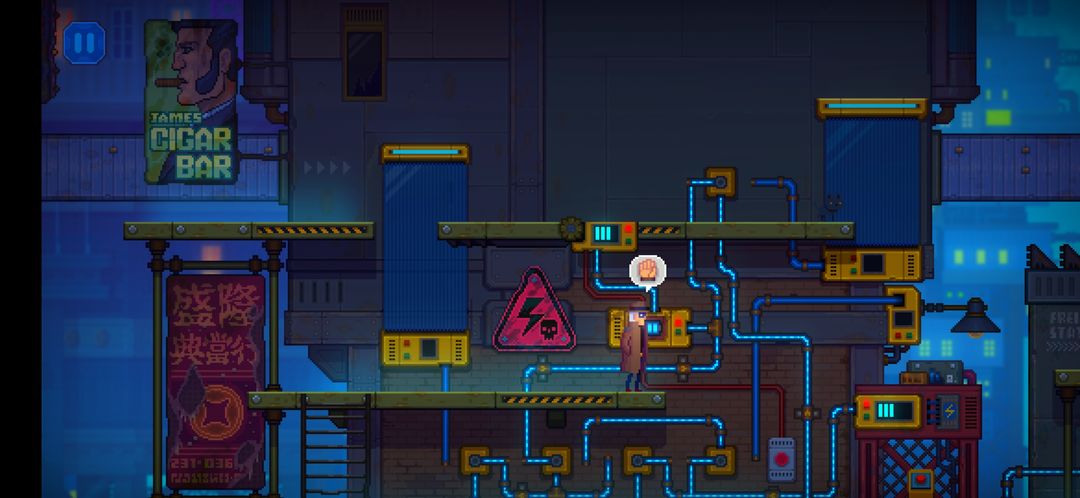
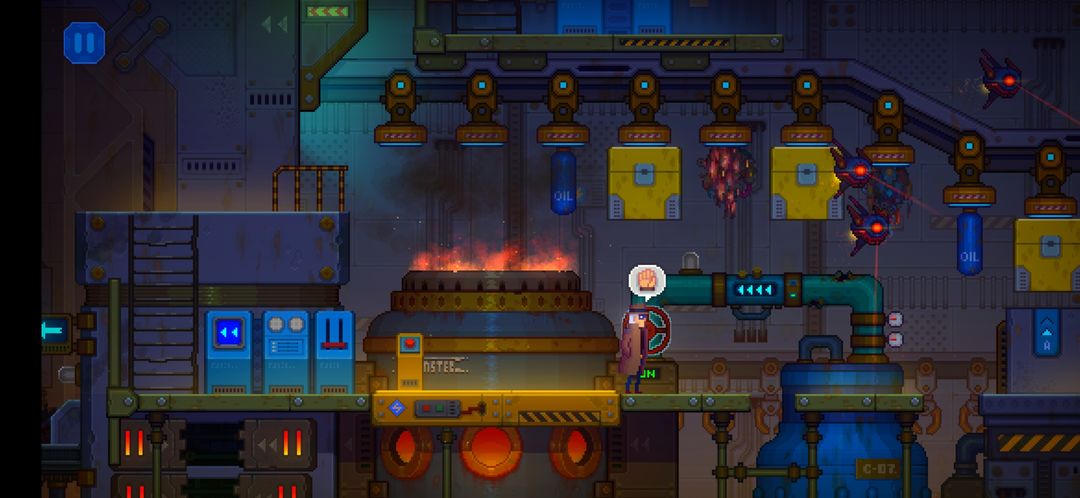
Jump over to the right side, crossing the gap. There are now red Patrol Drones flying around, which will kill you if they see you! The good news is any floors directly above you can block the drone's line of sight.
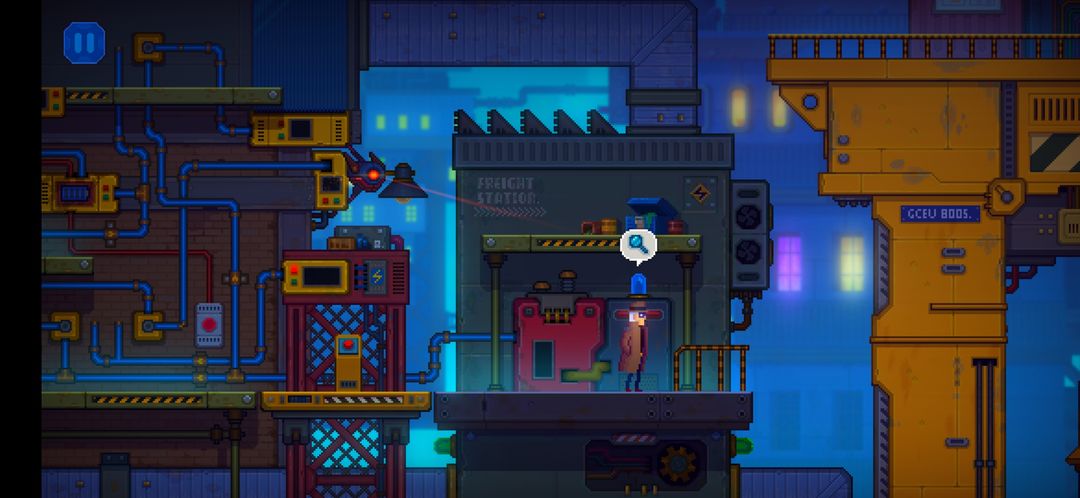
First, Inspect the electricity leakage warning sign above you (you don't need to climb up the ladder).
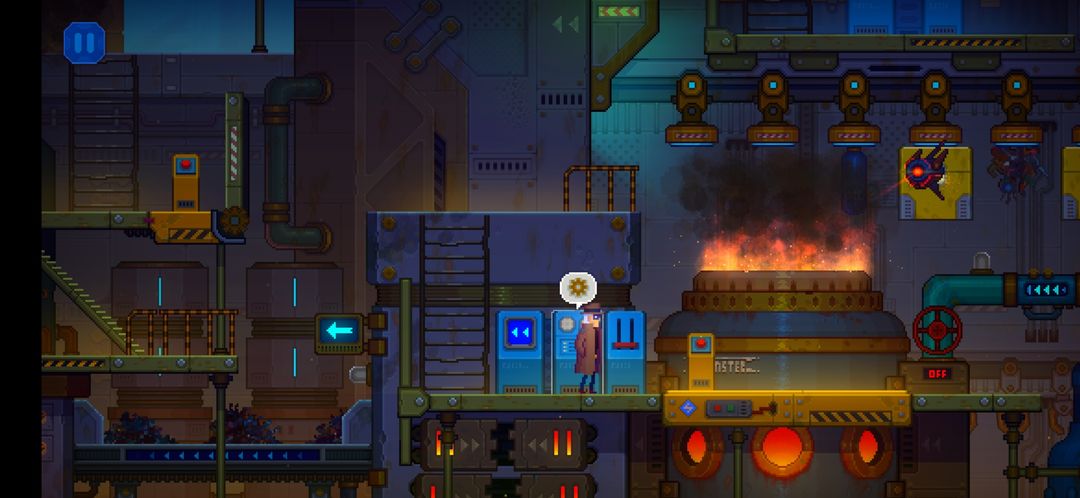
To the right, you'll find a convoluted mess of pipes. Head to the far right (beware the drone). To do this without getting blasted to smithereens, wait until the drone starts moving back to the right, then quickly (but carefully!) follow it while keeping out of range of the sweeping laser sight.
You'll find a lever to push. Push it, and the power will turn on.
Now head back left, again waiting until you can follow the drone to stay out of sight!
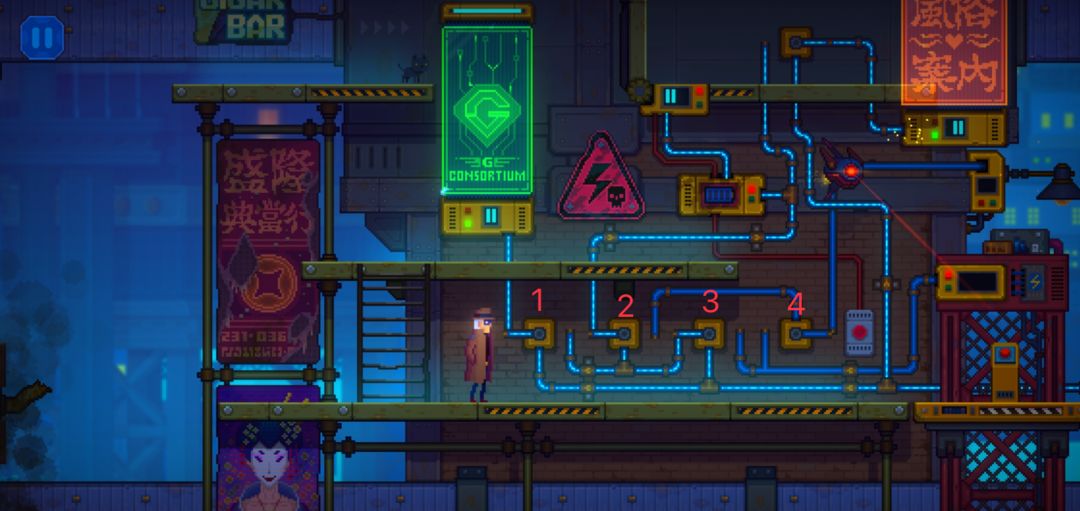
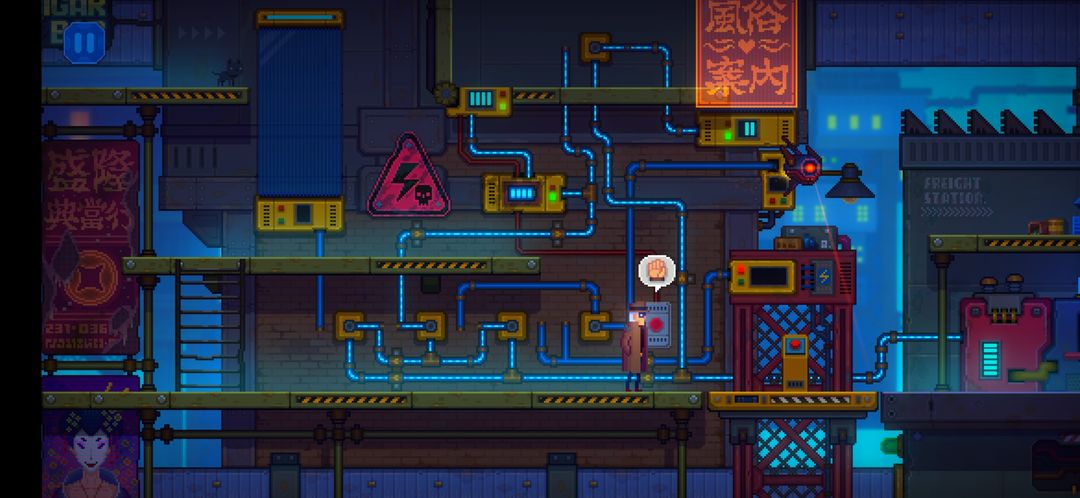
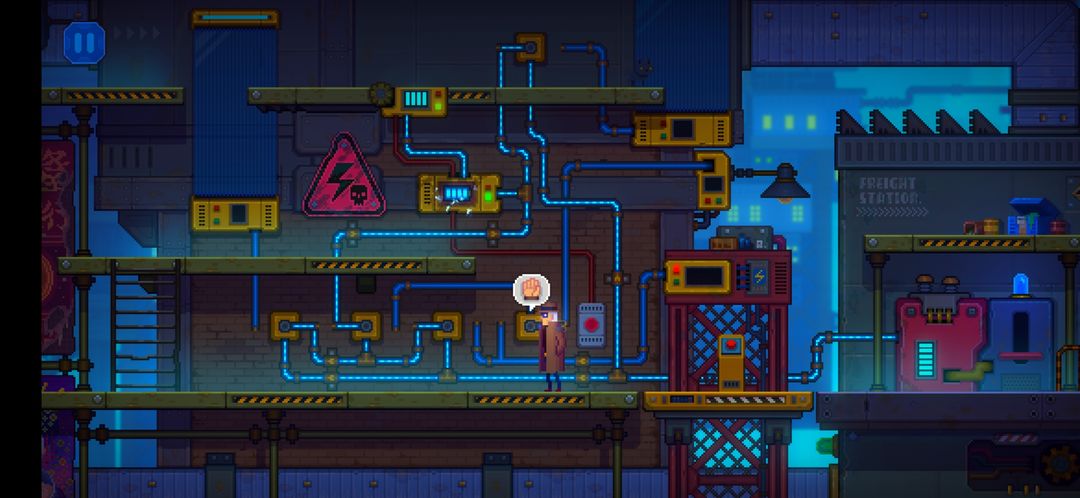
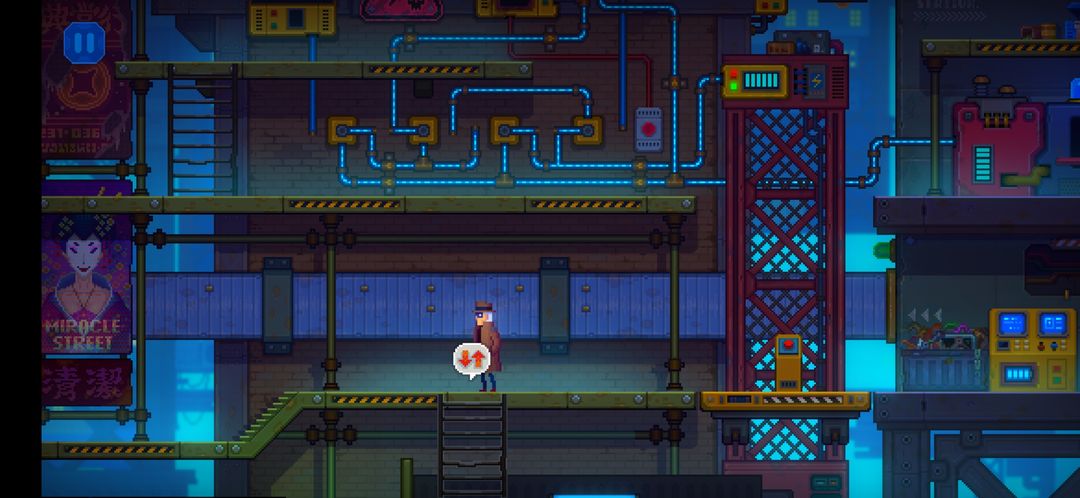
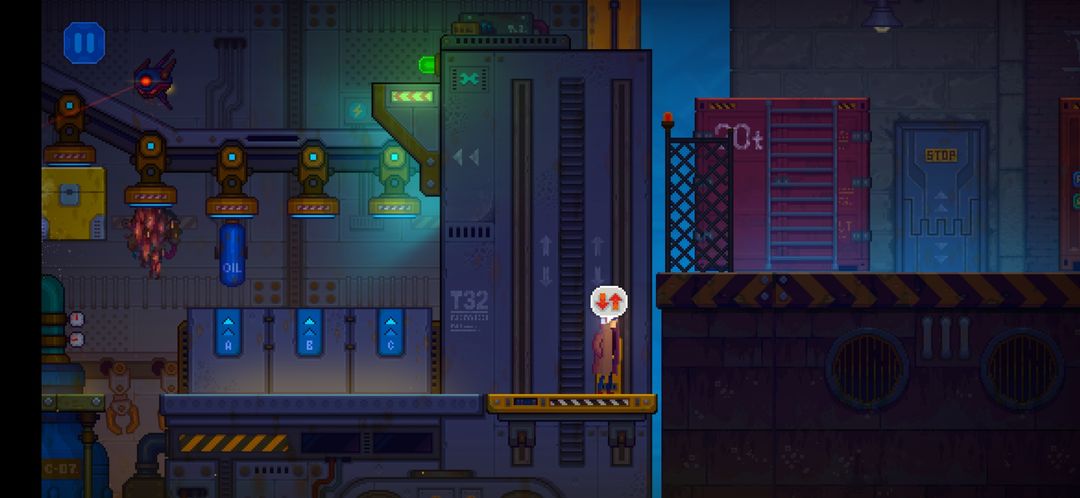
You should be back to where you started. You can now interact with the series of 4 diverters that re-route the flow of power throughout the circuit.Here, flip the first and second diverters, and you'll power the lift above. Adjust the wiring so that power flows from the generator at the right to the upper hanging platform. Next, sneak over to the red button and press it. The lift will lower, and William will jump onto it. Hit the button again, and the lift will take William to the top platform, where he will flip another diverter, overcharging the battery below.Now, cross to the far right side. When the drone comes to your side, follow it closely (moving to the left) and hit the red button when the drone is next to the battery. This will fry the drone, destroying it.No more drone! Now flip Switch 3 and Switch 4 (leave Switches 1 and 2 alone) to begin re-directing power to the freight elevator.
Adjust the wiring as shown to reduce the power flow to the central battery.
This will also reduce the power flow the overcharged High Voltage Ni-MH Battery, which is important because we need to grab it! Go ahead and do so by climbing up the ladder. You can't grab this battery until you reduce the power flow to it.

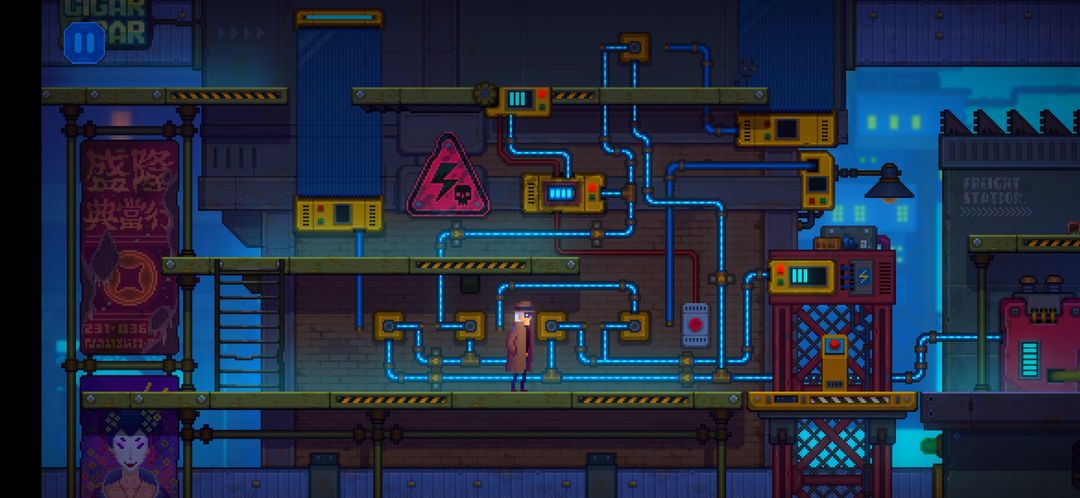
Assuming you've already set up the wiring, the freight elevator should now be receiving full power from the generator. You can finally take the freight elevator down to ground level.Bomb Squad
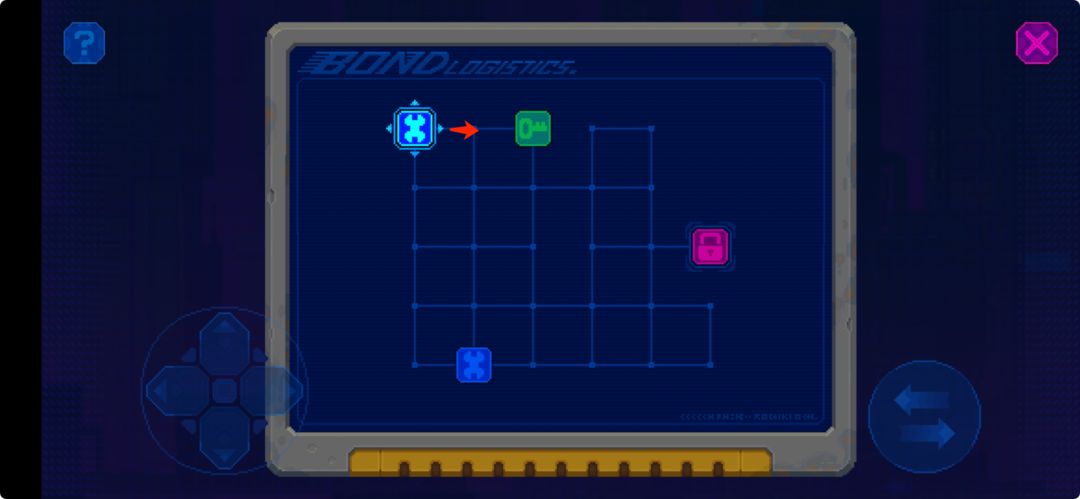
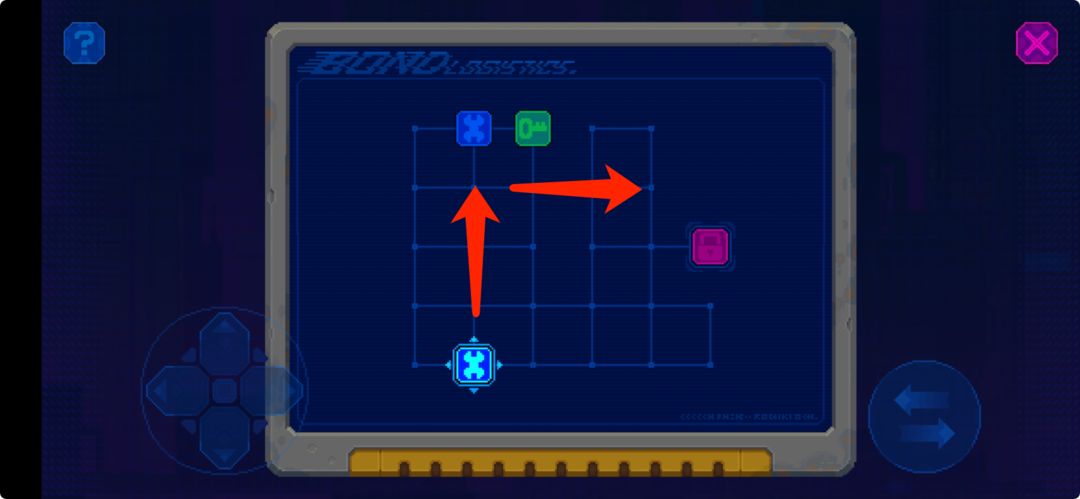
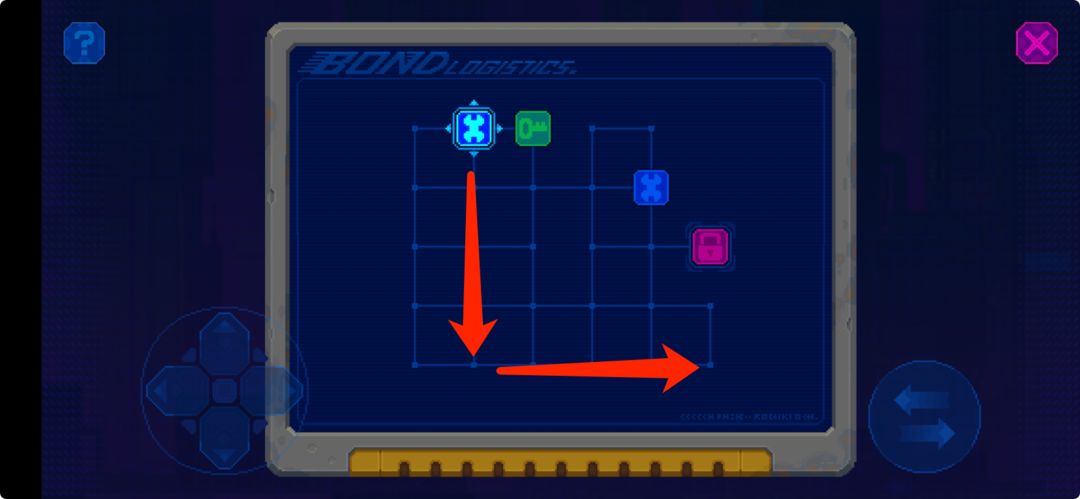
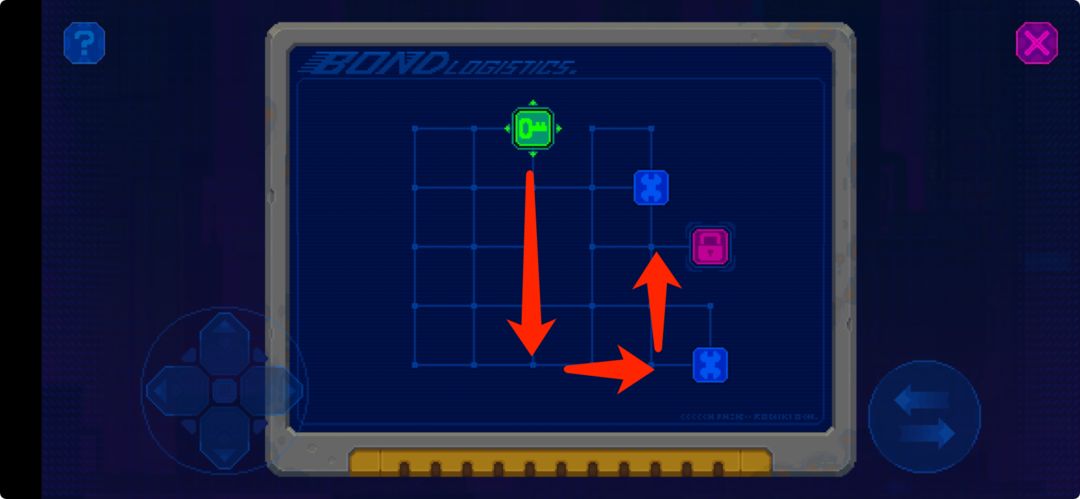
Interact with the terminal to start another sliding-block style puzzle, where the goal is to move the Green Key to the Red Lock.
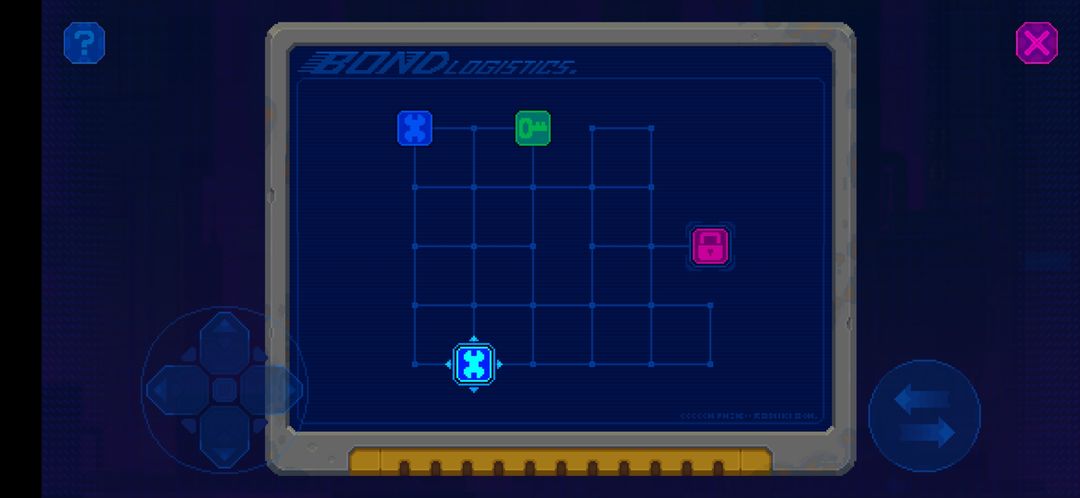
The grid layout makes this harder than it looks, as all blocks will continue moving in the direction they are pushed until they hit the end of the grid (or another block!). The key is to move the two Blue Blocks into positions to effectively alter the grid layout, allowing you to properly "guide" the Green Key to the goal.
Spoiler:
You'll hear a beeping. Investigate the garbage next to you, and you'll find a time bomb.
You'll have to be pretty quick here, and you can't pause. Switching between the Cyborg views, cut the wires in order (I, II, III, IV). You'll have to trace which wire is which, across two screens. See the screenshots below for an example.
These bombs are randomly generated, so you'll get a different bomb every time. Because of this, I can't provide a solution, which means you'll have to do the work yourself. Luckily, it's not too hard.

There are two screens to look at in Cyborg view. Press Eye to cycle through them. The first screen is the Wire View which displays the wires leading from the fuses to their respective detonator ports.Toggling to the view will switch to the Circuit View, which reveals which detonator ports are connected to which of the numbered wires.
Starting with Wire I in Circuit View, follow each wire to their respective detonator port. Memorize that port, then switch back to the Wire View and trace the wire from that port back to the fuse to identify the explosive that Wire I is attached to, and press E to cut it!
Repeat for the other wires. With that, the bomb should be defused. Go back to the terminal and investigate it.
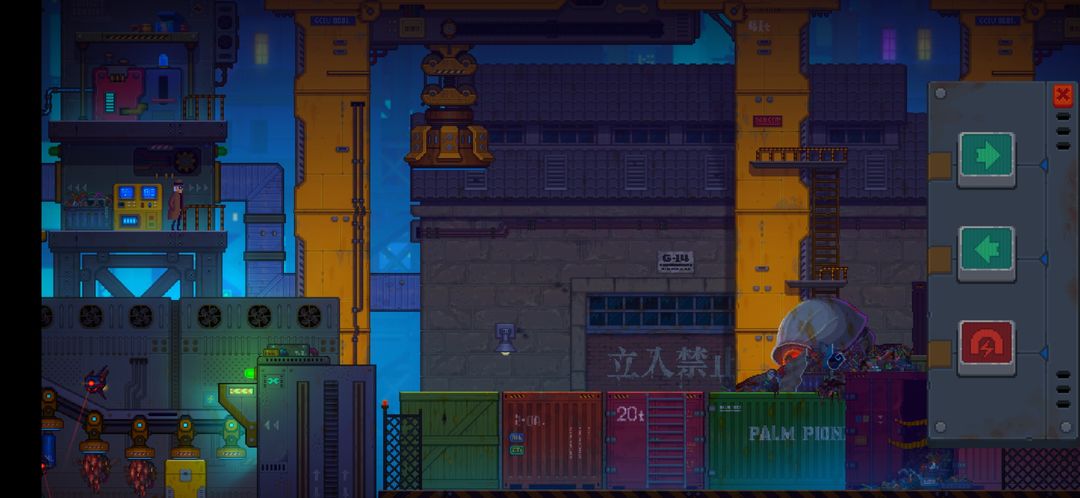
Magnet Crane
BB-X will help tell Rex which path he needs to take, but they've hidden the entrance. You'll be given control of William, to help find the way through.
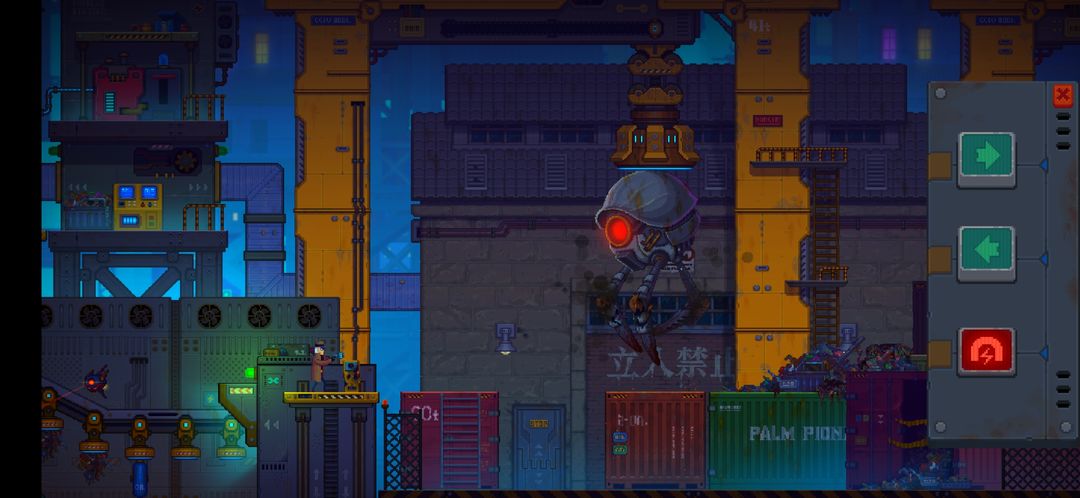
Move to the right and interact with the set magnet crane controls you find up here.
This will give you control of the large Magnet Crane below!
It's time to play crane operator. The top two buttons move the Magnet Crane head left or right, while the third button at the bottom allows you to pick up and drop any crates.
[b]Spoiler:
[/b]Position the Magnet Crane over the Red Crate (with the Ladder) at the far right, then Grab it.Move the Magnet Crane back to the far left. Release the Red Crate onto the Green Crate to destroy it!
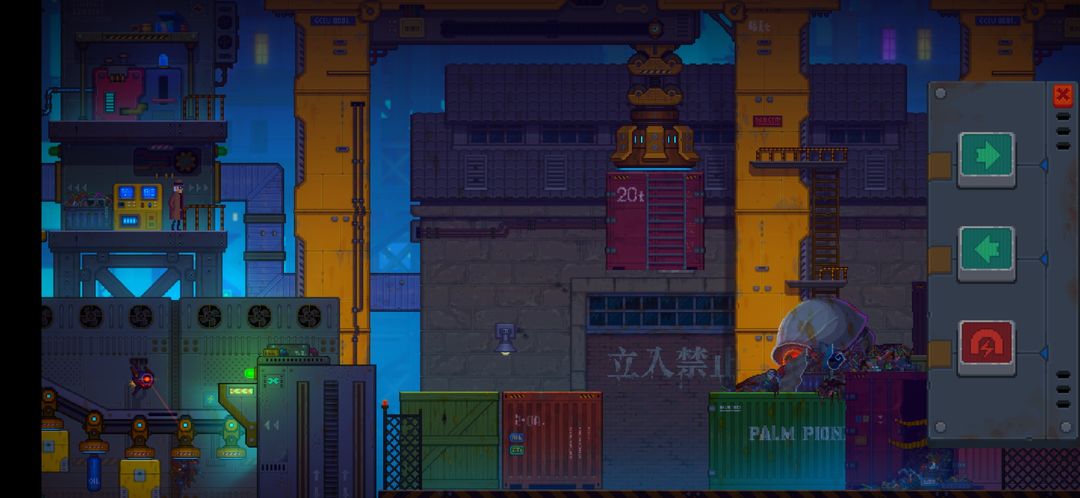
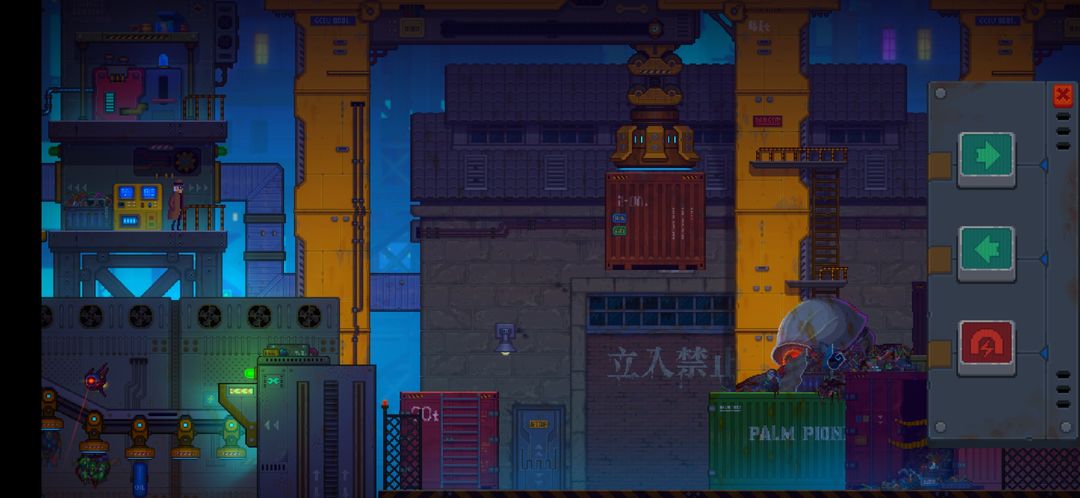
Now position the Magnet Crane over the Orange Crate in the middle, and Grab it.Move the Magnet Crane to the far right and drop the Orange Crate in the now-empty spot (where the Red Crate once was).That'll do it! Back in control of Rex, move to the left and go down the ladder.
[b]The Incinerator
[/b]You should be just above a conveyor belt, guarded by no less than 3 Patrol Drones!. There's also a lever, to halt the conveyor belt for a time.
You'll need to use the lever to pause the conveyor belt while THREE boxes of trash are neatly lined up in a row directly below your current platform.
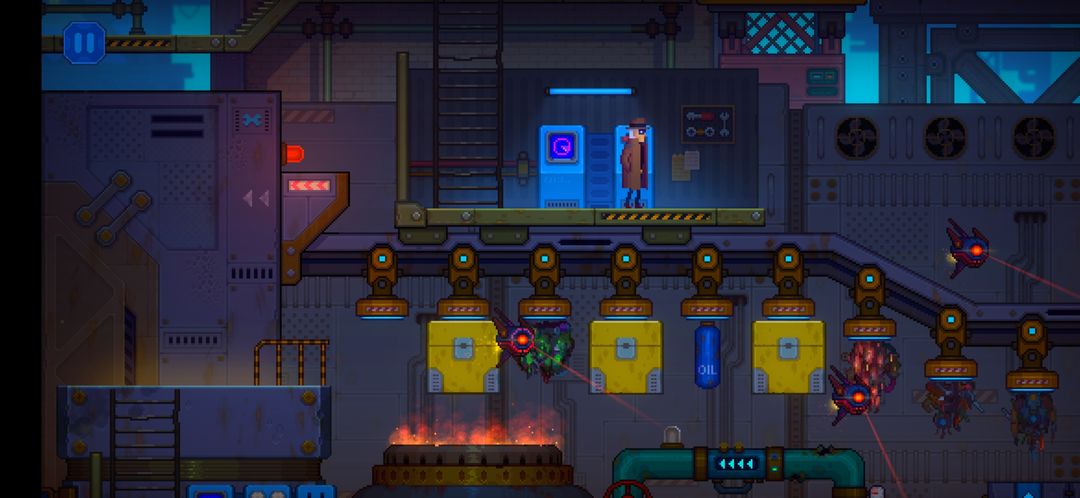
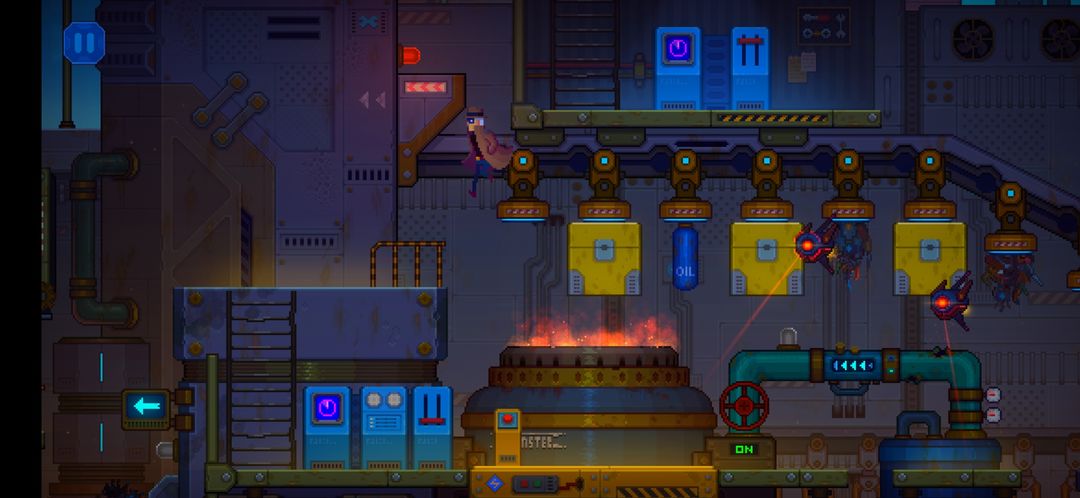
These three boxes will serve as platforms that you will use to jump across and down to the platform on the left. The challenge is to do so while the Patrol Drones are not looking!Climb down the ladder and you'll find another terminal. Ignore it for now, and run to the right (beware the drones) and spin the red water-wheel.Run back to the terminal, and access the center one to access the Incinerator's coolant controls.Simply press the big Coolant button once to set the meter to "2" (max level). A jet of frozen air will blast out of a nearby pipe, taking out the two drones closest to you!
Once both drones are gone, the coast should be clear for you to safely continue all the way to the right. Hop over to the other side (you should out of visual range of the final drone to the right) and take the Elevator up.
Sentry Robot Fight
Moving to the right, you'll encounter a giant Sentry Robot amongst the trash! You'll have to shoot at the right moments, when the cursor is in the red circle.
The robot will be lifted up, and you'll be in control of Rex again. This is where things get tricky. An outer circle expands and contracts automatically over a smaller red circle; you'll have to shoot just as the outer circle completely shrinks within the inner circle. This can be a pain, especially on the third and final shot.
Cross to the right, down the ladder.
Before heading through the door, be sure to Inspect the now-destroyed Sentry Robot for another File.
Head into the secret warehouse whenever you're ready.
Mentioned games