

【Tales of the Neon Sea Walkthrough and Guide】Chapter 3.5:Phantom Echoes in the Records
The Final Hub
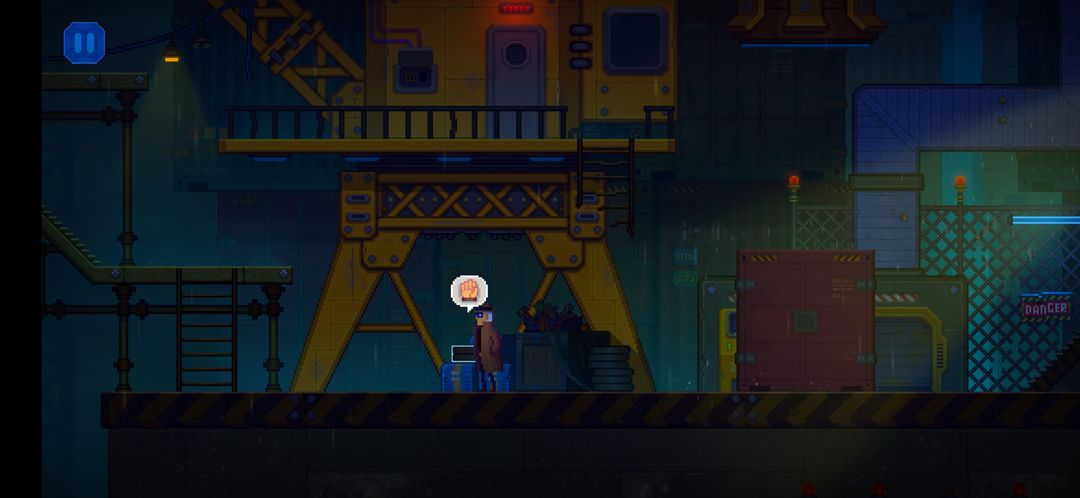
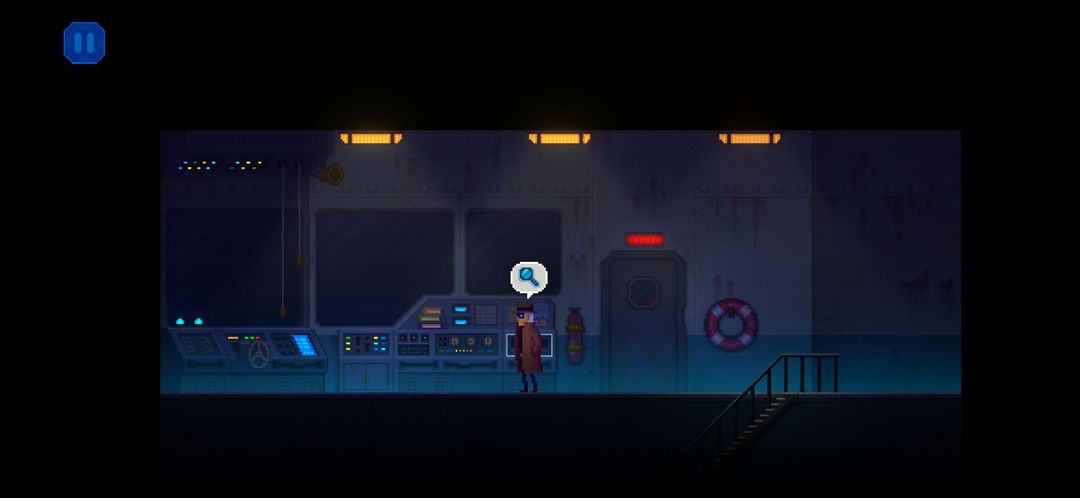
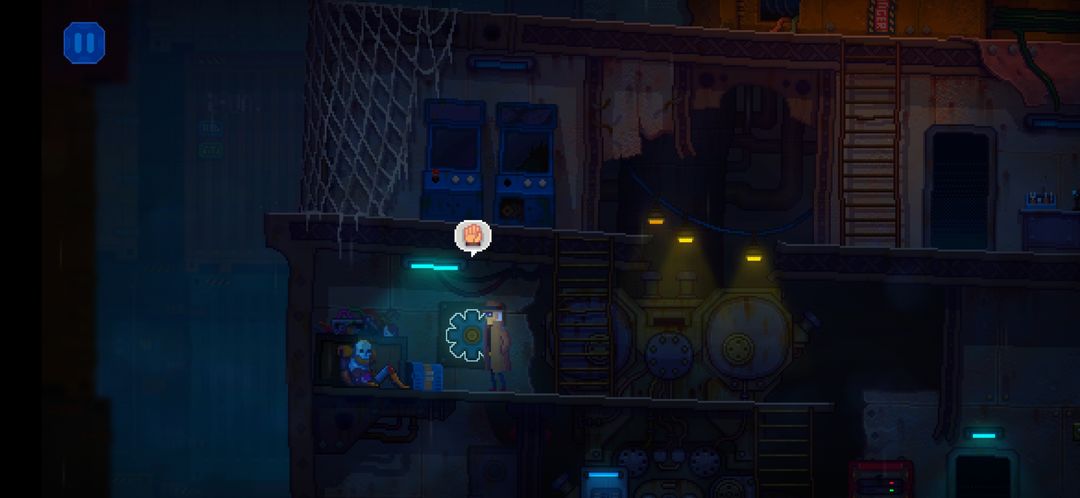
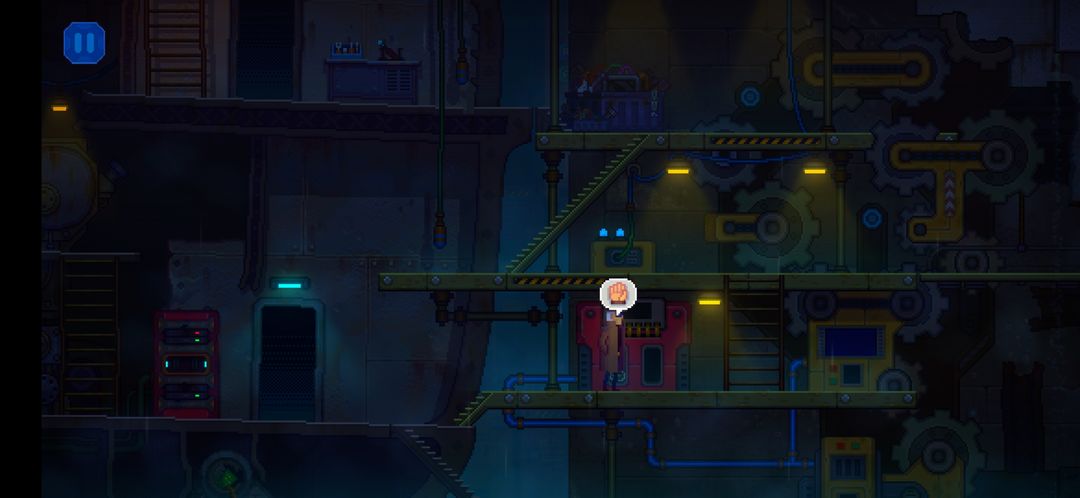
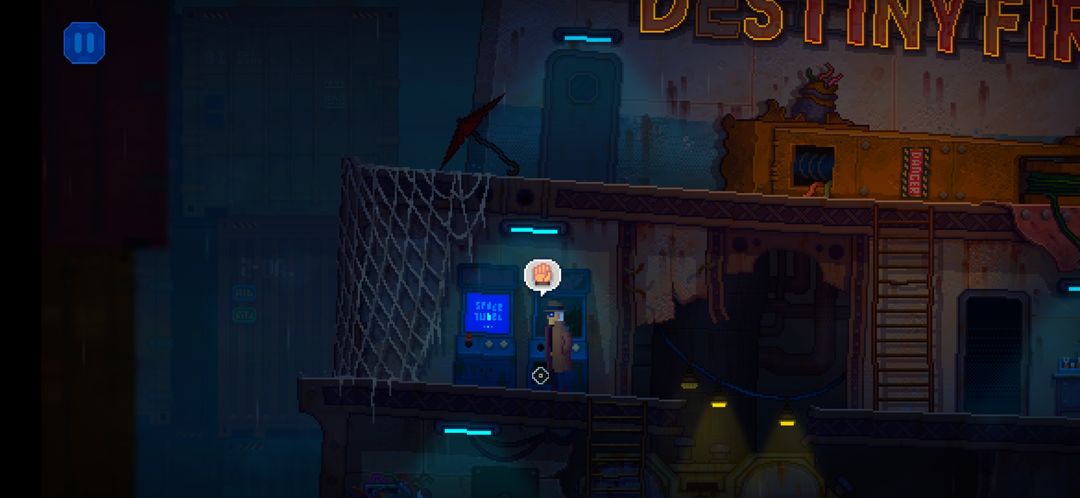
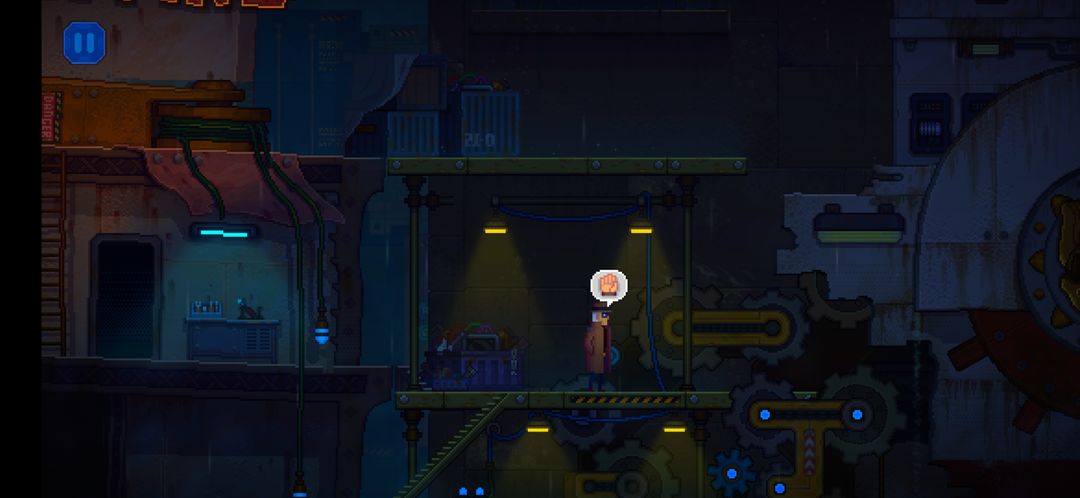
Moving to the left, you'll find the third and final logistics hub terminal.
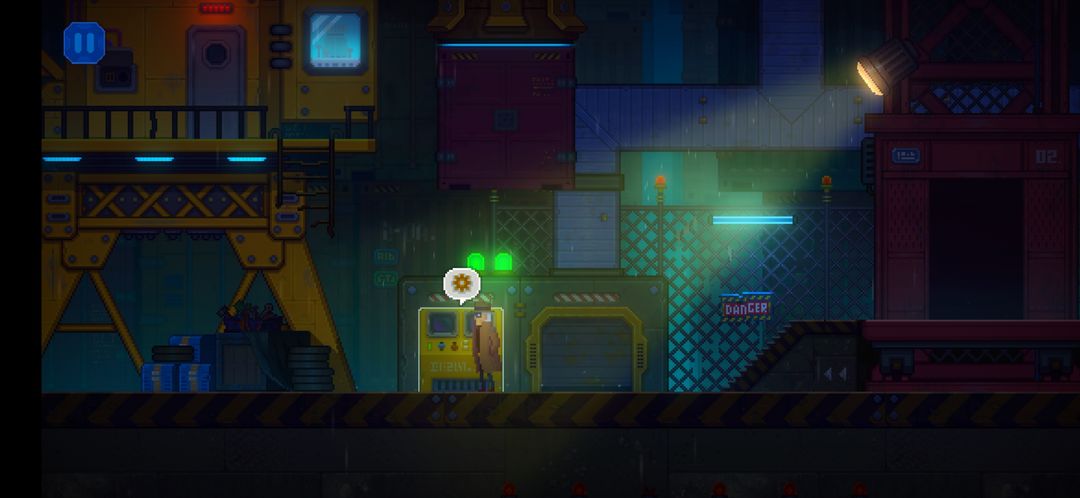
Interact with it, and you'll find the puzzle below:
Spoiler:
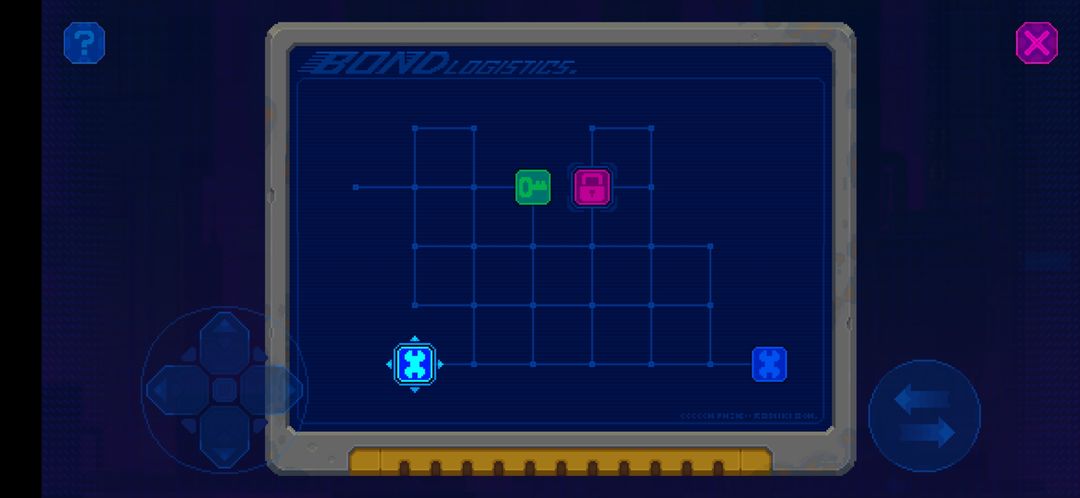
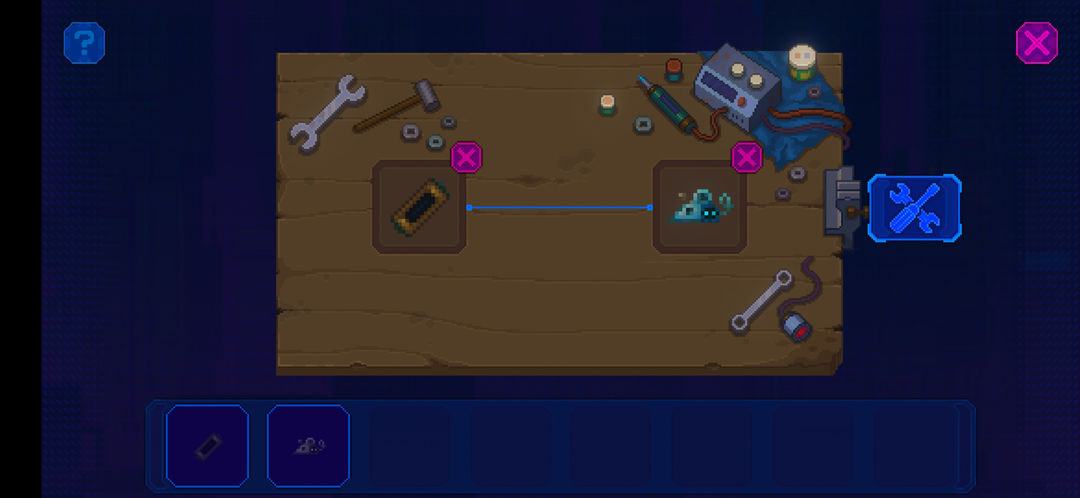
Select the Blue Box on the left, using the 'E' button. Then slide it to the Right.
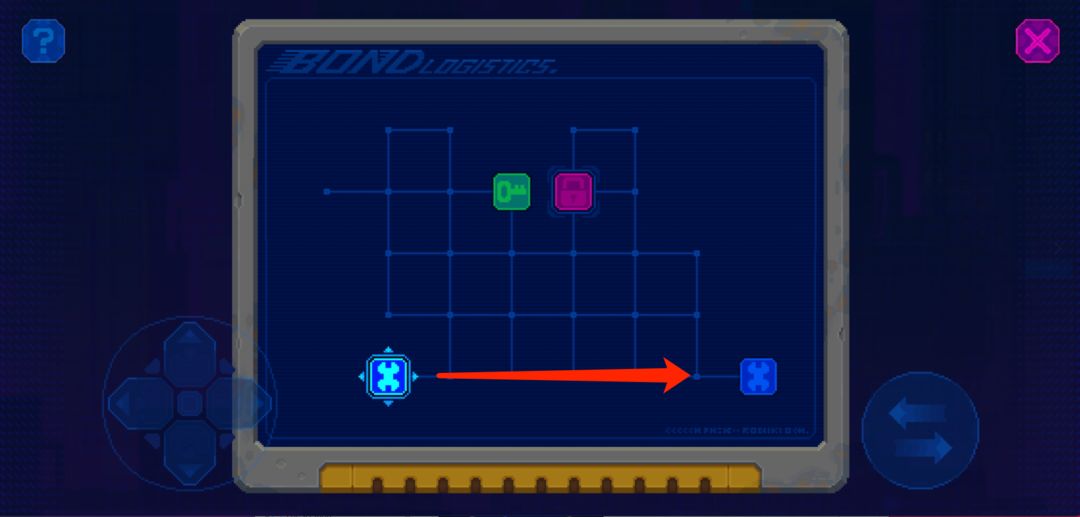
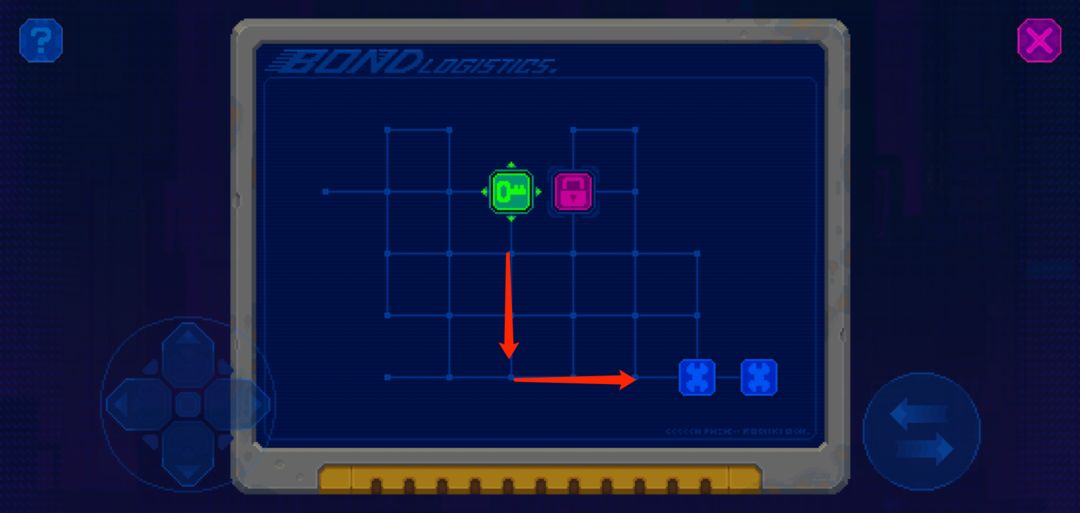
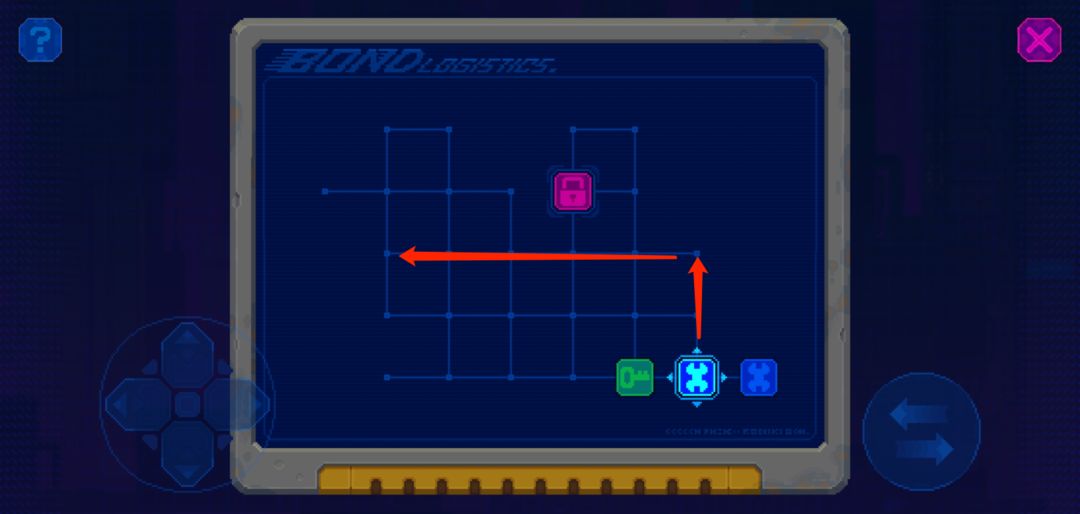
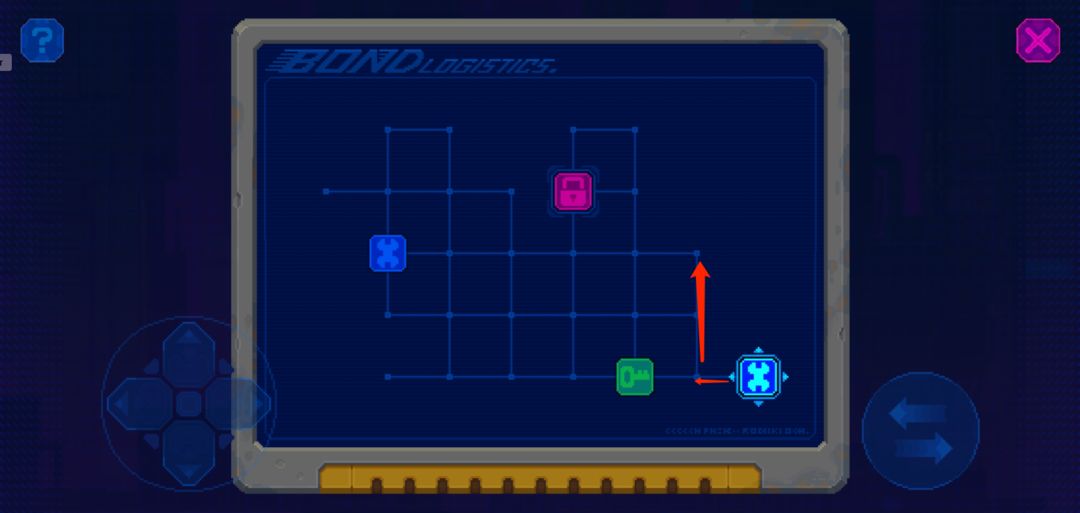
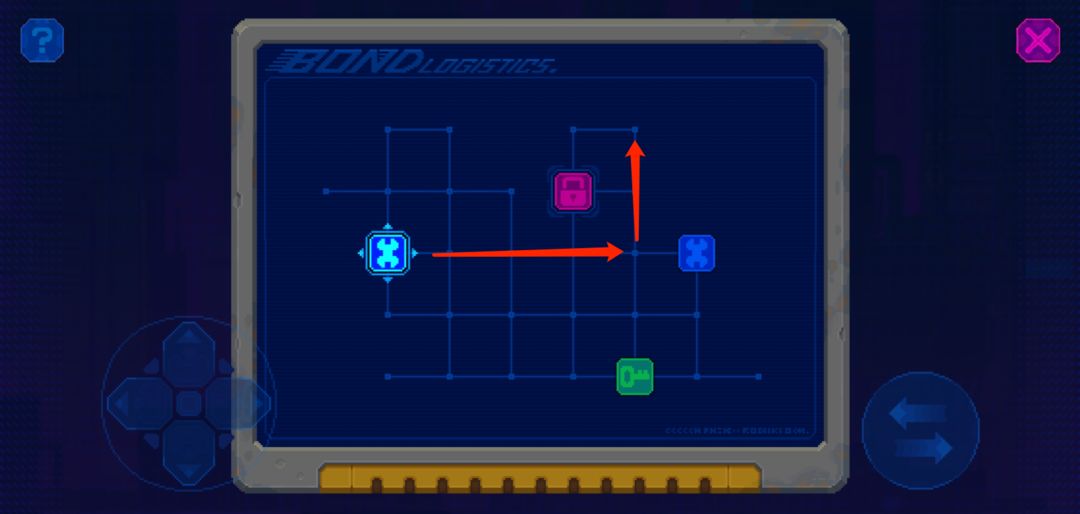
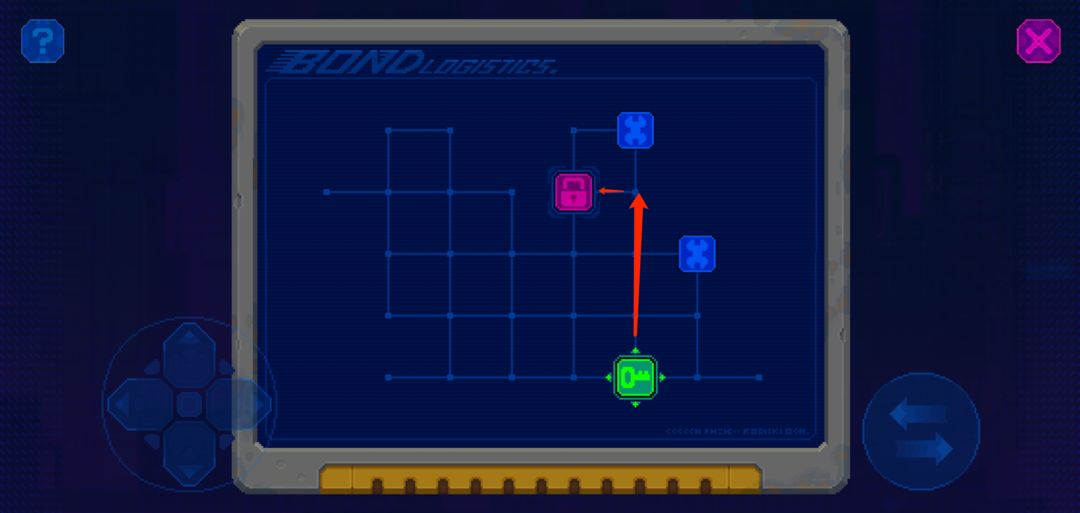
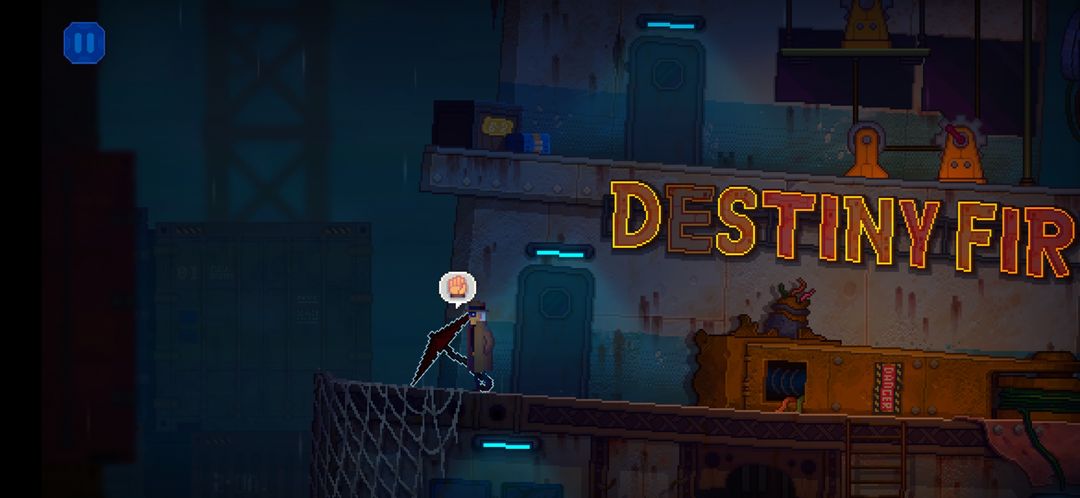
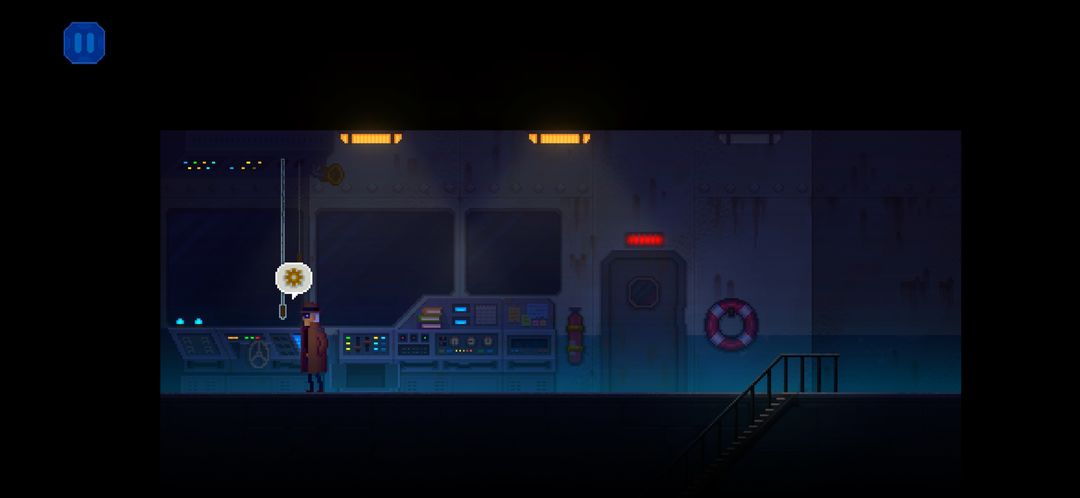
Select the Green Key, using the 'E' button. Slide it Down, then Right.Select the first Blue Box you moved earlier and slide it Up, then Left.Now select the Blue Box on the right and slide it Left, then Up as shown.Select the Blue Box on the left again. Slide it Right, then all the way Up.Select the Blue Box on the left again. Slide it Right, then all the way Up.Once you successfully crack this last sliding-block puzzle, you'll get a little surprise as you attempt to move to the left. Inspect the Container that has landed uncomfortably close to where you are standing. It's time to find the key!
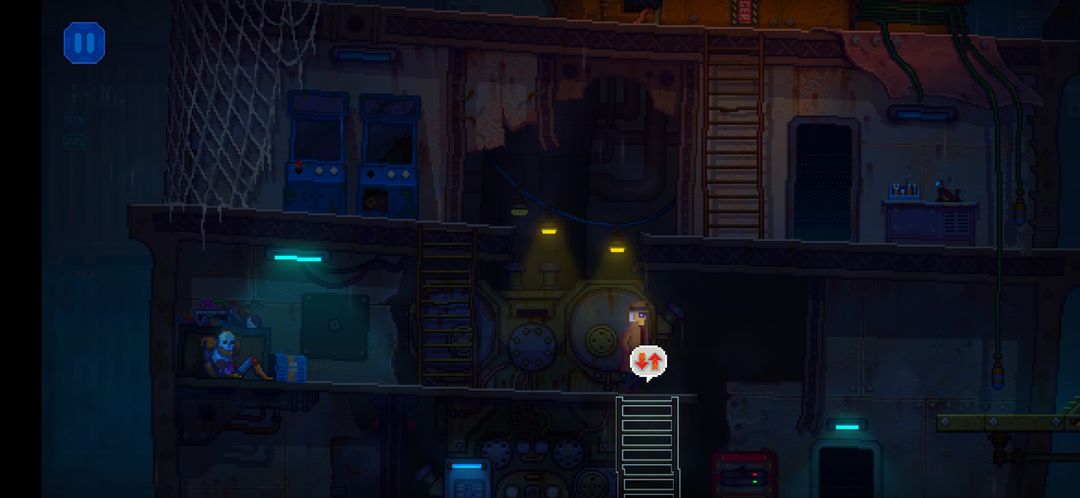
Continue left and grab the Elevator Counterweight.
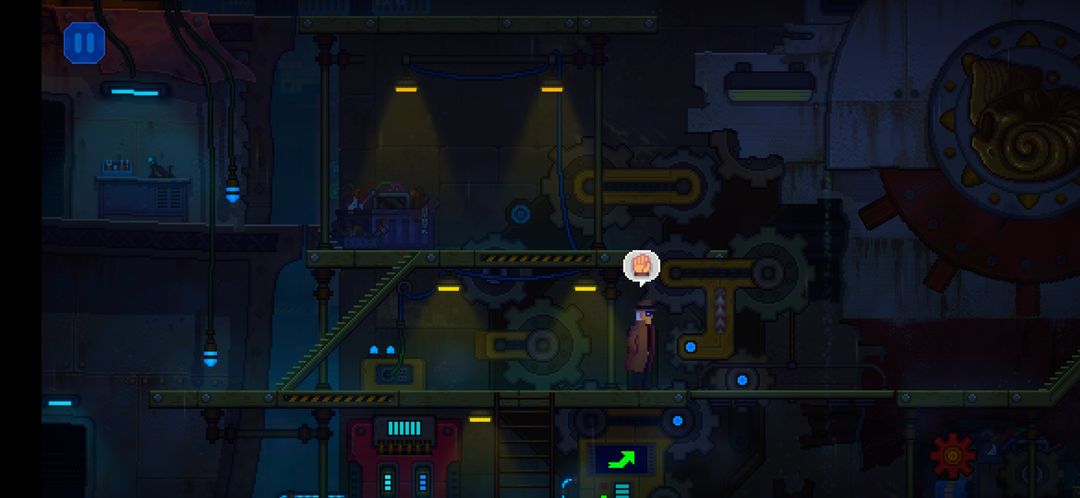
Once you have that, climb up the nearby ladder and head further to the left. You'll find a lever that controls the nearby elevator. Attempt to use it, and Rex will note that the load capacity for the elevator isn't properly set up yet.
We'll fix that by attaching the Elevator Counterweight to the left of the lever.
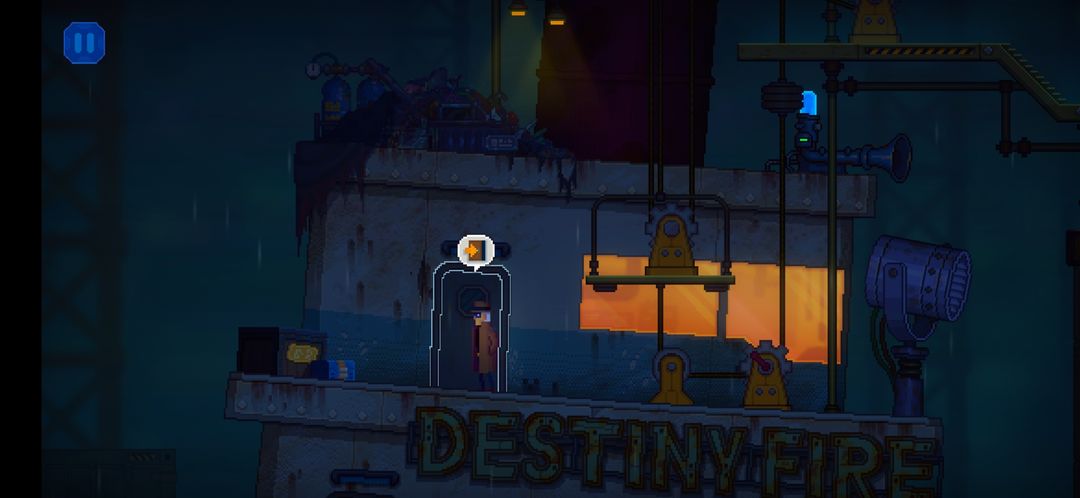
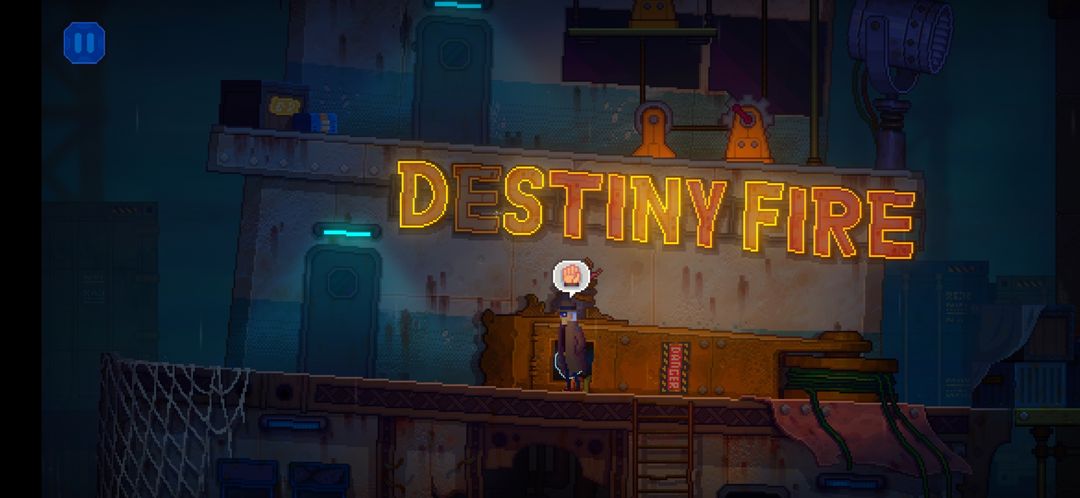
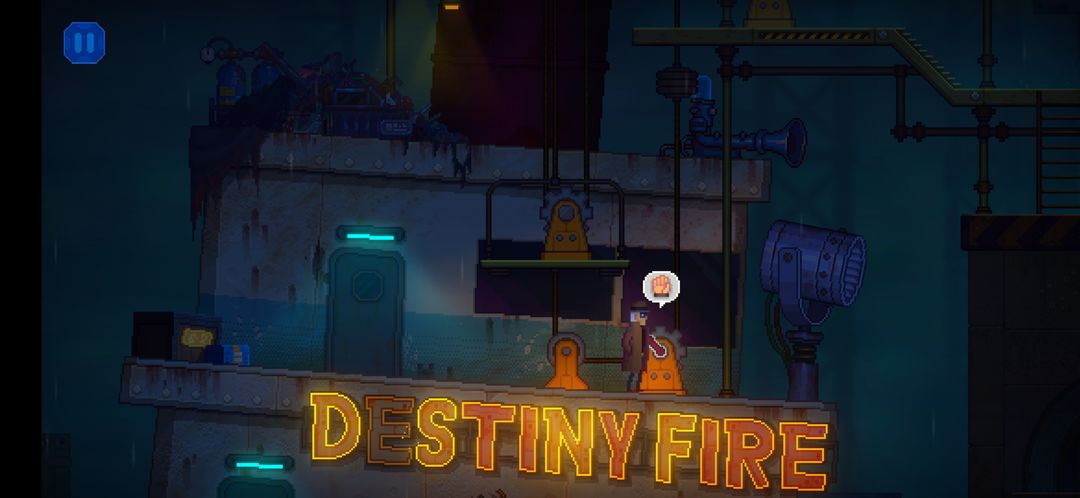
This temporarily fixes the elevator. Interact with the lever to the right, and use the elevator to go down.The elevator will break partway through the trip (go figure), so you'll have to jump down onto the abandoned ship (called the "Destiny Fire") below.
Relighting the Destiny Fire
Head into the Bridge of the Destiny Fire.
After a warm introduction from a not-so-secret admirer, continue left. Inspect the Sonar on the nearby bridge console. After scrolling through the logs, you'll obtain the Sonar Graphic Record.To the left of the Sonar is the first mate's diary. Inspect it for a scene with the AR Captain that unlocks the final News File! This is the final unlockable File available before Chapter 4.
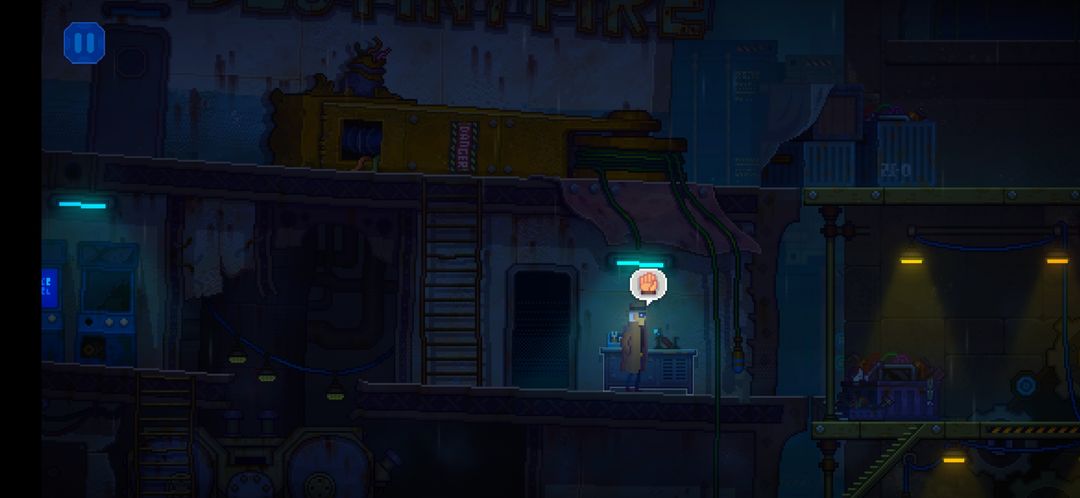
To the left of that, you'll find an Unpowered Battery inside a cabinet.
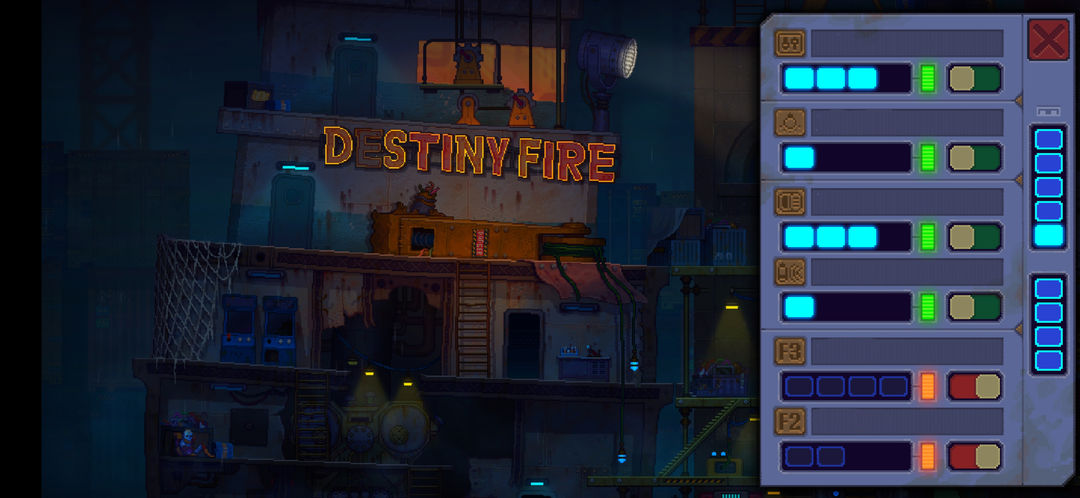
Interact with the circuit breaker at the far left side of the bridge that you can use to re-route power throughout the Destiny Fire.This is one of two circuit breaker terminals aboard the Destiny Fire. The other one is outside the ship at the lowest level. We'll get to that shortly!
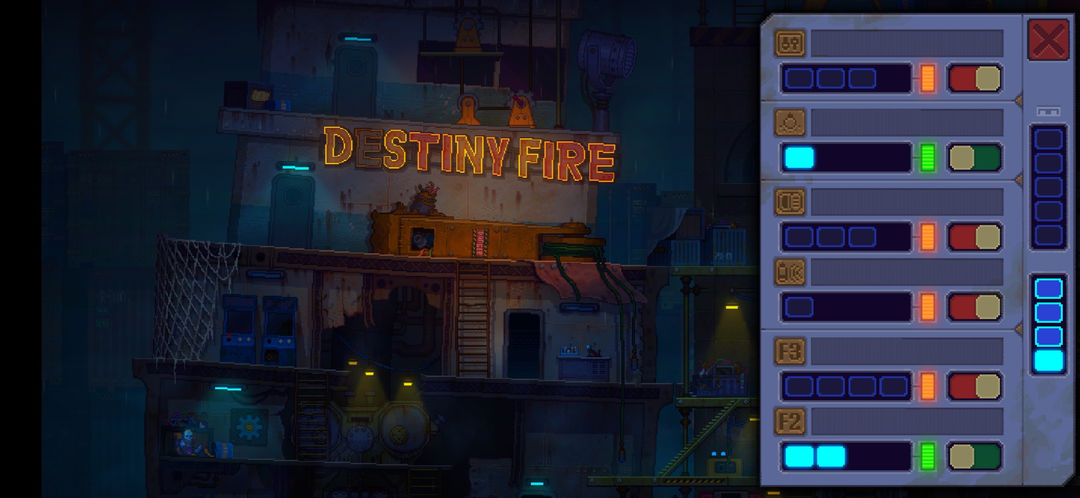
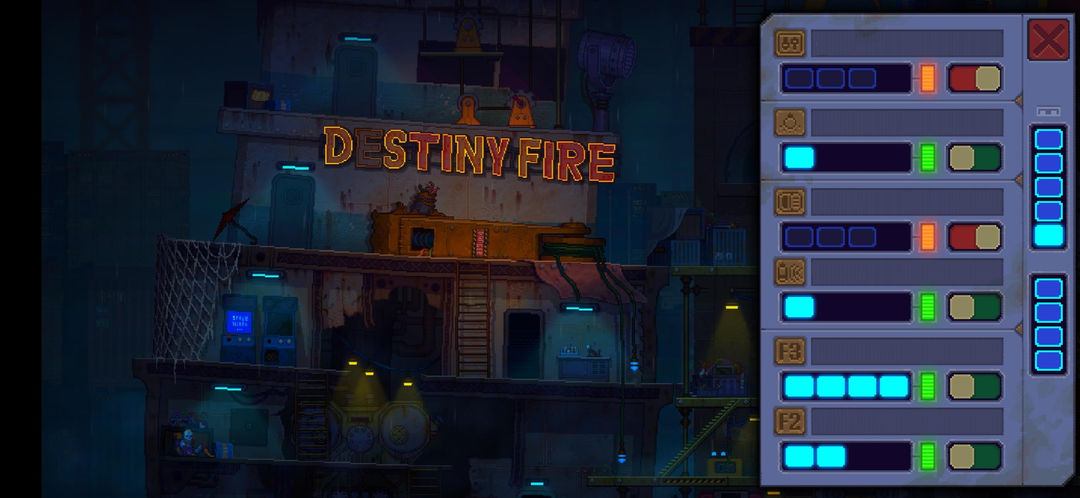
In the Destiny Fire's current (sorry) shape, you only have 4 units of power to divert across all switches; the number of switches you can flip ON will depend on how many units of power they consume! For now, adjust the switches to match the screenshot below (flip OFF the Control Centre and Sonar switches, while turning ON the Lighting of the Ship and Pass Way and F2 Room switches):

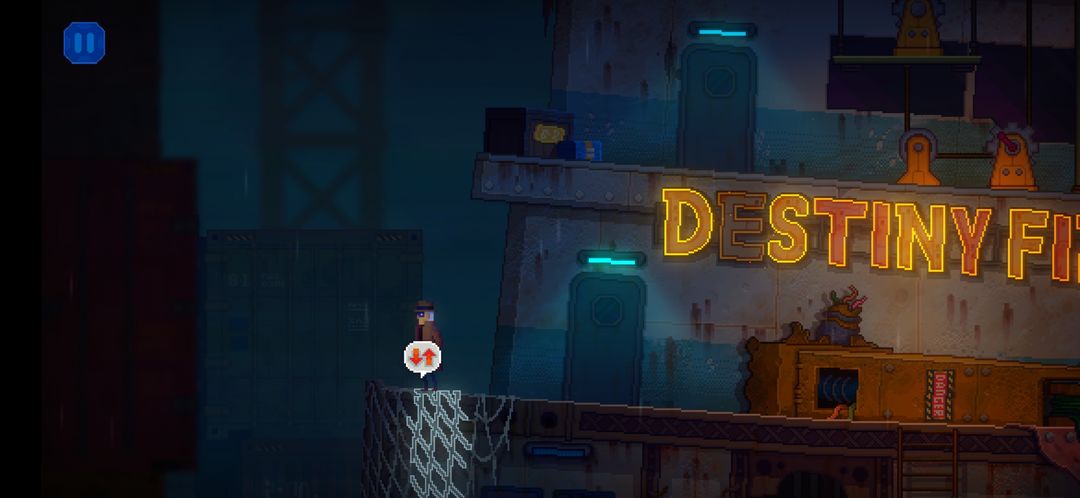
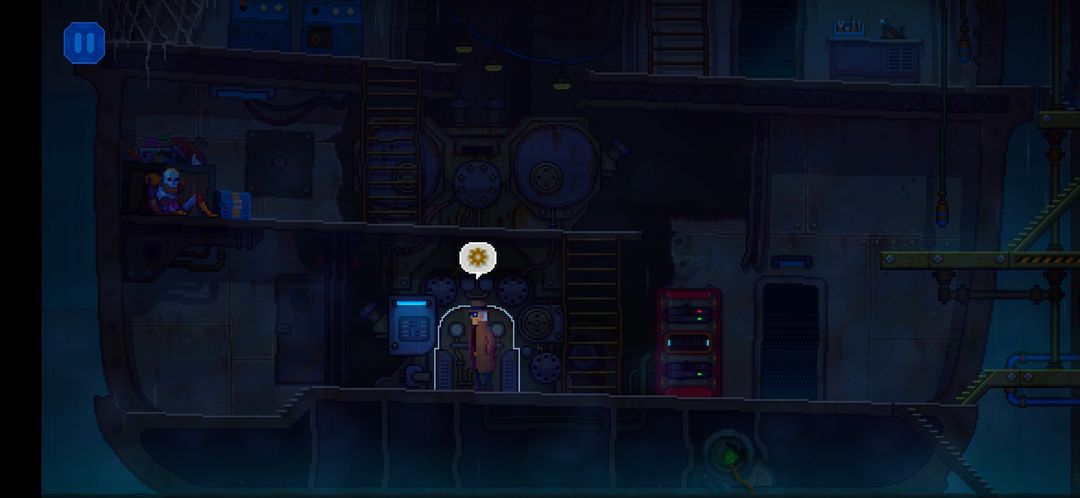
Exit the circuit breaker interface to return to the ship bridge. You'll notice everything is dark now, as you've diverted power elsewhere. Head to the the stairs at the far right of the room, leading down.This will take you back outside the ship, on the middle level. Interact with the hotspot to the left of the nearby ladder and repeatedly press the Confirm hotkey to obtain the Pressure-Resistant Flange Seat.Now head to the far left and climb down the netting.
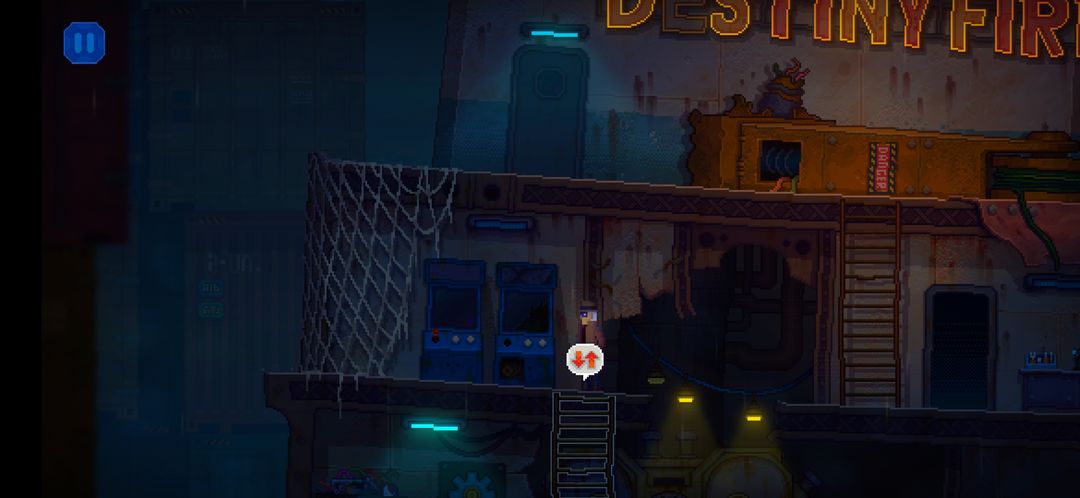
You'll reach the Entertainment Room level with some arcade machines. We can't interact with anything here yet until we illuminate the area later. For now, climb down the nearby nearby ladder to reach the Storage Room level of the ship.
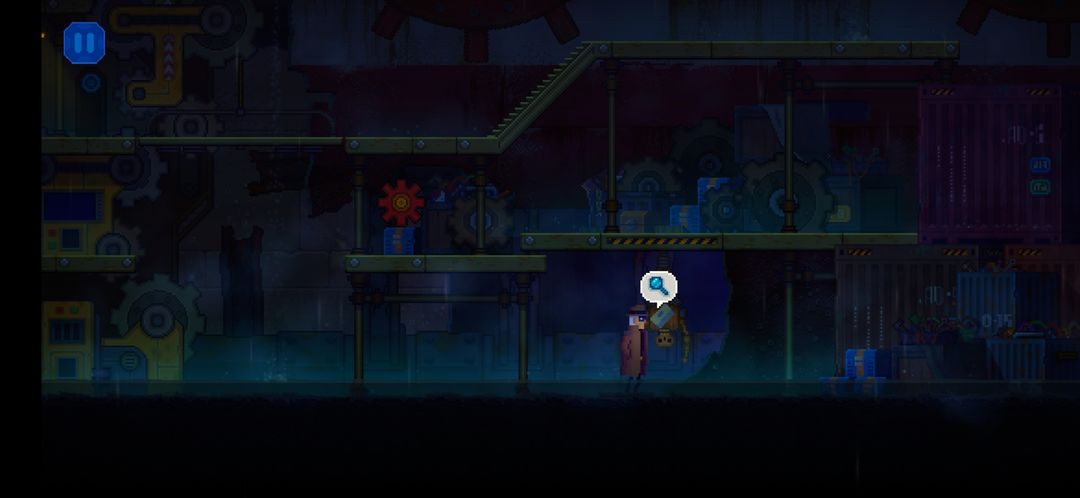
Grab the Copper Gear off the wall.Feel free to inspect the deactivated engineering robot to your left for another scene with the AR Captain. Otherwise climb down the ladder to right of the current platform to reach the bottom level of the ship.
Insert the Unpowered Battery into the nearby backup generator (to the immediate right of the ladder).After a few seconds, you'll be able to grab the new and improved Fully-Charged Battery!Continue right (past the doorway) and up a small ramp to find the Transmission Generator (red machine). Grab the Battery Cell Case from one of the slots below.

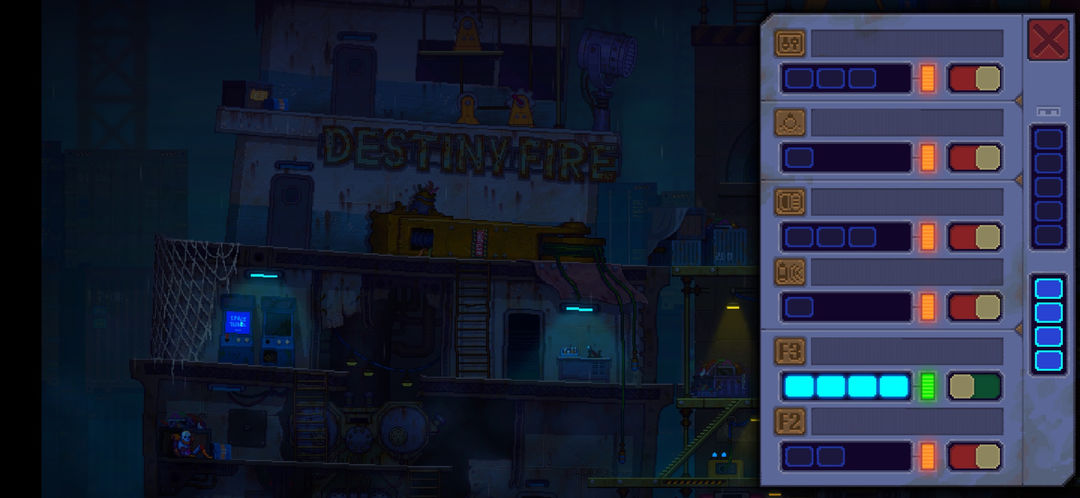
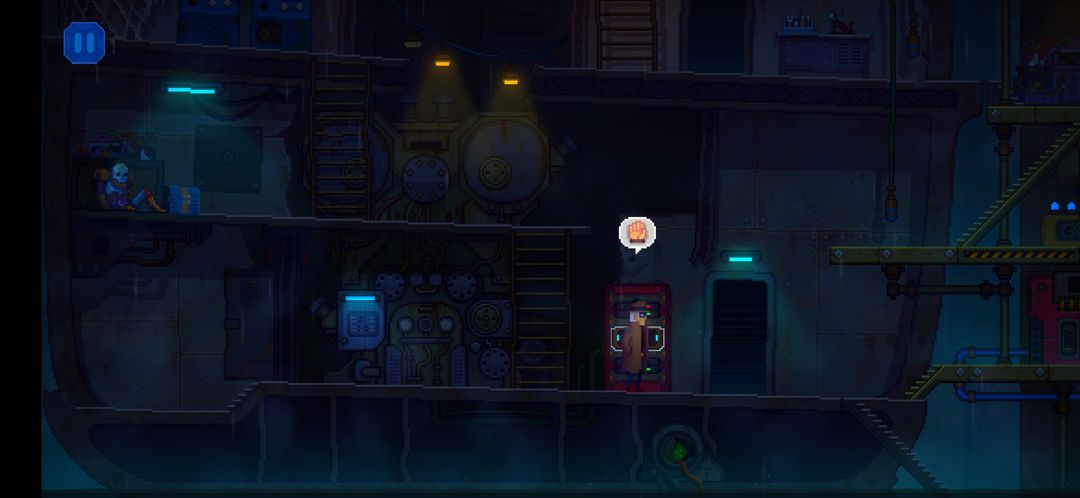
We can't use the backup generator anymore, so we'll recharge this empty battery another way later. For now, head back left to find the Fuel Engine. Intearct with it and press the confirm hotkey repeatedly the obtain the Invalid Pressure Gauge.To the left of the Fuel Engine is the lower level circuit breaker. Interact with it to bring up a familiar interface.This time, adjust the switches to match the screenshot below (turn OFF the Lighting of the Ship and Pass Way and F2 Room switch, and turn ON the F3 Room switch):Interact with the nearby Workbench.
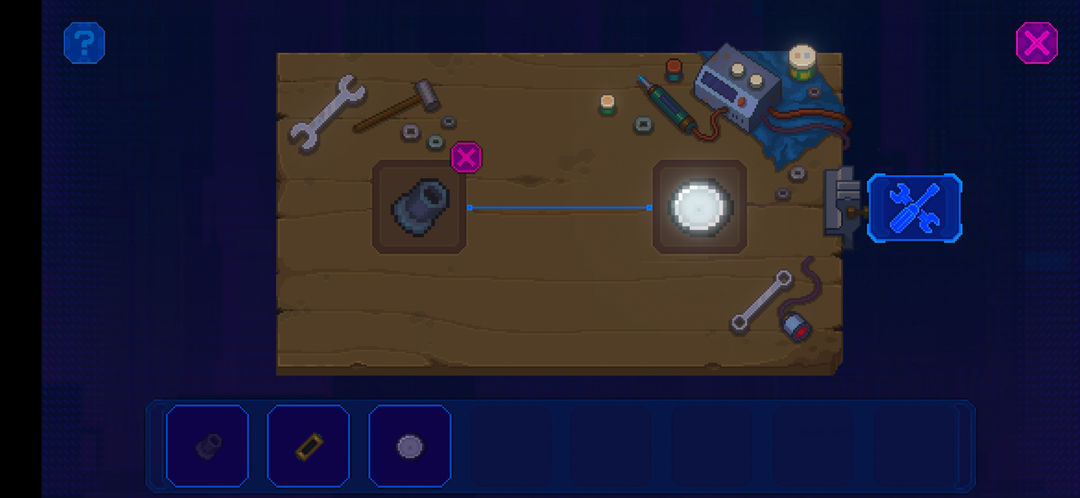
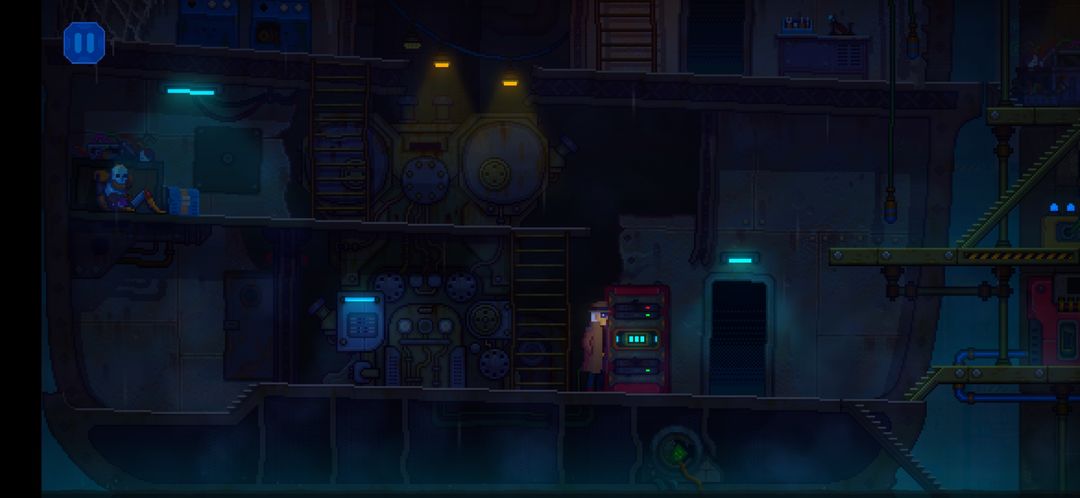
Add the Pressure-Resistant Flange Seat and Invalid Pressure Gauge to the crafting interface, then combine them to create the working Pressure Gauge!Return to the lower level and install the Pressure Gauge onto the Fuel Engine.This repairs the Fuel Engine, allowing you to route even more power throughout the Destiny Fire![b]Cracking Open the Container
[/b]
Interact with the lower level circuit breaker next to the Fuel Engine once more. With the Fuel Engine up and running, you can now allocate an additional 5 units of power to the rooms throughout the Destiny Fire (for a total of 9 units at the moment). For now, simply turn ON the switch to the[b] F3 Room:

[/b]Before going up, head right until you reach a short set of stairs leading down to the waterbed level.Head down the stairs into the water below. This time, walk to the far right, where you'll find a surprise!


Investigate the puppet, and you'll obtain a Room Card from the Scott Hotel. This card is in fact the key you need to open the Container that nearly squashed you back up at the logistics hub terminal! The question is how to get back up there?Return to the Destiny Fire and climb back up to the F3 Room level (where you found the arcade machines earlier). Grab the Pinion from the arcade machine on the right. Meanwhile the functioning arcade machine on the left offers yet another opportunity for you to play the Mad Magic minigame, if you haven't gotten enough of it yet!Climb back up to the second level of the Destiny Fire (below the bridge) and Investigate the umbrella that you may have noticed floating down here from the smokestack. You'll get a Metal Handle.Return to the Workbench on the Maintenance Room level, and combine the Pinion with the Metal Handle to create a Rocker.Go back up to the bridge level and interact with the Elevator control to lower the suspended lift, allowing you to reach it.Jump onto the lift and attach the Rocker to the gear. You'll be able to use the lift without it breaking!Take the lift up back to the upper level of the Abandoned Dock, and return to the Container. Use the Room Card from the Scott Hotel on the lock to open it at last.You'll get another nasty surprise! Inspect the note attached to the surprise inside the Container to learn the truth about the missing Underbridge robots. Don't forget to grab the Giant Cyborg Rat from inside the Container too.
Head back to the Elevator and take it down to the Destiny Fire.
Return to the Workbench and combine the Giant Cyborg Rat with the Battery Cell Case to make another Fully Charged Battery.
You should have TWO Fully Charged Batteries now. If you only have one, then you still need to use the backup generator at the lower levels of the ship to recharge the Unpowered Battery that you should have obtained from the inside the bridge earlier![b]Gearing Up the Transmission Chain

[/b]Head all the way back down to waterbed level, then interact with the Transmission Chain control panel (yellow device) to bring up the interface below.This fires up the Transmission. Now it is time to get the Transmission Chain running!

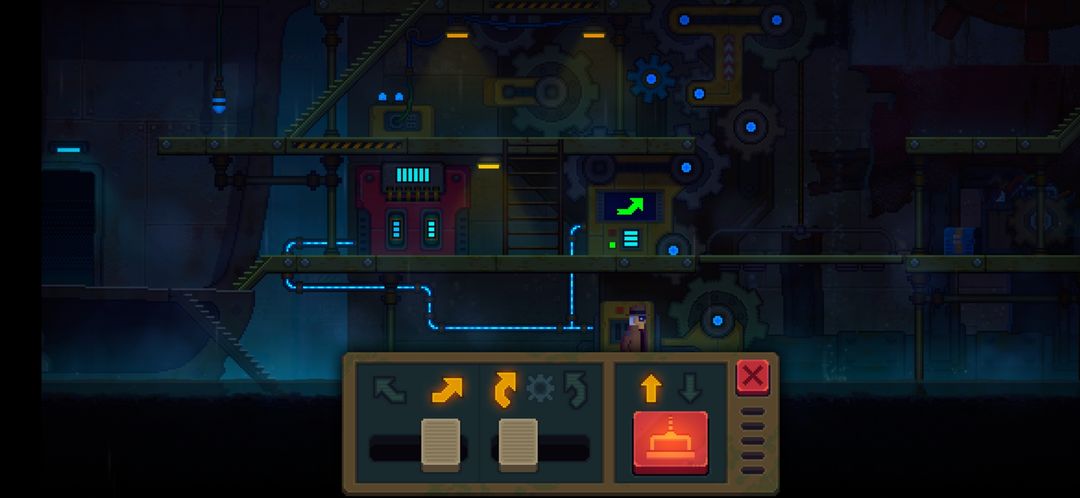
Climb up the ladder to the right of the Transmission Generator, then attach the Copper Gear into the spoke(directly above the device with the arrow display) as shown below.The button at the far left toggles between the Transmission Chain and Elevator. The middle button changes which direction these selected gears will rotate. The big red button at the far right meanwhile activates the Elevator.
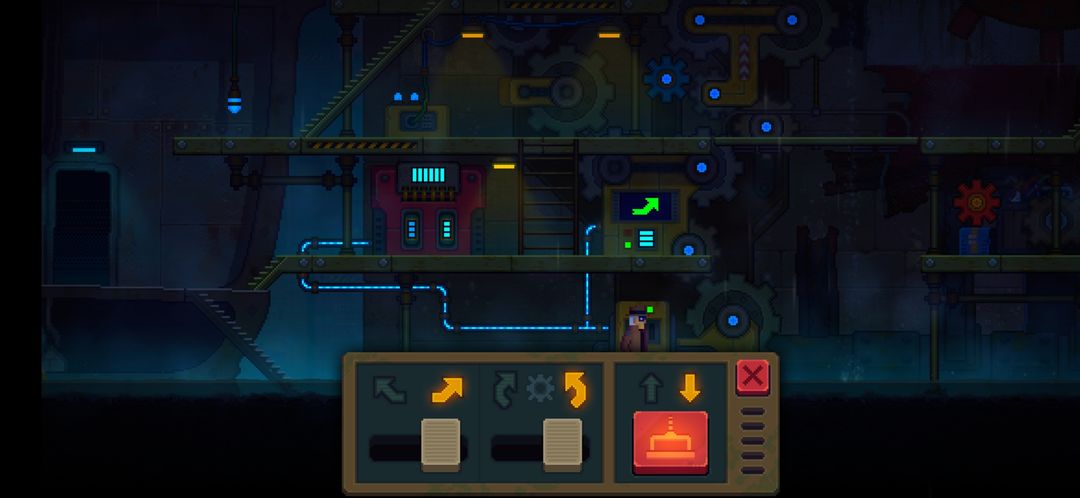
Hit the middle once (to change the direction of the gear rotation, in this case for the Elevator). Leave the first button alone for now.You'll notice that this will change the direction of the Elevator from up to down! Press the Elevator button to make the lift go down one level.
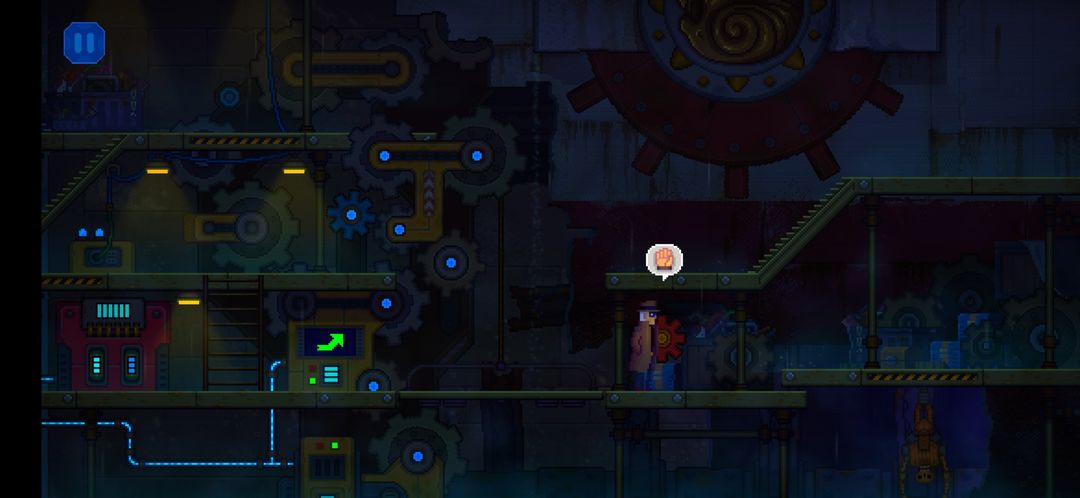
This bridges the gap in the floor above you. Head up one level and head across the Elevator. You should now be able to grab the big red Toothed Gear, and unlock an Achievement!As you may have gathered, this is a very important key item. Head to the left, climb up the ladder (to the right of the Transmission Generator), then head up the stairs. You should find another spoke to the right of the Workbench at Maintenance Room level (you know you're in the right place if you trigger another dialogue with the AR Captain). Attach the Toothed Gear to the spoke.With both gears in place, the Transmission Chain is now properly set up! Return to the Transmission Chain control panel at waterbed level.
First, restore the controls to their default settings as shown below. Hit the Elevator button to make it go back up one level.
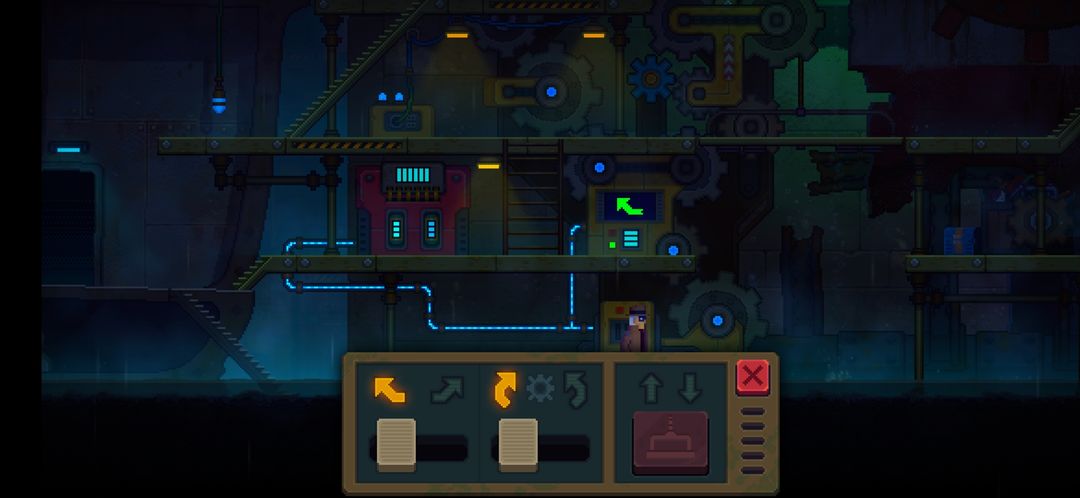
Once the Elevator is back at its original position, hit the far left button once to toggle to the left set of gears. The derelict structure above you should be lit in a GREEN glow. If the indicator glow is RED however, then you need to toggle the middle button to change the gear rotation.The Abandoned Cabin
Now return to any circuit breaker aboard the Destiny Fire. This time, turn ON the switches for the Control Centre, Sonar, and Morse Code Signal Light as shown below (at least 7 units of power will required, so turn OFF the switches to the other areas of the Destiny Fire that you no longer have a use for).
Head back up to the bridge of the ship. Assuming you toggled the circuit breaker switches correctly, power should be restored to the Control Centre inside. Interact with the Morse Code Signal Light control just above the steering wheel and Use your Sonar Graphic Record.
The doors to the receiving cabin aboard the structure next to the Destiny Fire will automatically open after a short scene.
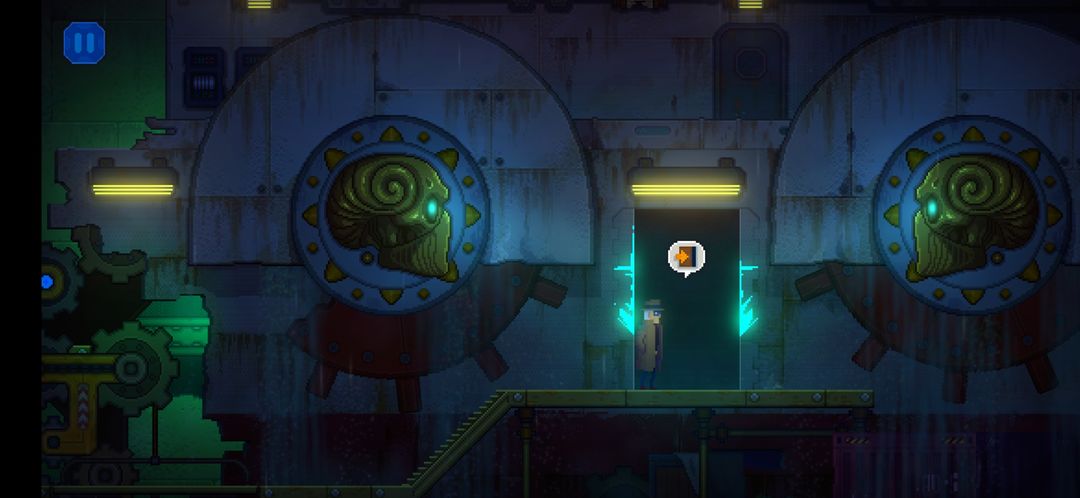
Leave the Destiny Fire bridge and go back outside. Make your way to the derelict structure right by the Transmission Chain and enter the large doorway whenever you're ready.You'll find yourself inside the Abandoned Cabin amidst a disturbing (yet familiar) scene. Move to the far right and watch the scenes.
Mentioned games